Google Integration
Steps to Set Up Google Authorization
- In your web browser, open the following URL: https://console.developers.google.com/
- If a Terms of Service window pops up, click AGREE AND CONTINUE in the bottom
right corner
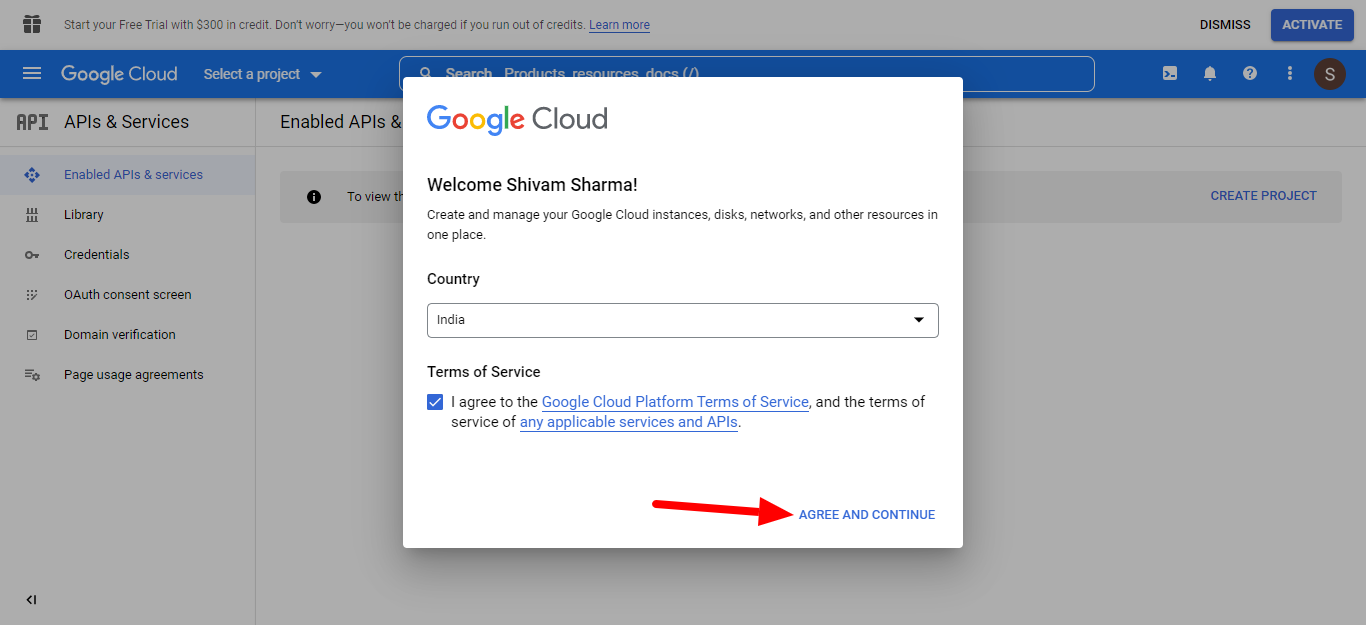
Note:You may or may not see this popup. - On the Google Cloud page, click the CREATE PROJECT button

- Fill out the required details and click the CREATE button

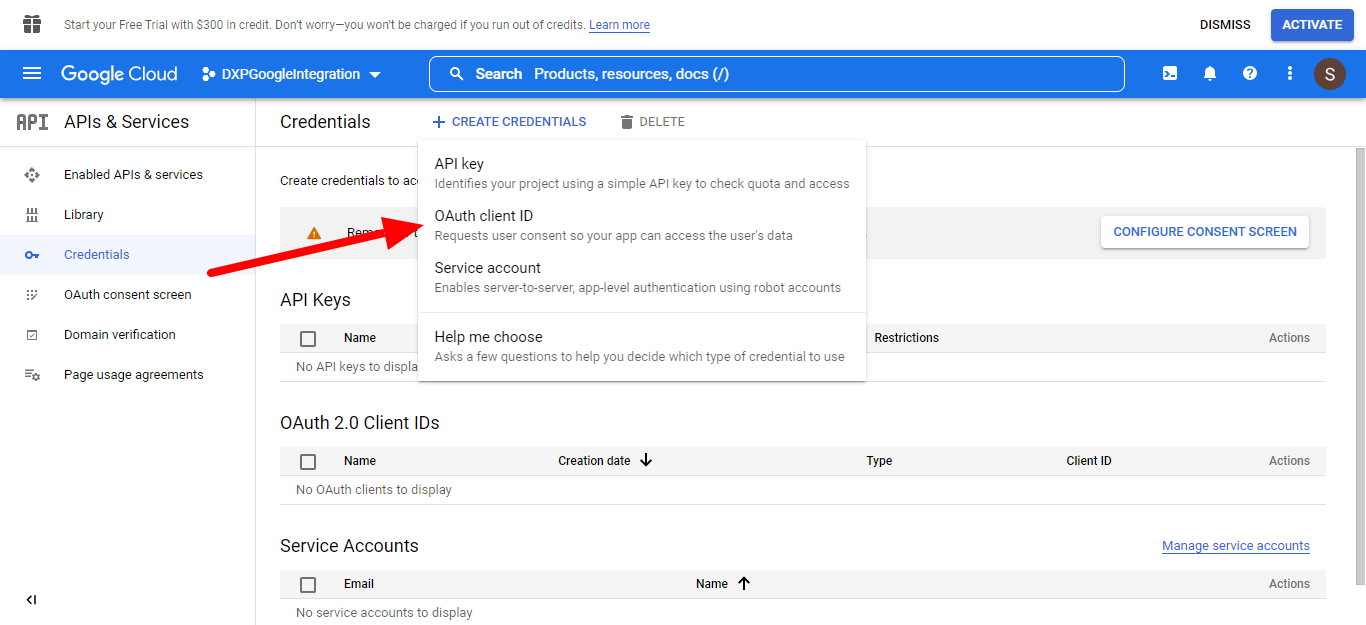
- After creating the project, click the Credentials link in the left
column

- On the Credentials page, click CREATE CREDENTIALS and select OAuth client
Id in the dropdown

- On the Create OAuth client ID page, click on the CONFIGURE CONSENT
SCREEN button

- On the OAuth consent screen, select the User Type according to your needs,
then click CREATE

- Fill out all the required fields on the App Registration page. Click SAVE AND CONTINUE Note:You don't add a value to the "App Domain" section.

- Leave the Scopes page as it is and click SAVE AND CONTINUE

- Click on the Credentials link again

- Click CREATE CREDENTIALS and select OAuth client ID in the
drop-down

- On the Create OAuth client ID page, select "Web Application" as the application
type

- Click on the ADD URL button under "Authorized Redirect URL"

- Place your org domain URL in the URL box and append
apex/ErxEventGoogleCalendarAuthNote:Example:https://enterprise-site-5151-dev-ed.lightning.force.com/apex/ErxEventGoogleCalendarAuth - Alternatively, you can go to your Salesforce org setup and search "Visualforce Pages" in the Quick Find box
- Select
ErxEventGoogleCalendarAuthand click the Preview button
- A new page will open. Copy the URL of the page and paste it in the Redirect
URL field on the Google "Create OAuth client ID" page

- Click the CREATE button

- The Client ID and Client Secret will be generated

Enable the API and Google Calendar Services
- Search "Calendar" in the search field and select Google Calendar API

- Next, select Enable APIs & Services in the left column

- Click the Enable button
Final Configurations in Your Salesforce Org
- In your Salesforce org, click Setup
- In the Quick Find box, search "Custom Metadata Types"

- On the All Custom Metadata Types page, click "Manage Records" next to "Calendar Auth Settings"
- Click New

- Add the Label and Calendar Auth Setting Name and click Save

- Edit this record and add the Client ID, Client Secret, and Redirect URL in their
respective fields

- Click Save
- Next, in the Quick Find box, search for "Remote Site Settings"
- On the Remote Site Settings page, click New Remote Site

- Choose any name for the Remote Site, but the URL must be
https://accounts.google.com. Click Save & New
- Give any name to the Remote Site, but here the Remote Site URL should be
https://www.googleapis.com. Click Save