Post-Upgrade/Installation Steps
Required Steps
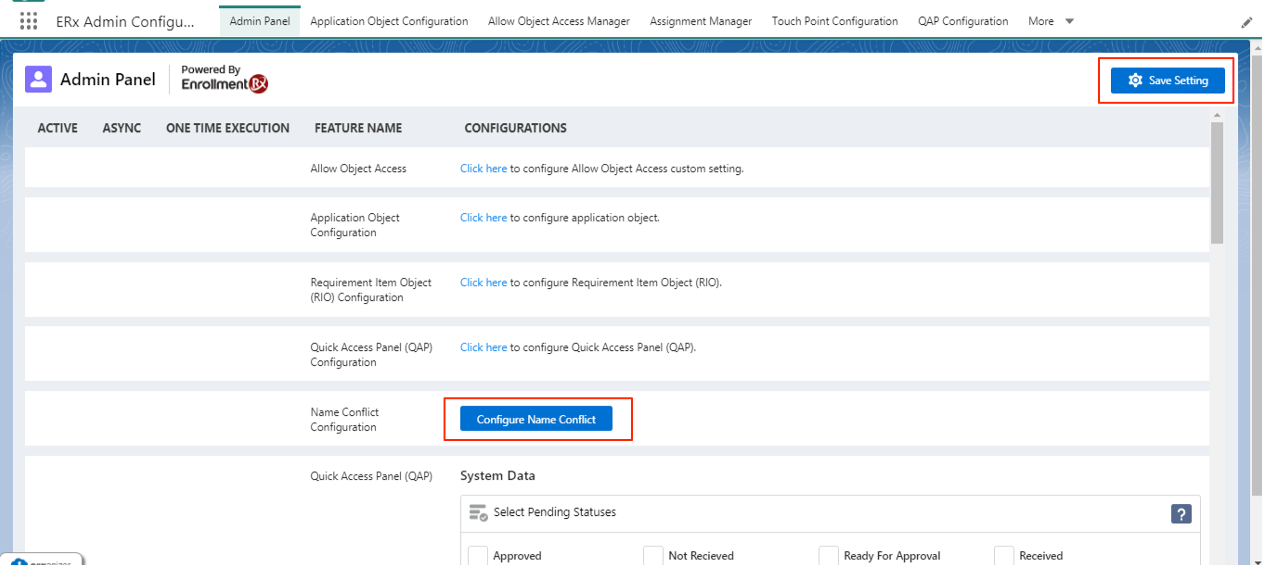
Admin Panel
- Go to the ERX Core Admin Panel
- Click on the "Configure Name Conflict" button
- Click on the "Save Settings" button
Note:
Clicking on Save Settings creates new package configurations that are part of the architectural improvements in this release. You can verify the changes were made with additional steps below.
Steps to Verify Package Configurations
- Click on the Salesforce App Launcher and search for "Package Configurations"
- Click on Package Configurations when it appears
- On the Package Configurations page, change the List View to All, if necessary
- Check for the following two new fields:
- FIELDS TOUCH POINT
- FIELDS ASSIGNMENT MANAGER
Checklist Requirement - Do not create duplicate records if criteria is matched.
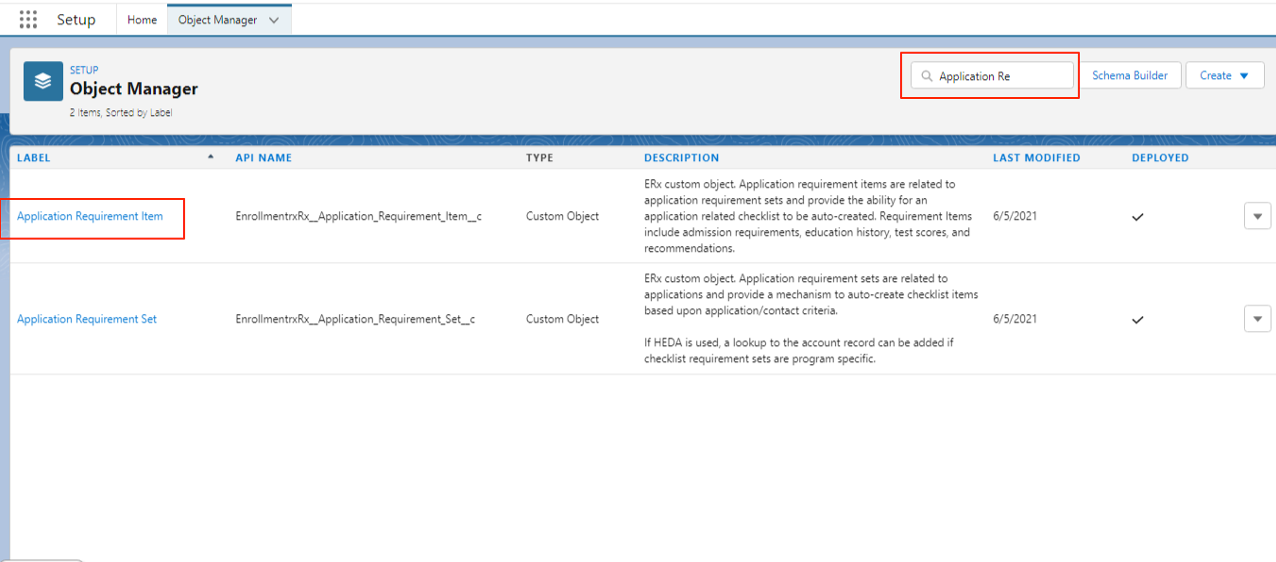
- Go to
- In the Quick Find box, type "Application Requirement Items"
- Click on Application Requirement Items
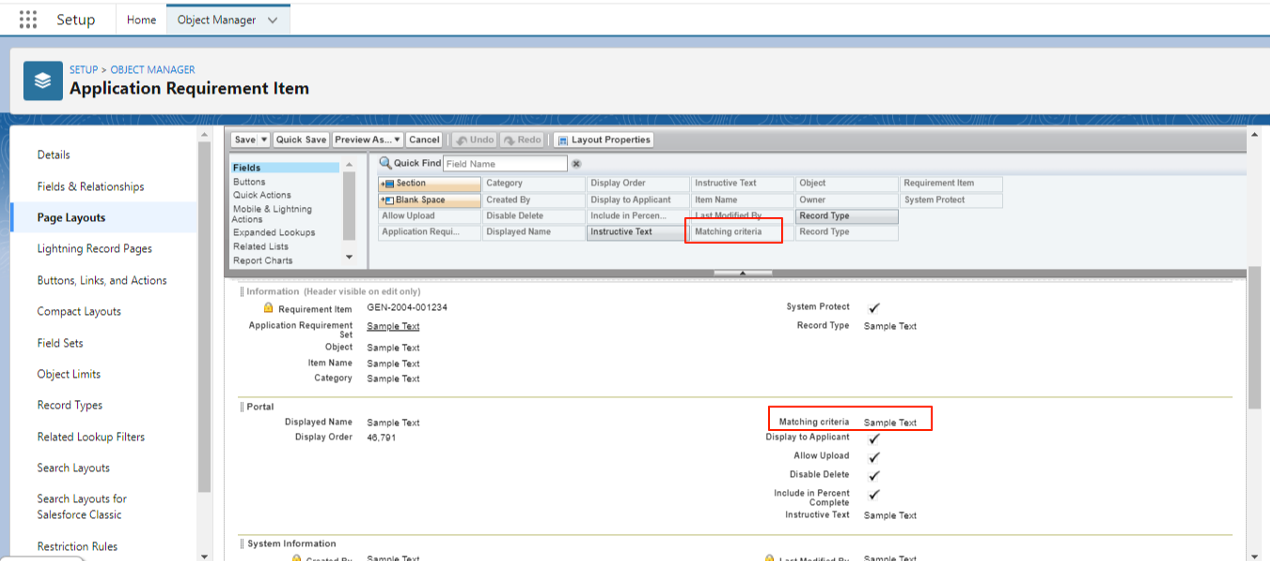
- Go to Page Layout and add the field "Matching Criteria" on layout
- Click on Save button
Assignment Manager: Reference-based Owner Assignment
- Go to Setup
- In the Quick Find box type "Users" and click on it when it appears
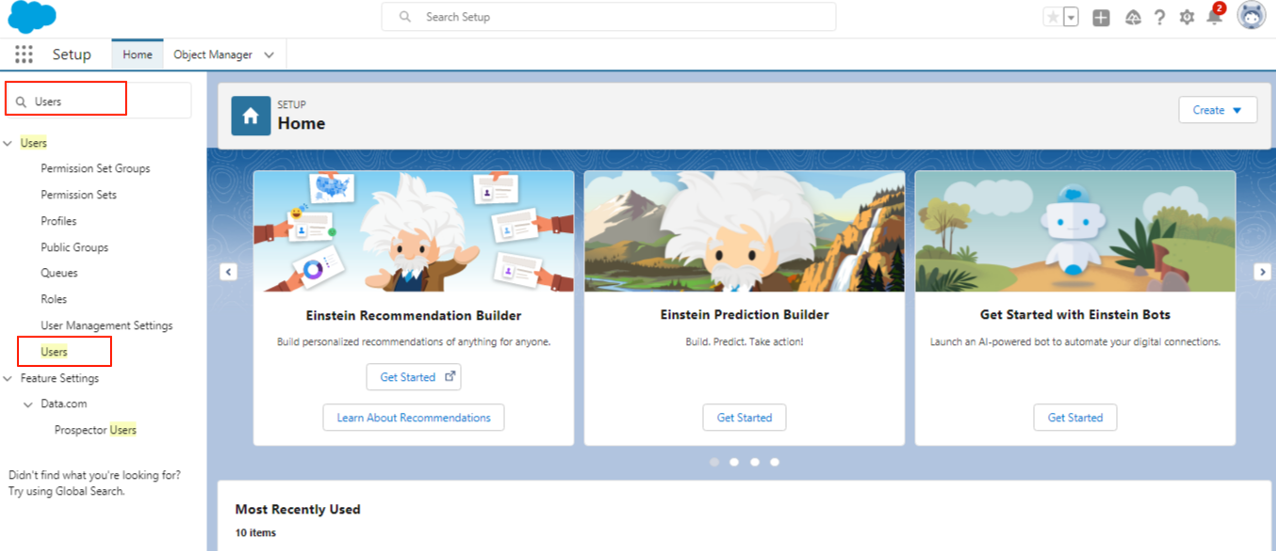
- Click on the name of User with the System Admin Profile
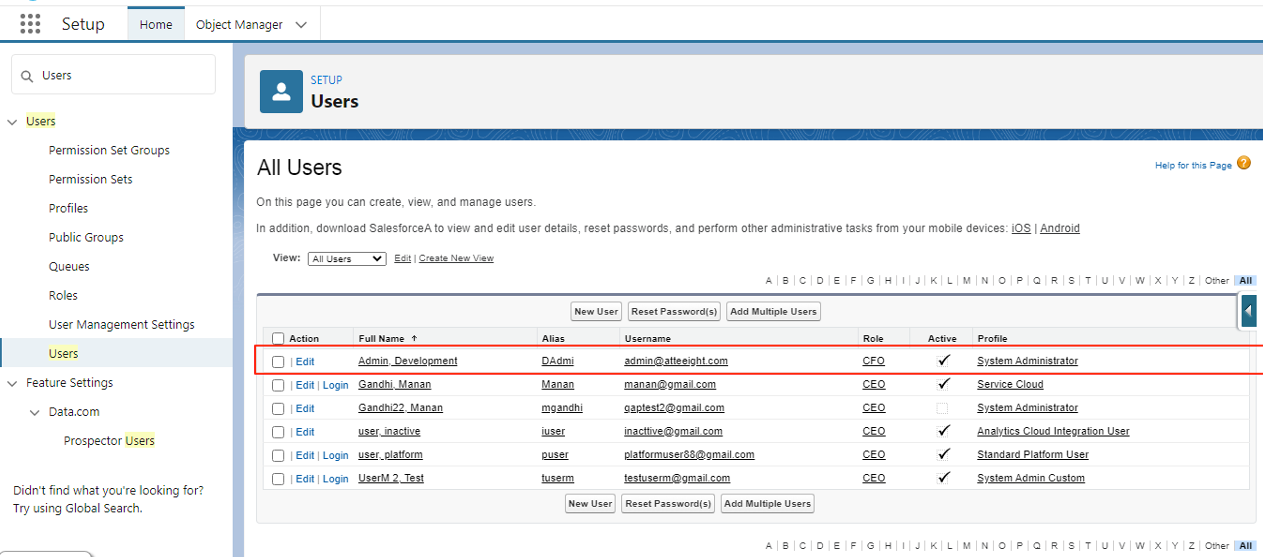
- Click on Permission Set Assignments

- Click on Edit Assignment
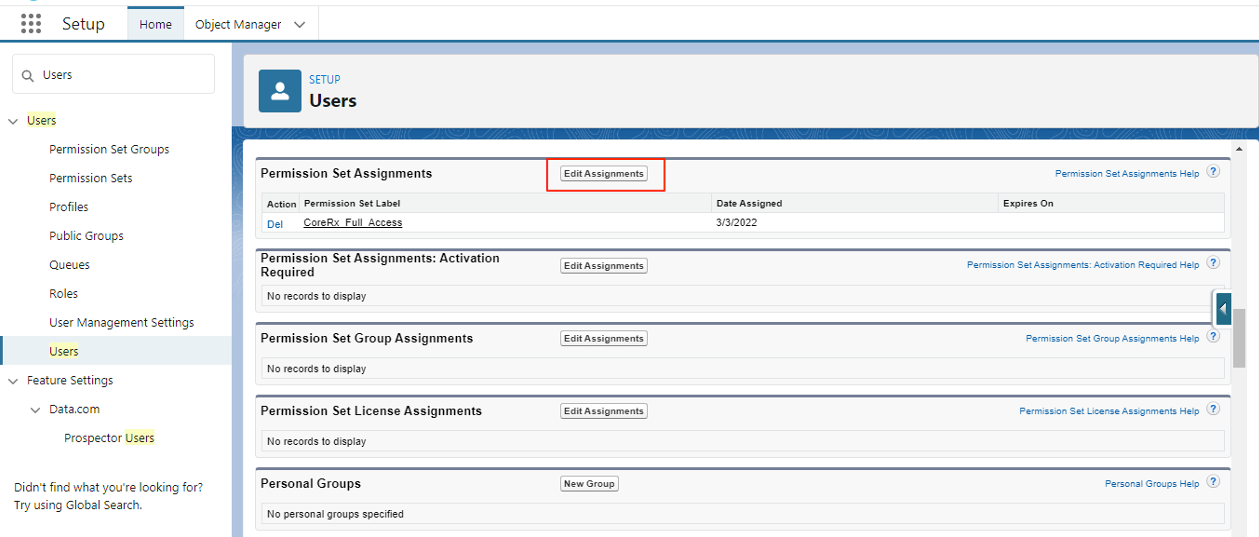
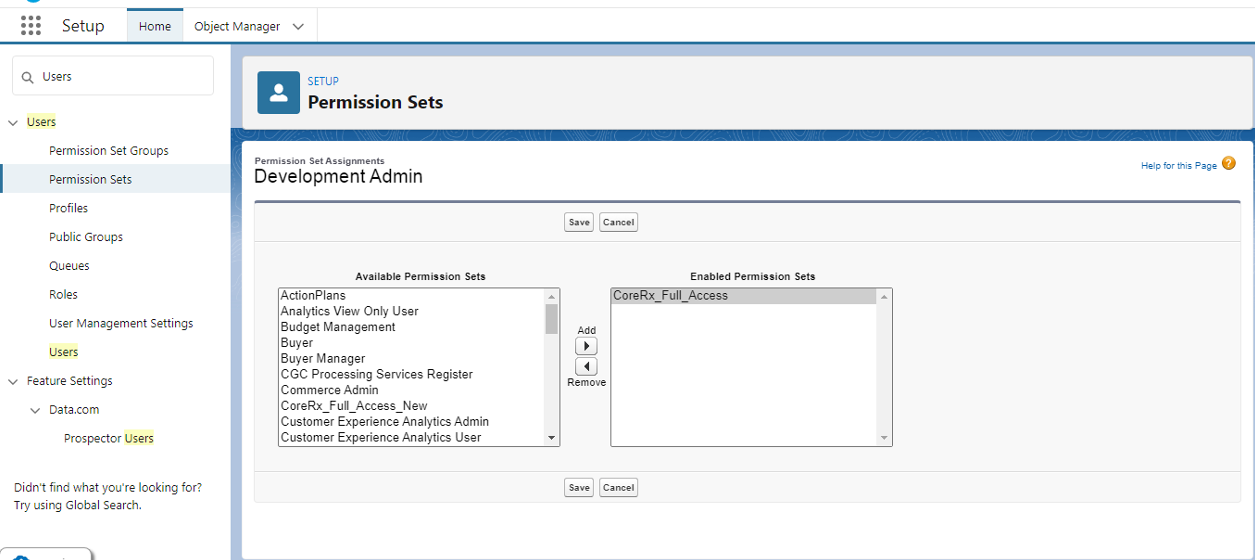
- Click on permission set “CoreRx full access“
- Click on Add arrow and click on Save to assign the permission set
- Assign to all the users with a system admin profile

- Go to
- In the Quick Find box, type "Assignment Rules"
- Click on Assignment Rules object
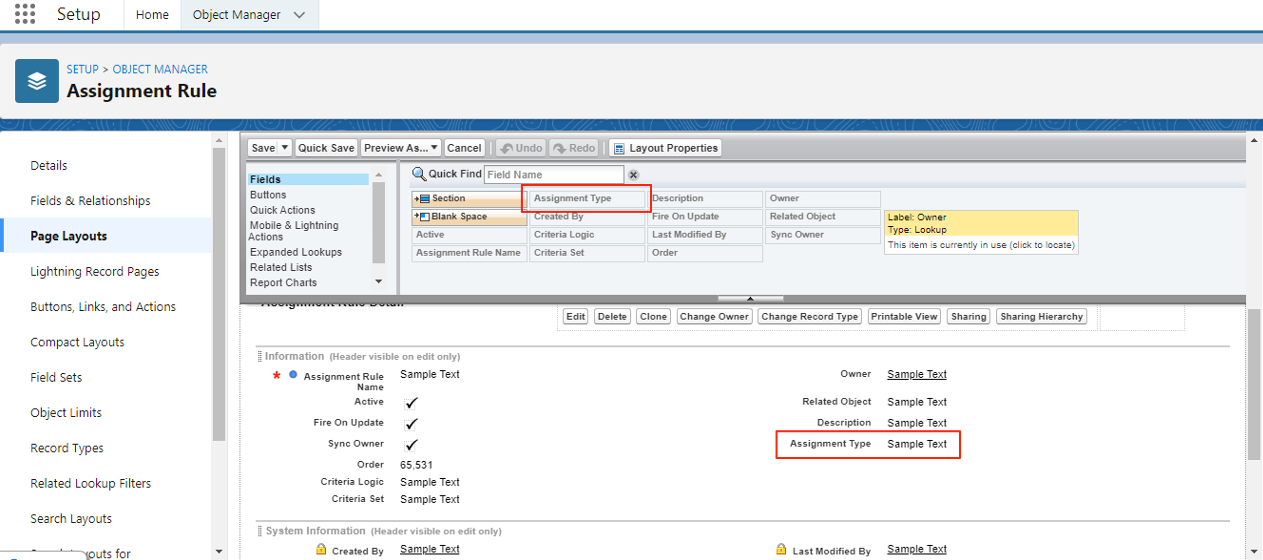
- Go to the page layout tab and add the Assignment Type field on the page layout
- Click Save
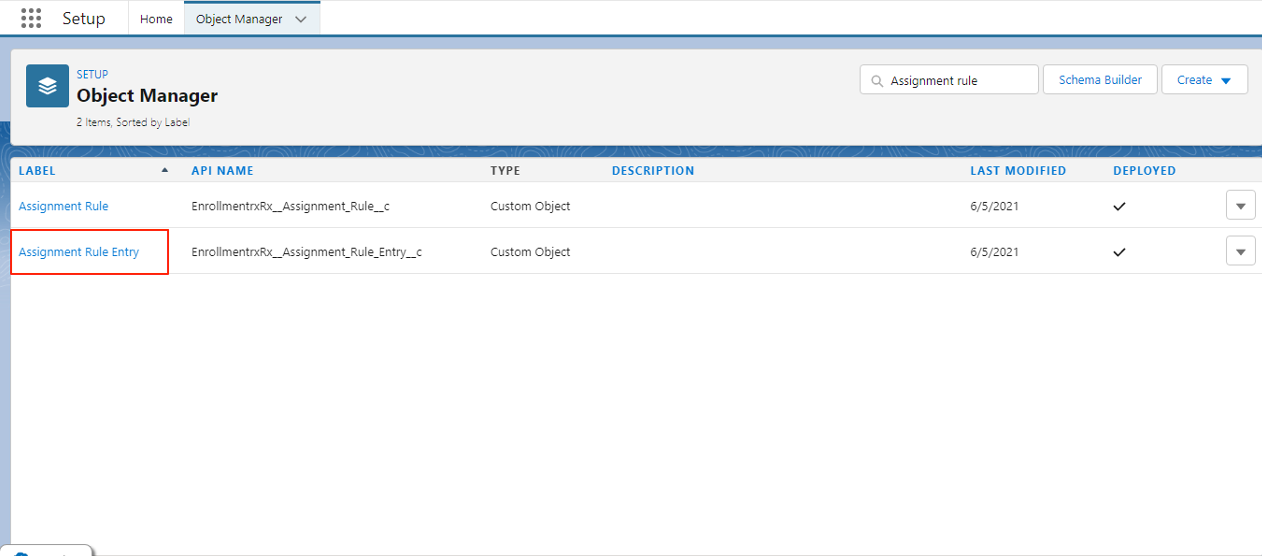
- Go to
- In the Quick Find box type "Assignment Rule Entry"
- Click on the object
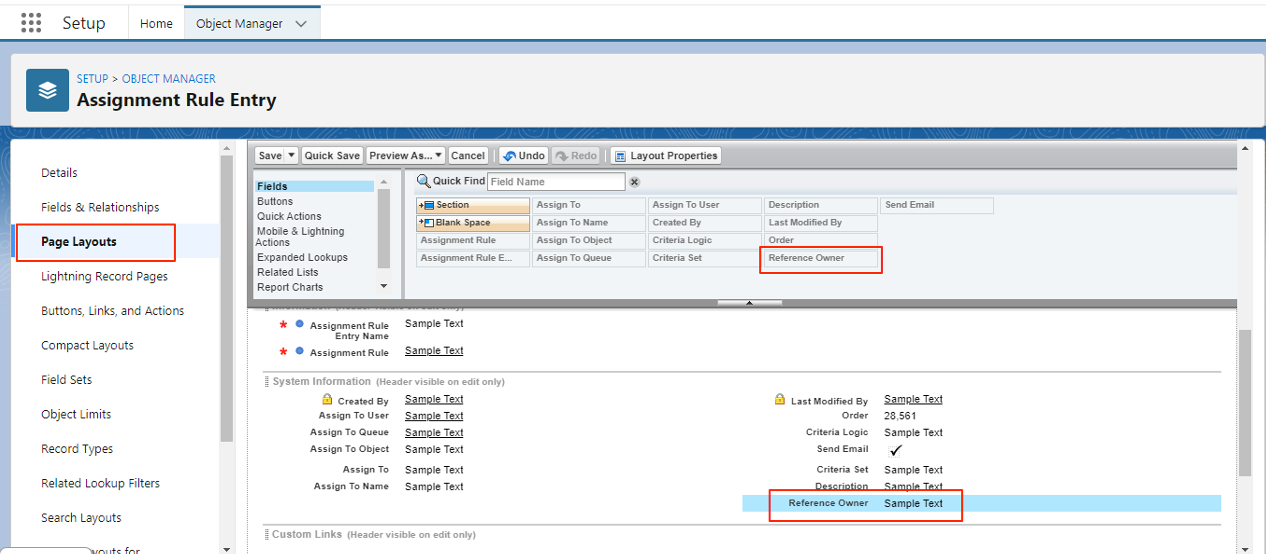
- Go to the Page Layout tab and drag the Reference Owner field onto the page layout
- Click Save
Steps If You're Using a Custom Application Object
Attention:
These steps are only required if you're using a Custom Application
object. They are not required for Managed Application objects
(EnrollmentrxRx__Enrollment_Opportunity__c) as the components are already added by
default.
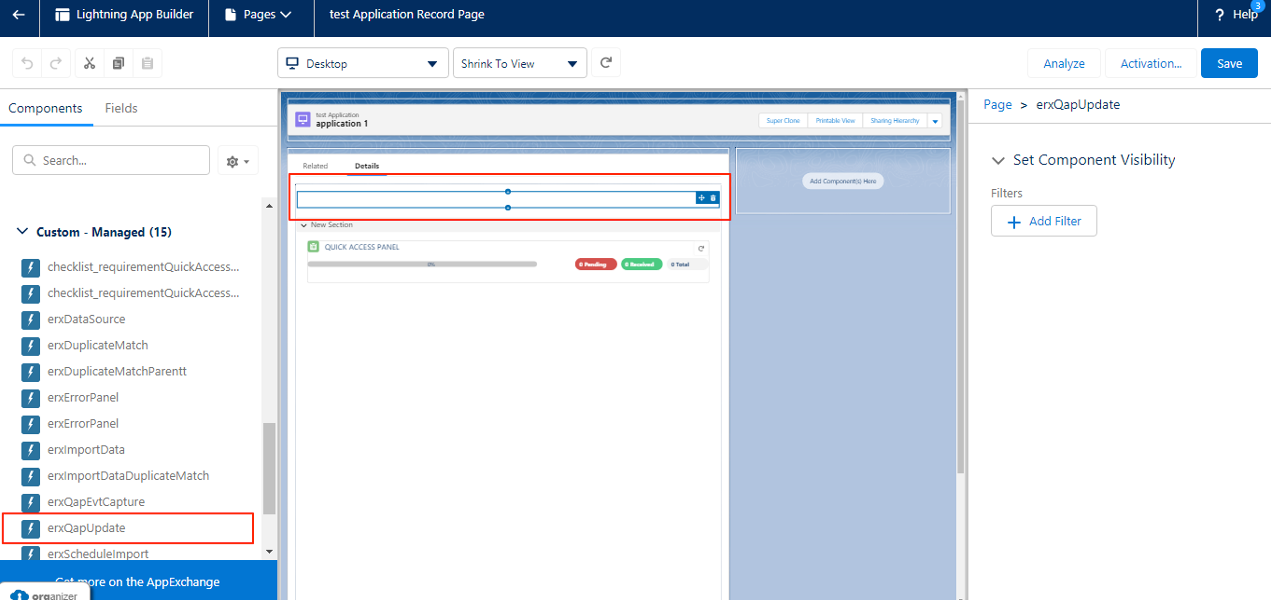
Refresh QAP Whenever a Record is Updated (Add erxQapUpdate Component to Record Page)
- Go to
- In the Quick Find box, search for the Configured Custom Application Object
- Select the object
- Go to the Lightning Record Pages
- Click on the Record Page
Note:If the Record Page is not available, go to any record of Custom Application Object, click on Setup (the gear icon) and click on Edit Page.

- Click Edit
- Drag the erxQapUpdate Component onto the Record Page Layout
- Click Save
Sandbox Refresh: Updating the Remote Site Settings
Note:
To update the remote site settings, please click here for instructions.