Generate PDF Button Action
Overview
A button action labeled Generate PDF (introduced in 2023 Release 1) allows you to generate a PDF of Community Pages based upon user completion of pages. The steps below are divided into two sections, one for Admins and one for End Users.
Admin Configuration
Pre-Requisite: Enable Access for Notes and Attachments to Customer Users
Important:
To configure this feature, you'll need to ensure that Access for Notes and Attachments to End Users is enabled. Follow the below steps.
- Go to Setup and search for Digital
Experiences
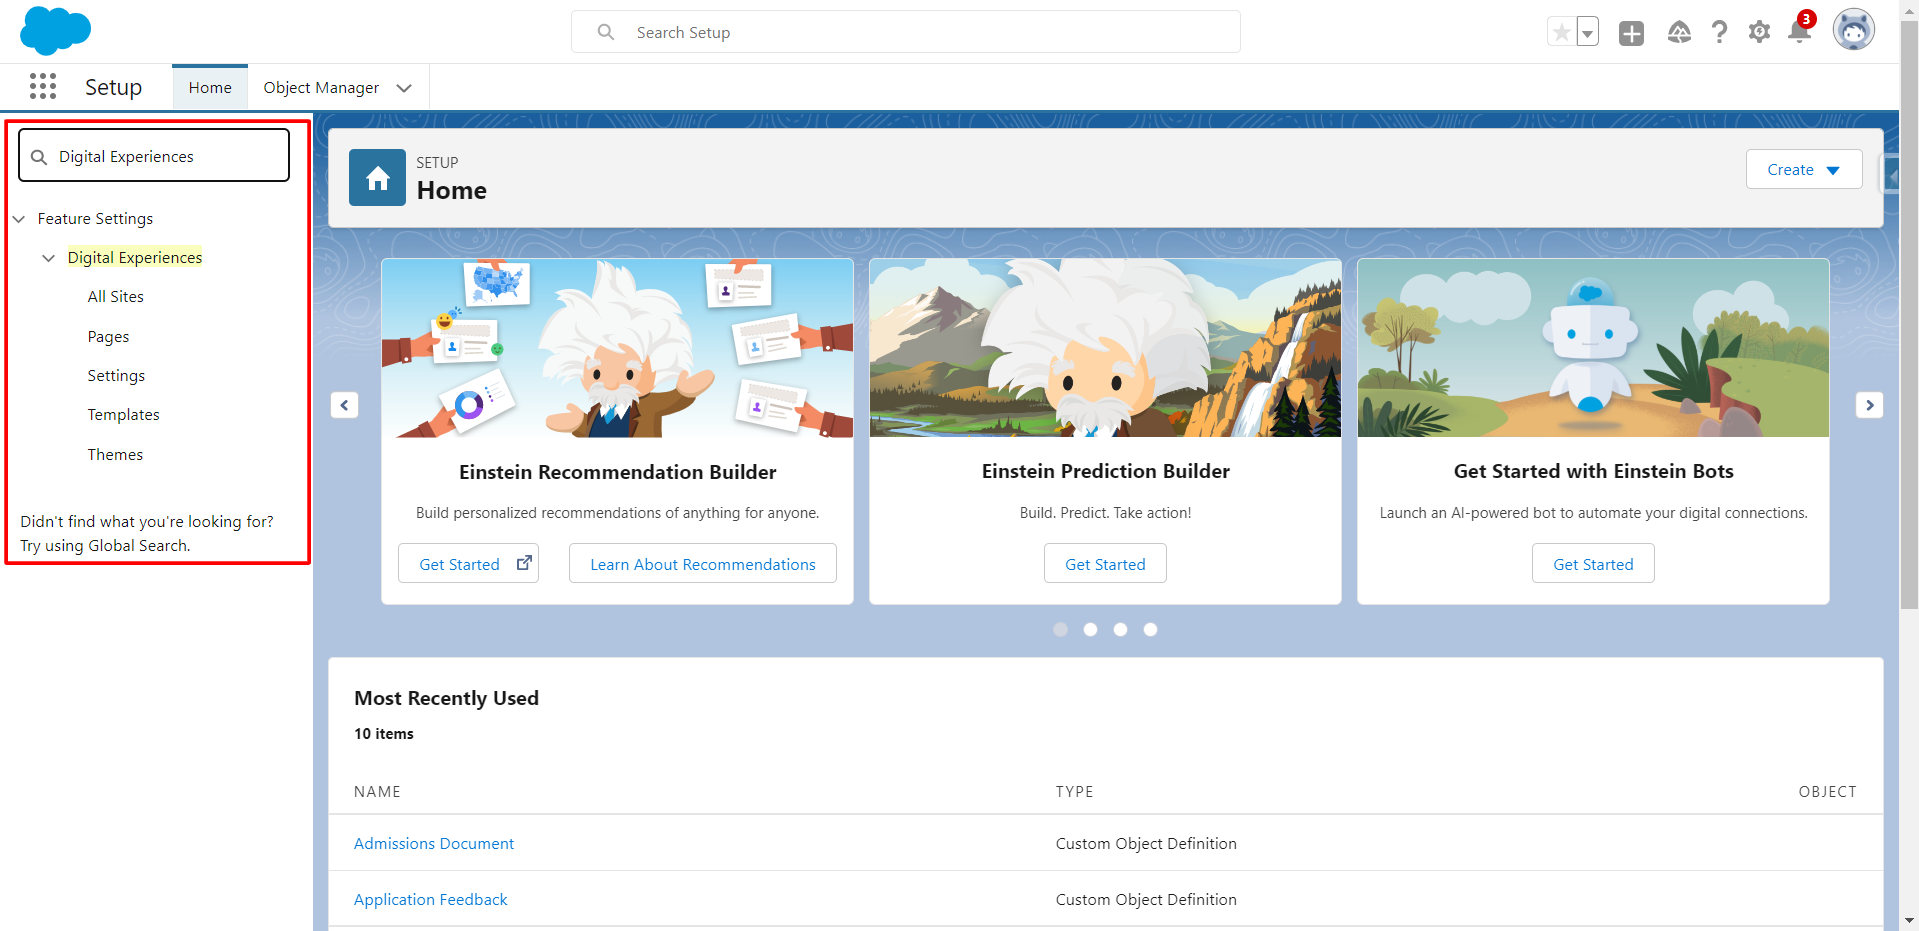
- Click Settings under Digital Experiences, scroll down,
and check the Enable checkbox for "Let customer user
access notes and attachments"
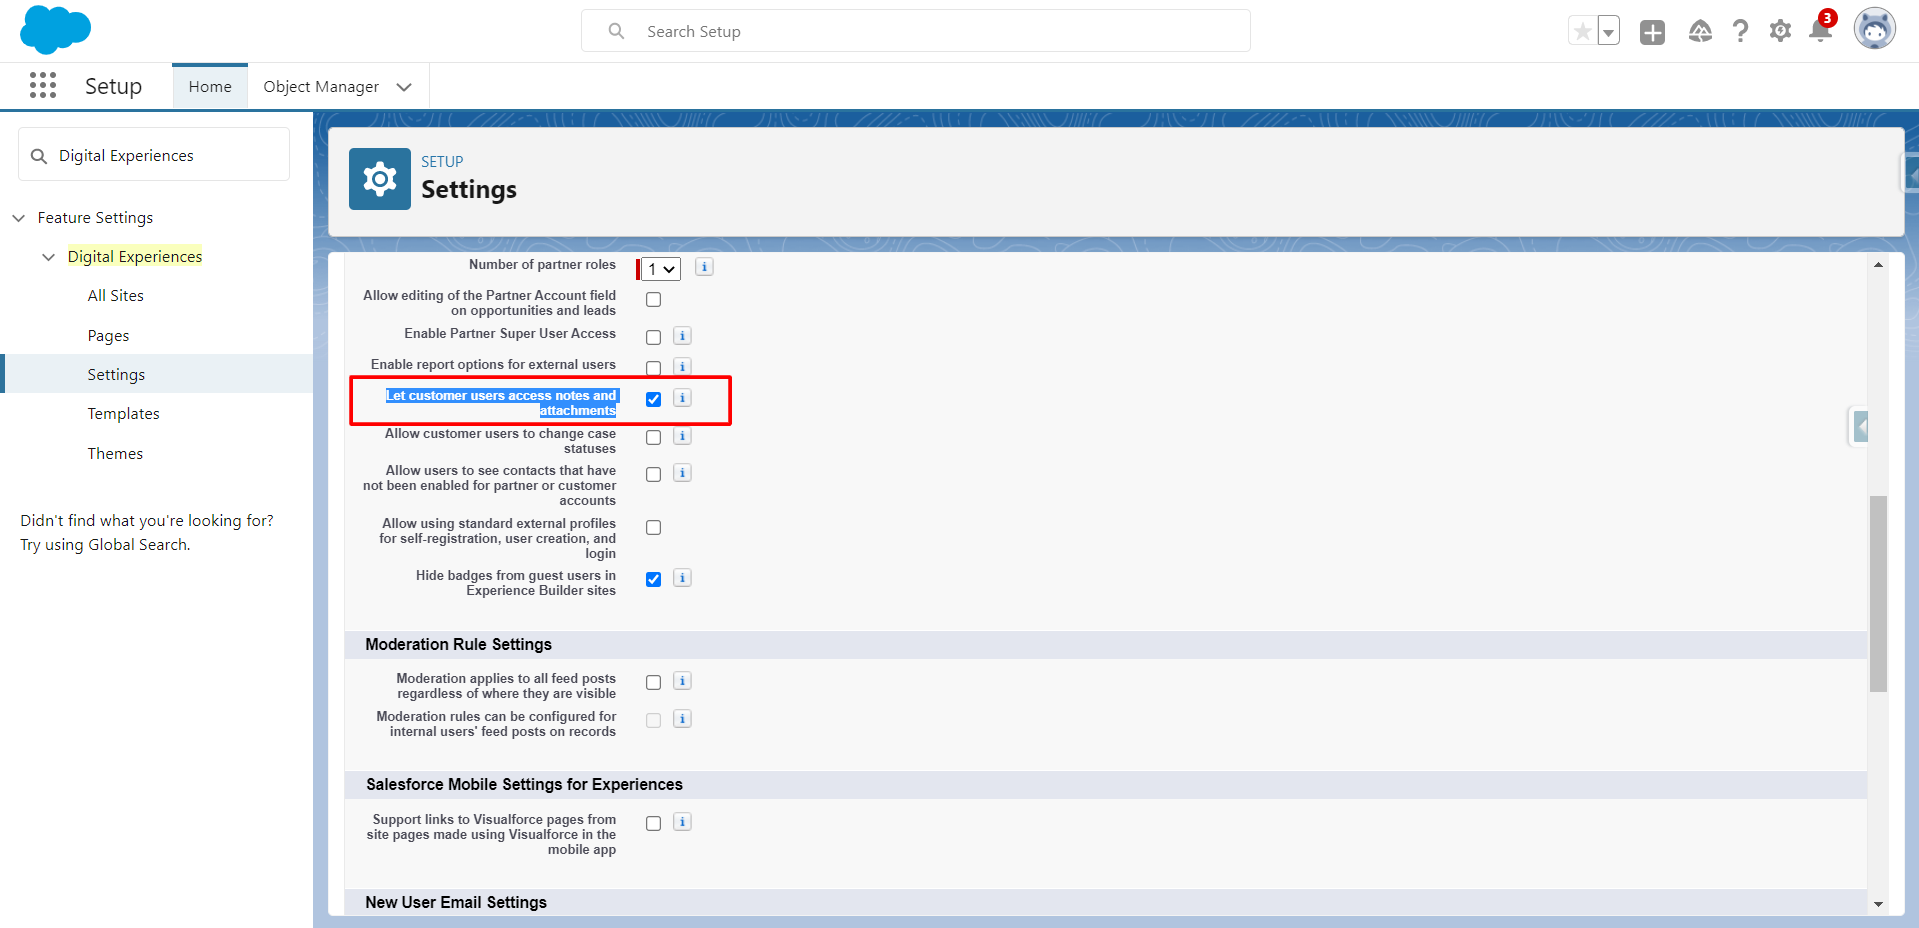
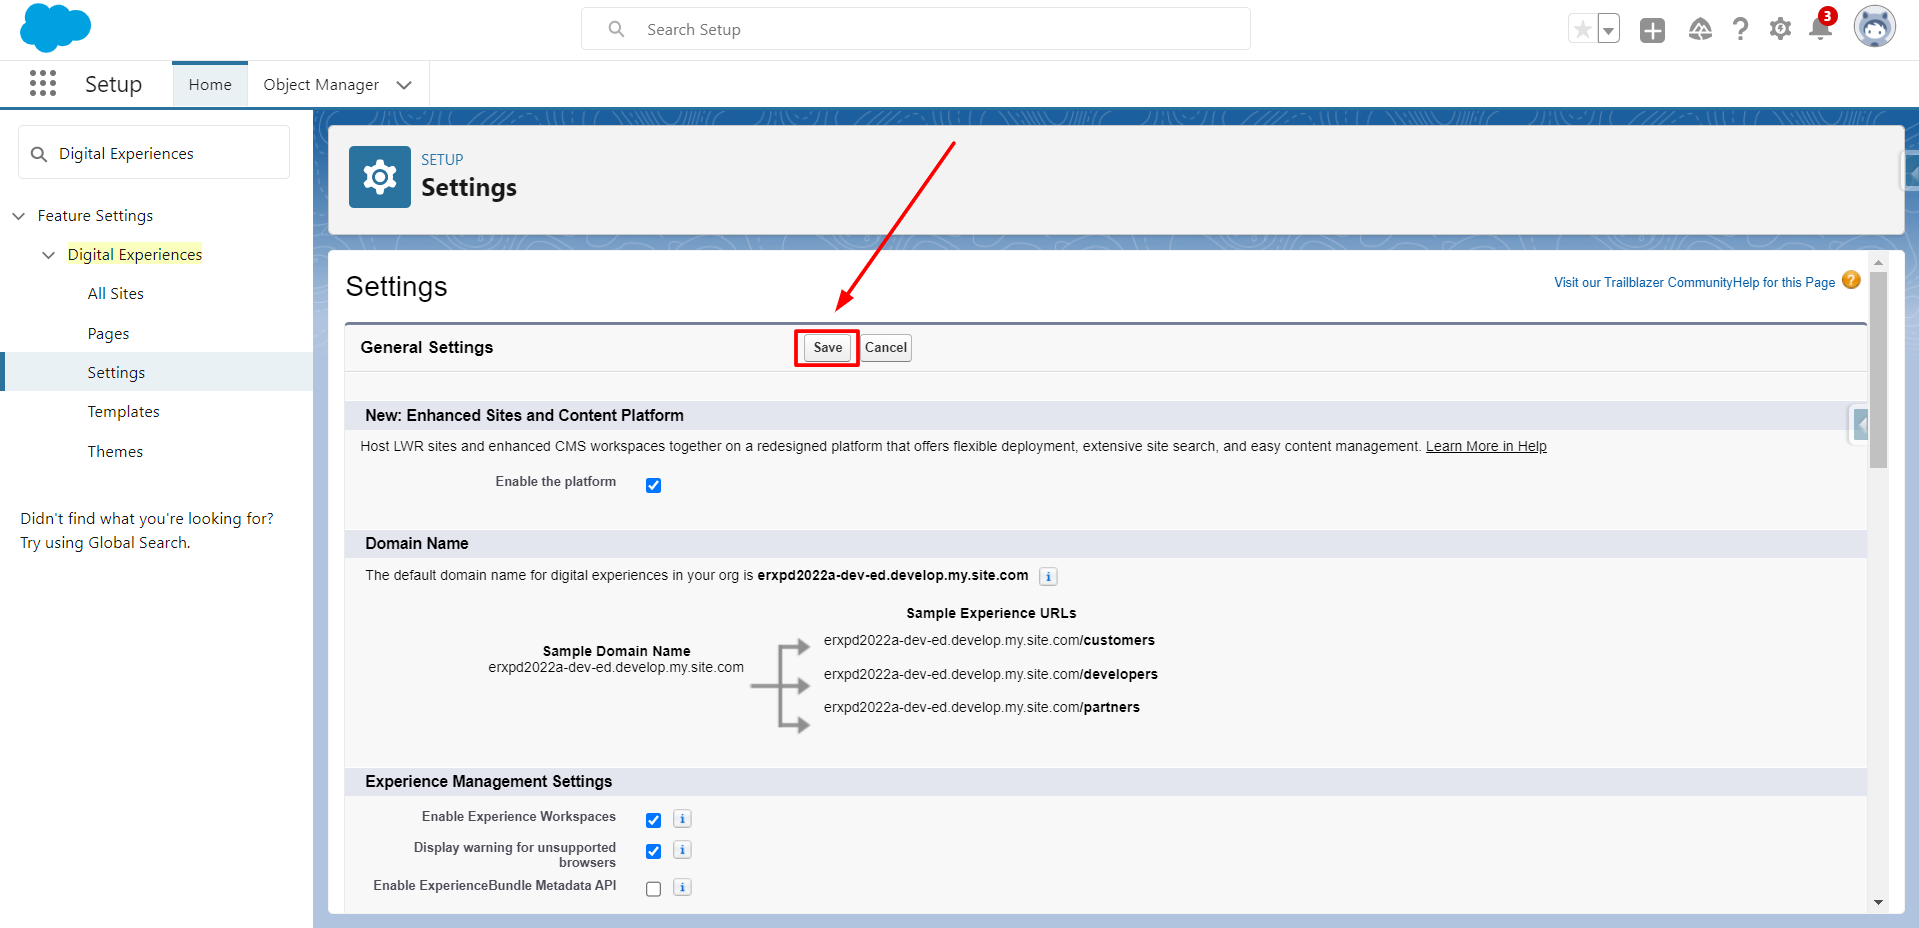
- Click Save
Configure the PDF Generation Button
- Navigate to ERX FormBuilder Rx in the App Launcher
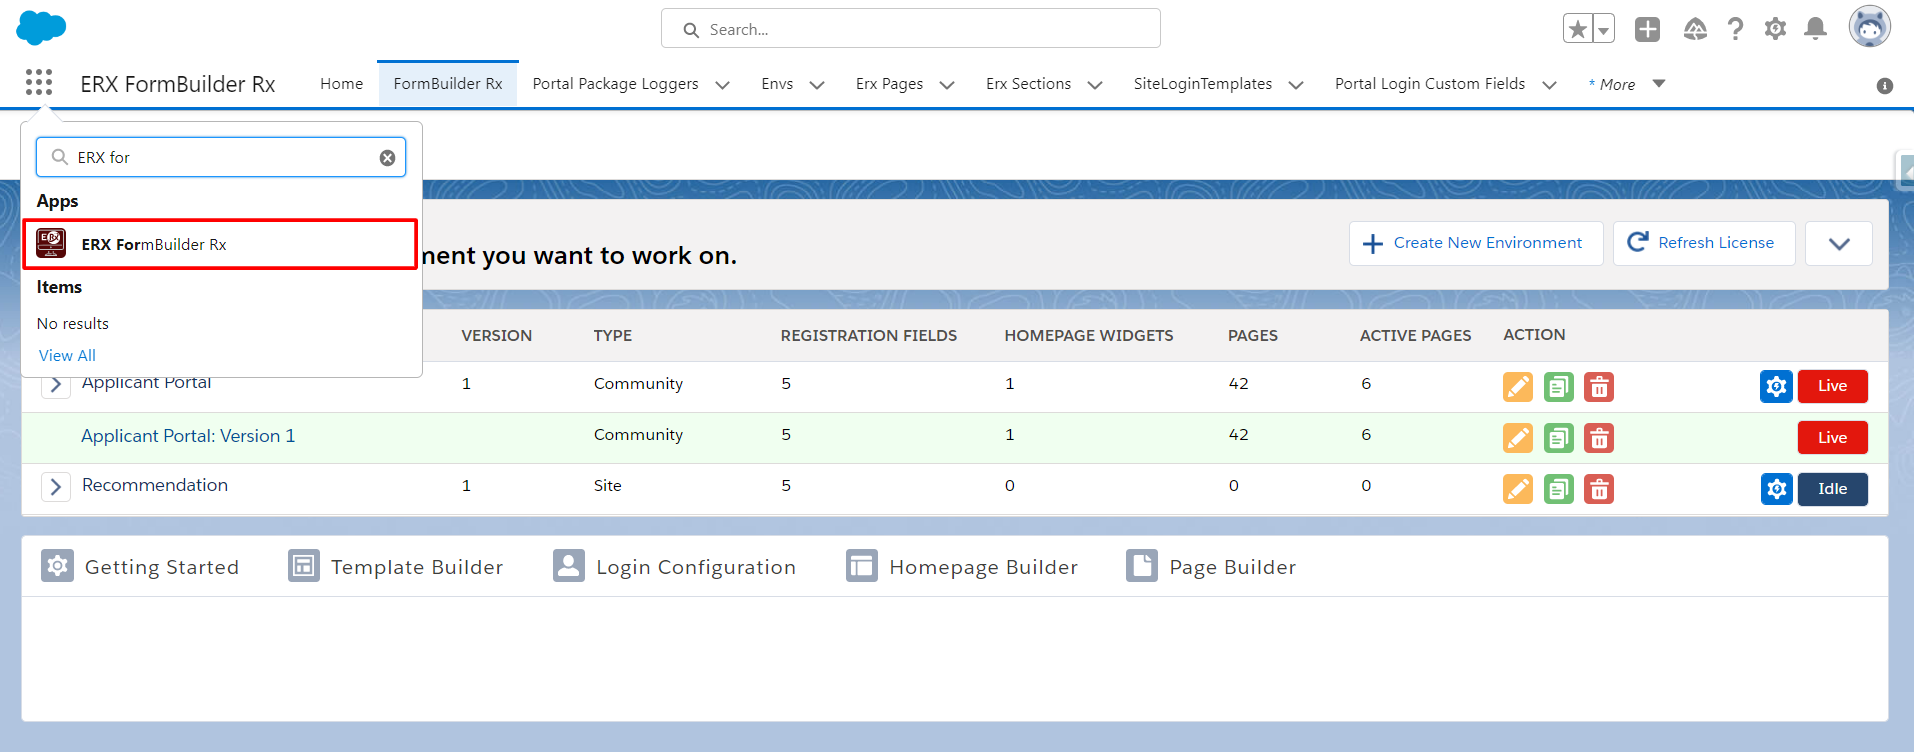
- Click on the FormBuilder Rx tab
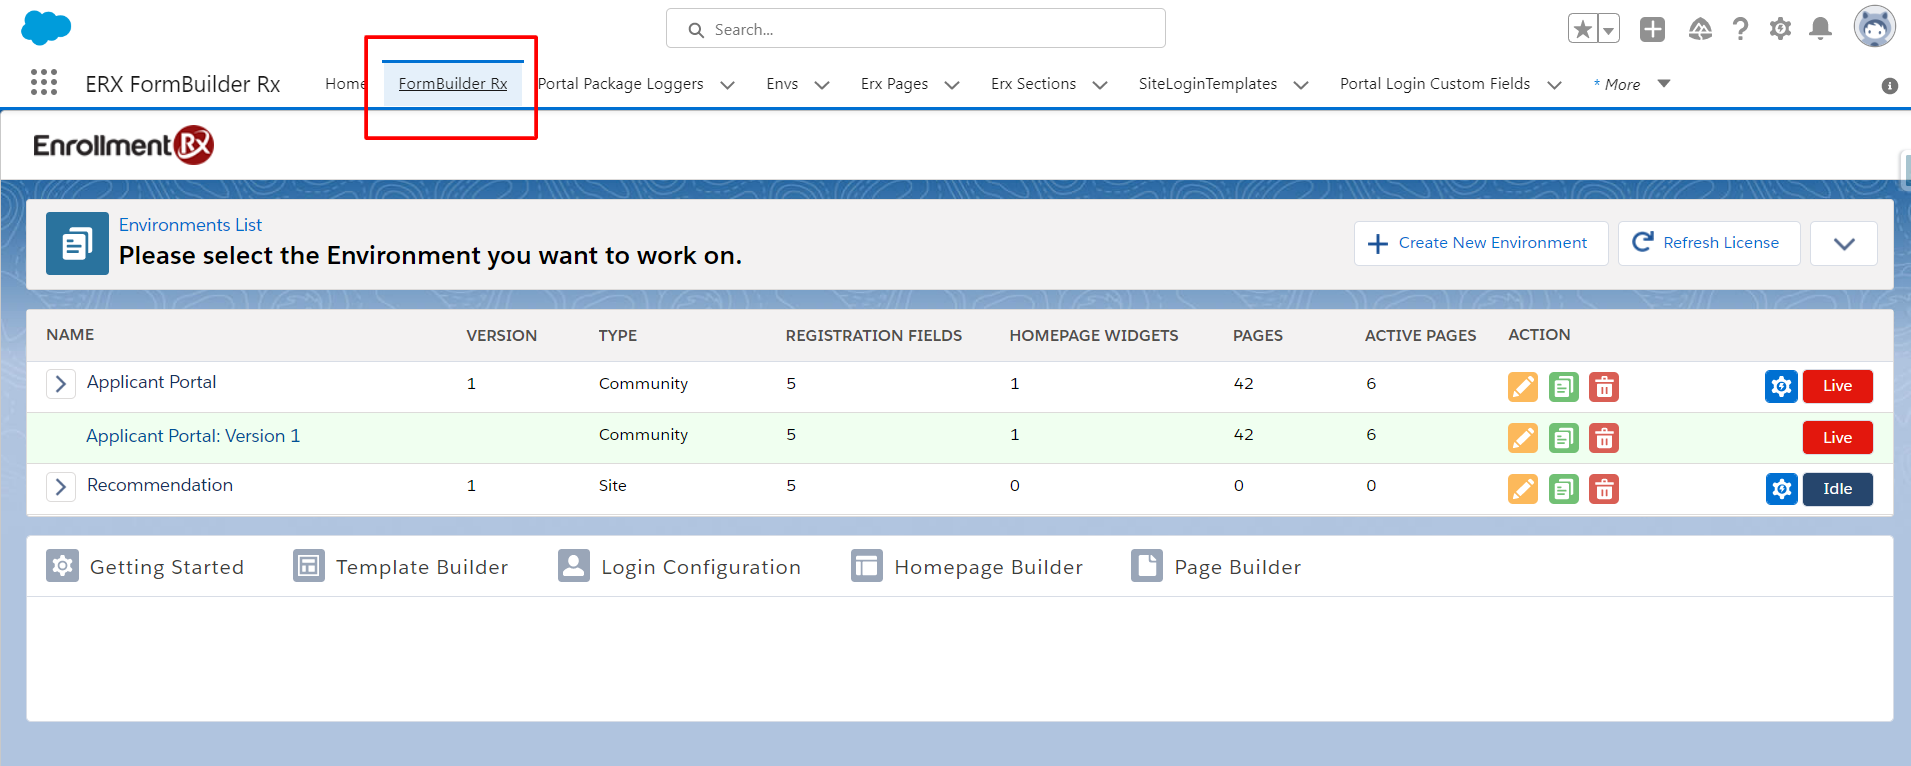
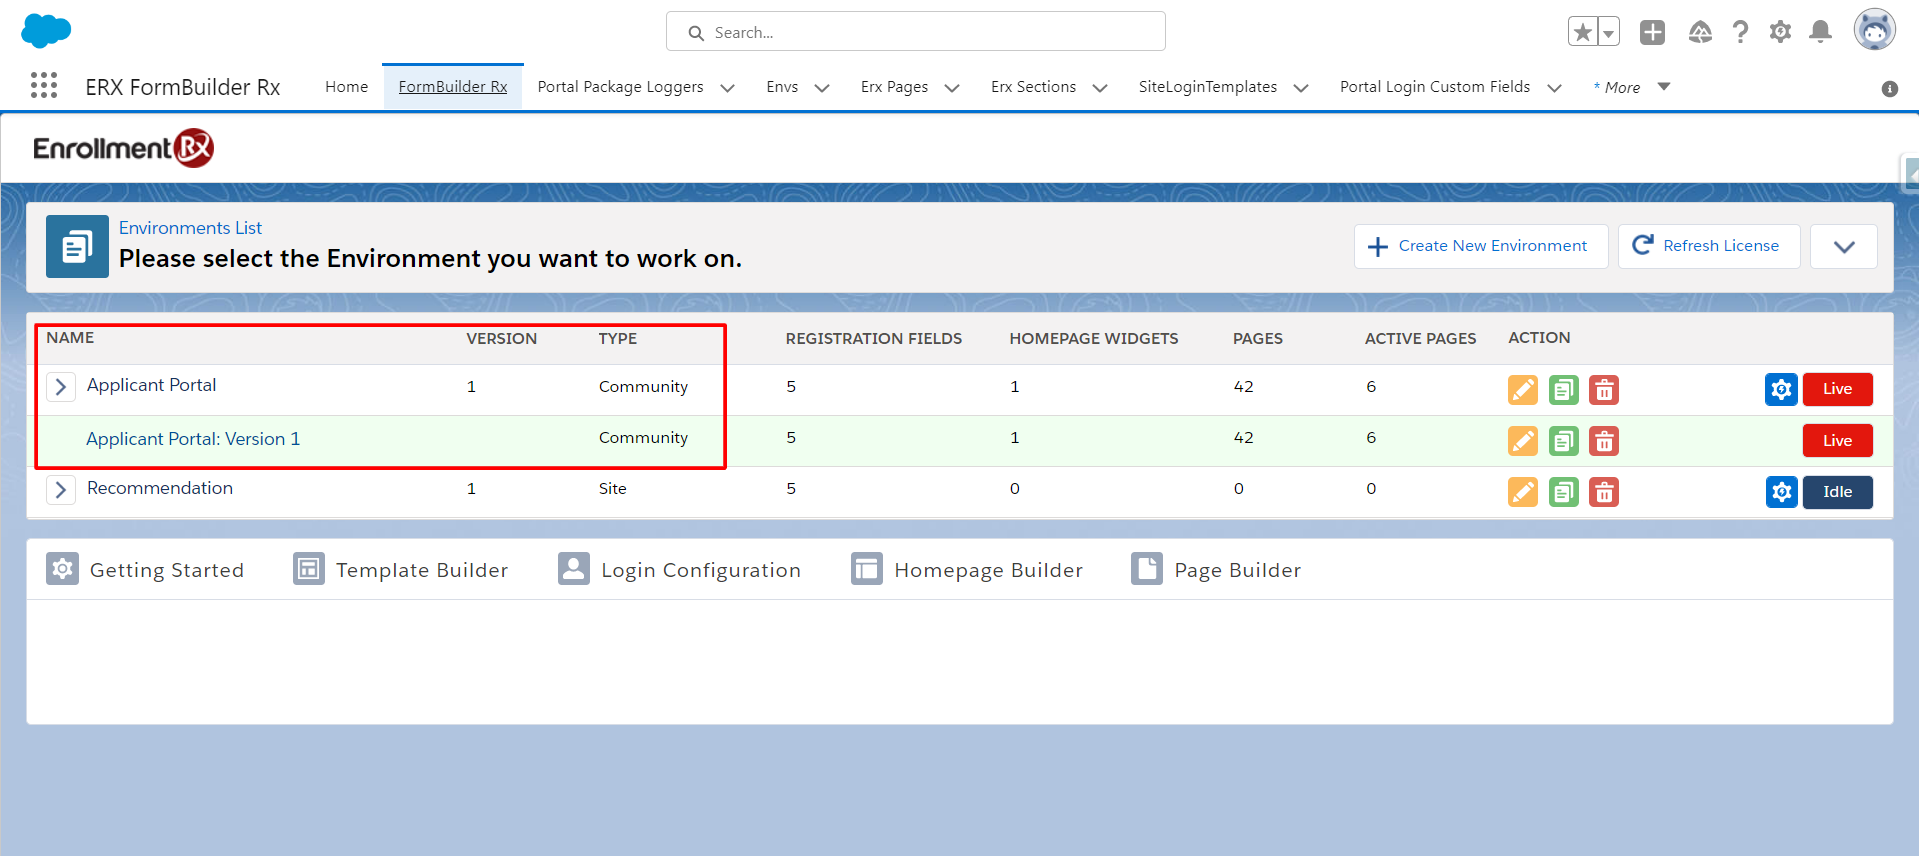
- Select your Environment and click on Page Builder
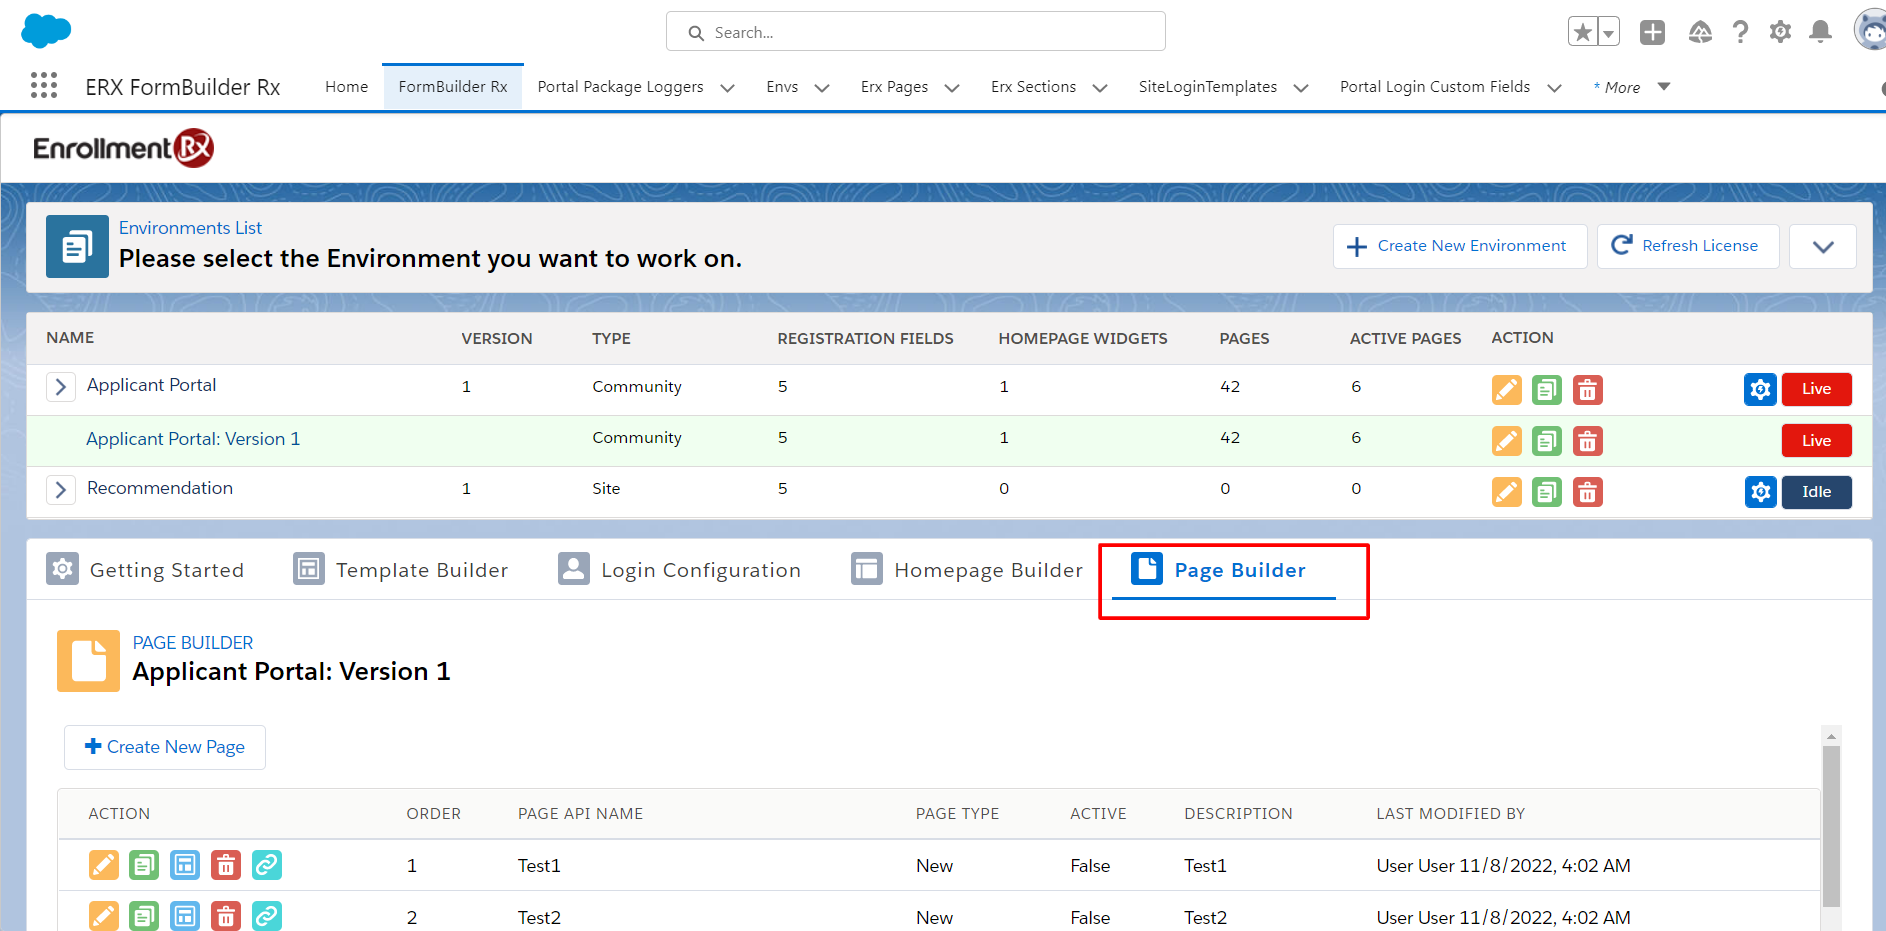
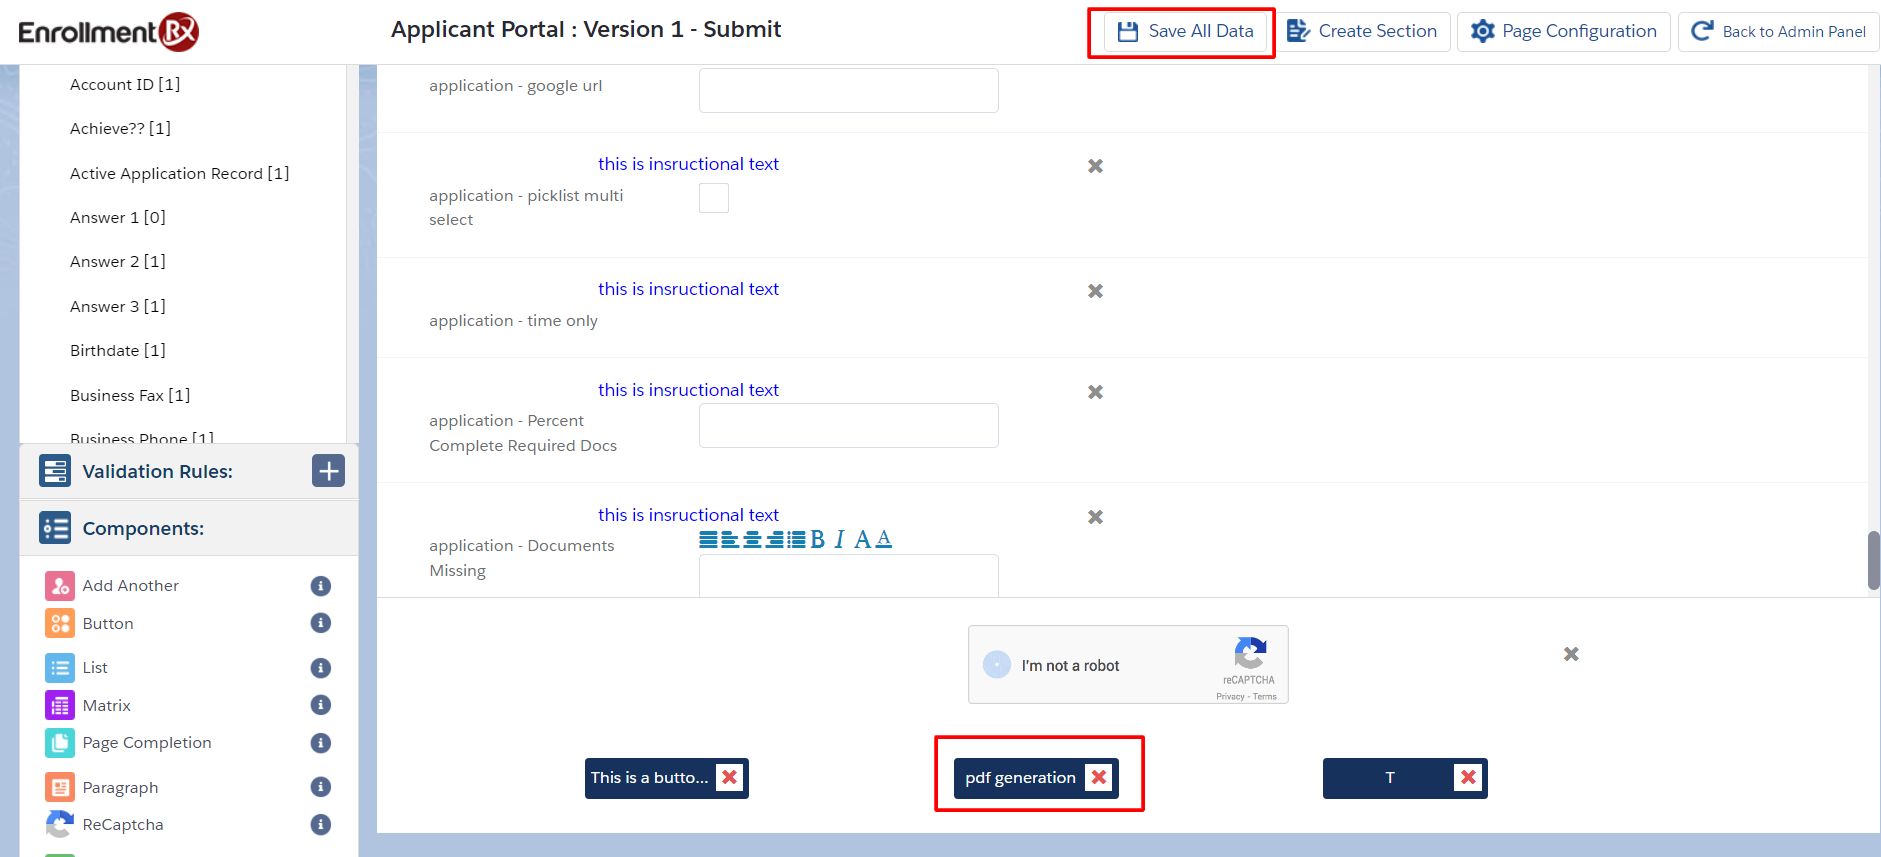
- Navigate to the page where you want to generate the PDF. Click the Edit
button, and configure the Generate PDF button.
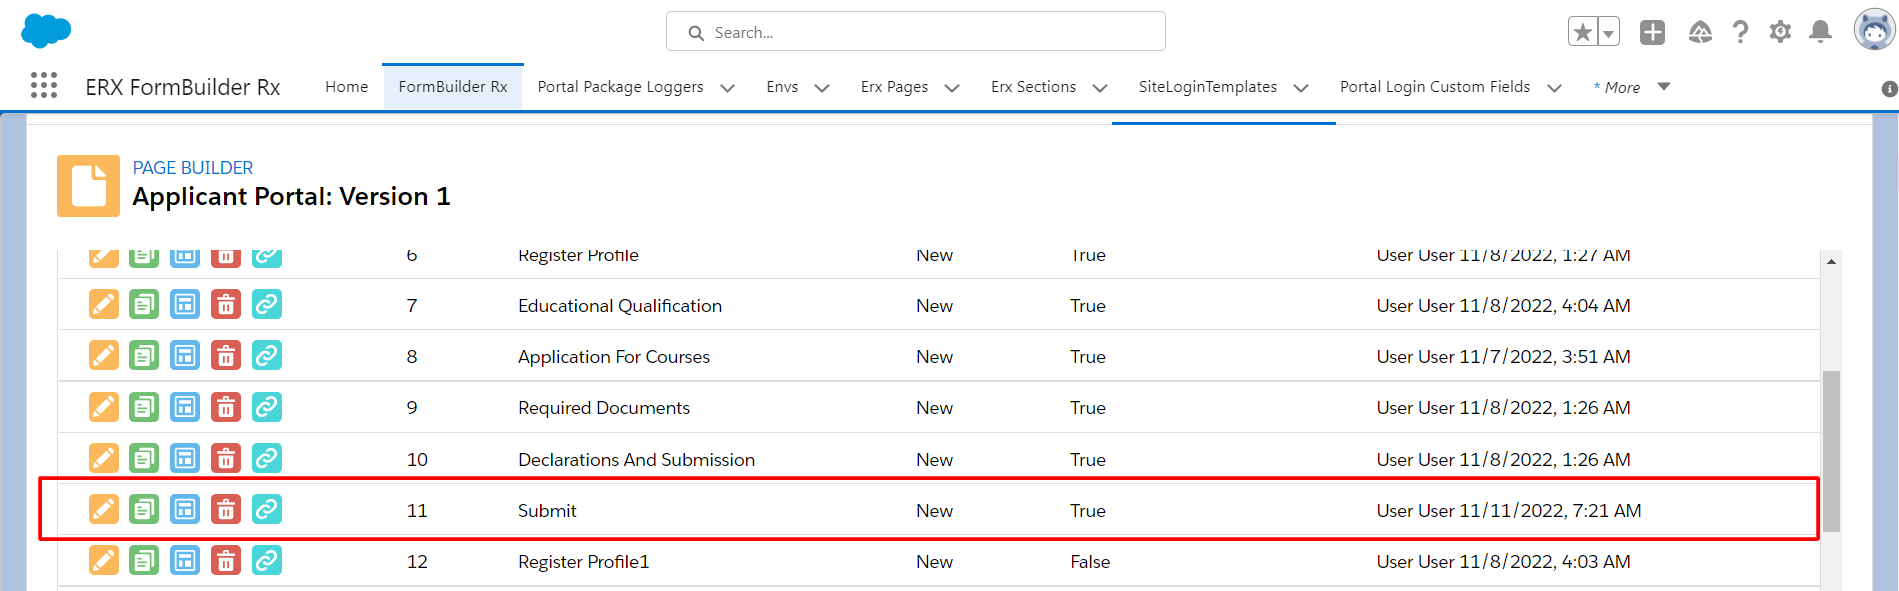
- Drag and drop a button component onto the page and double click to configure
it.
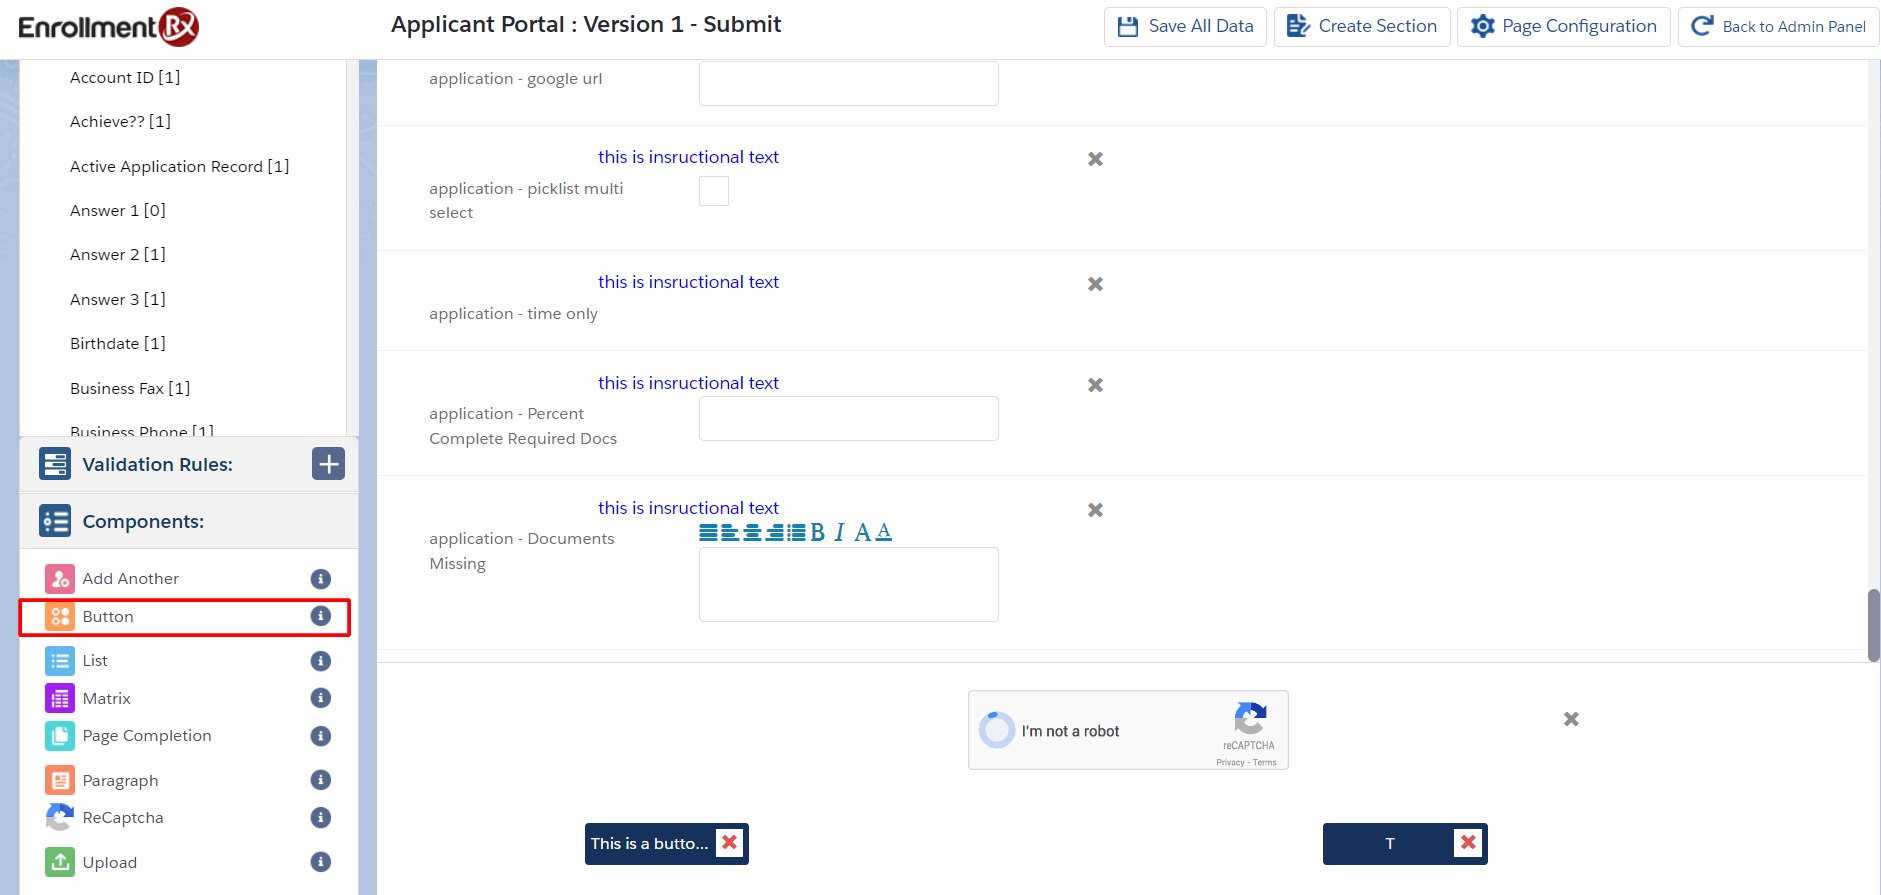
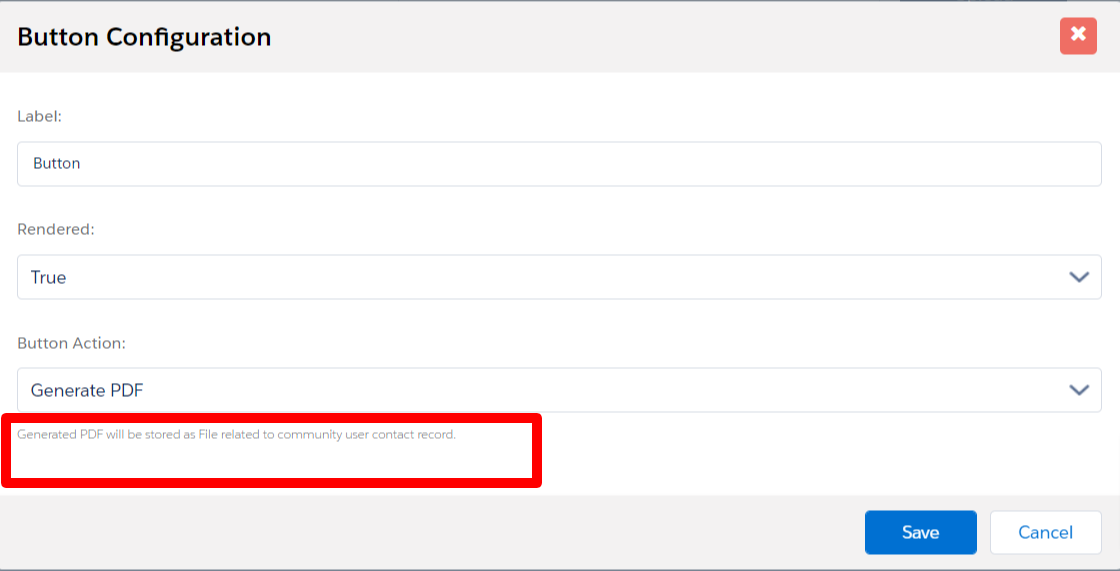
- Scroll down and select the button action Generate PDF
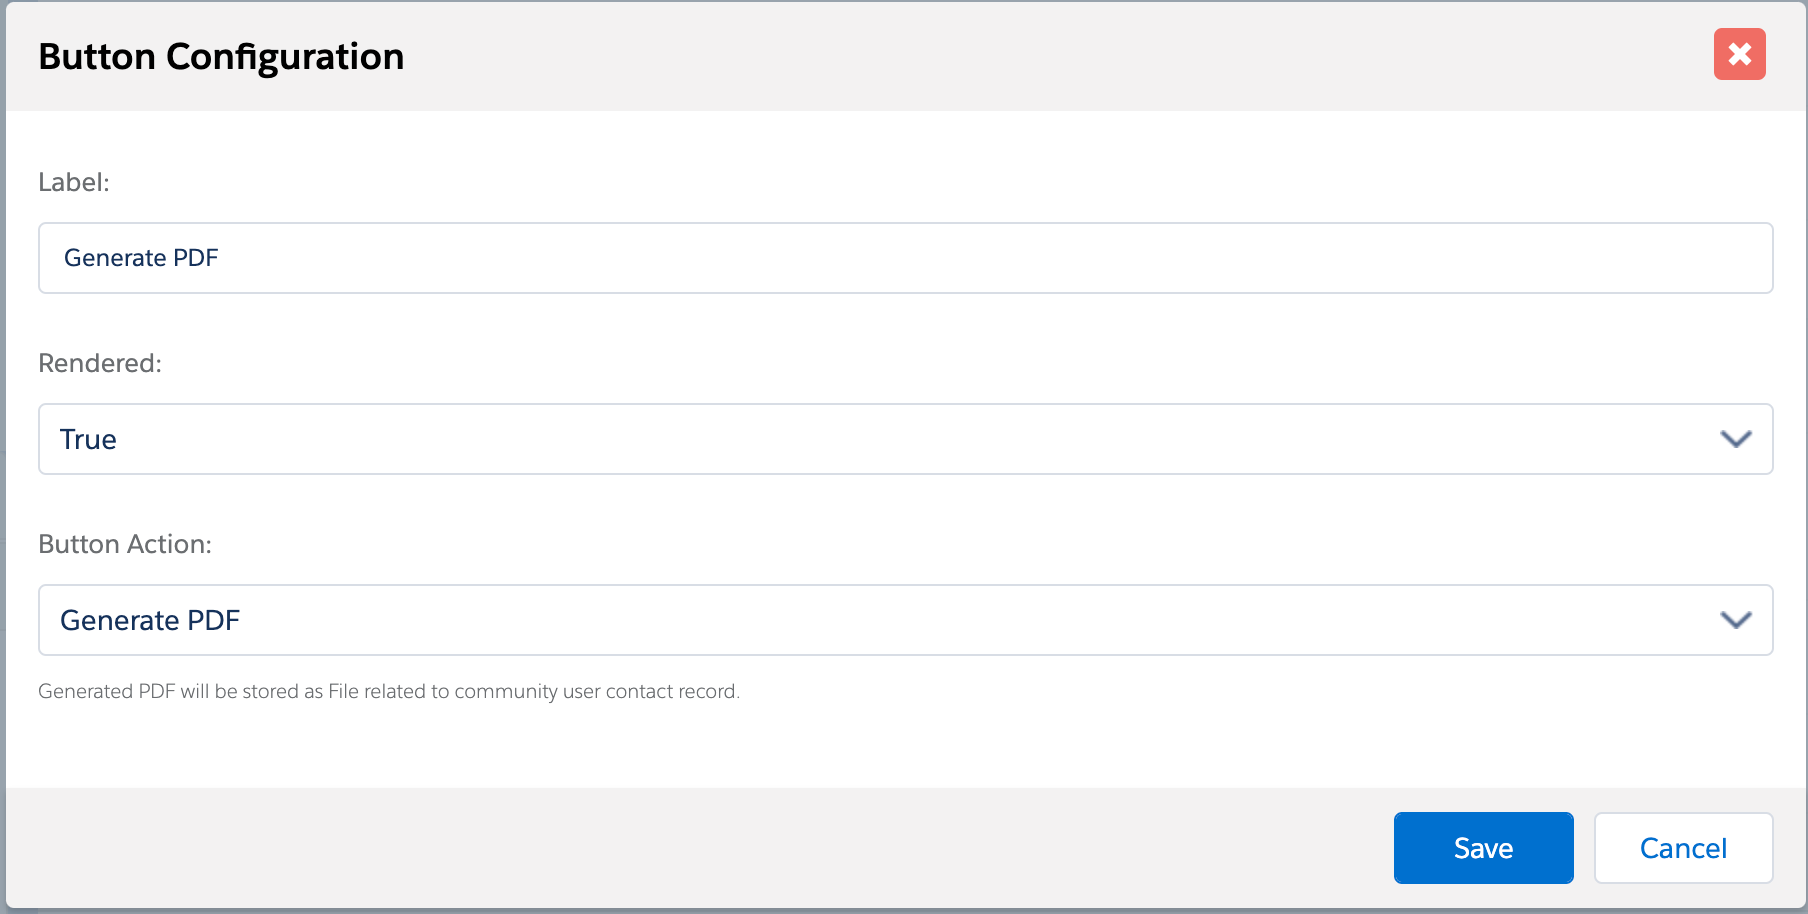
- A help text field appears for the button configuration when you select "Generate
PDF" as the Button Action.
- After adding a Label for the button, you can Save the configuration
settings.
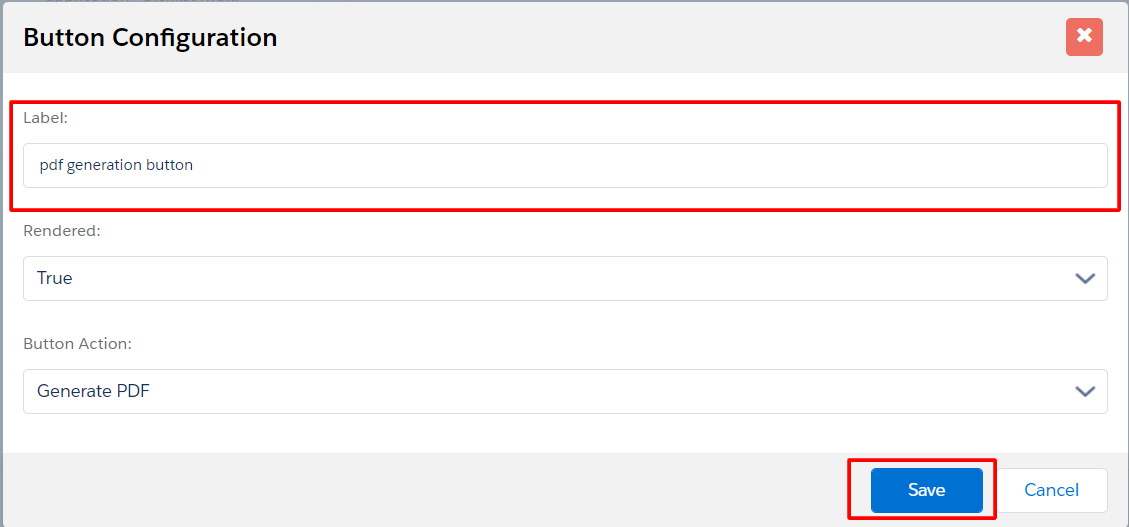
- After that, click Save All Data to save the page configuration.
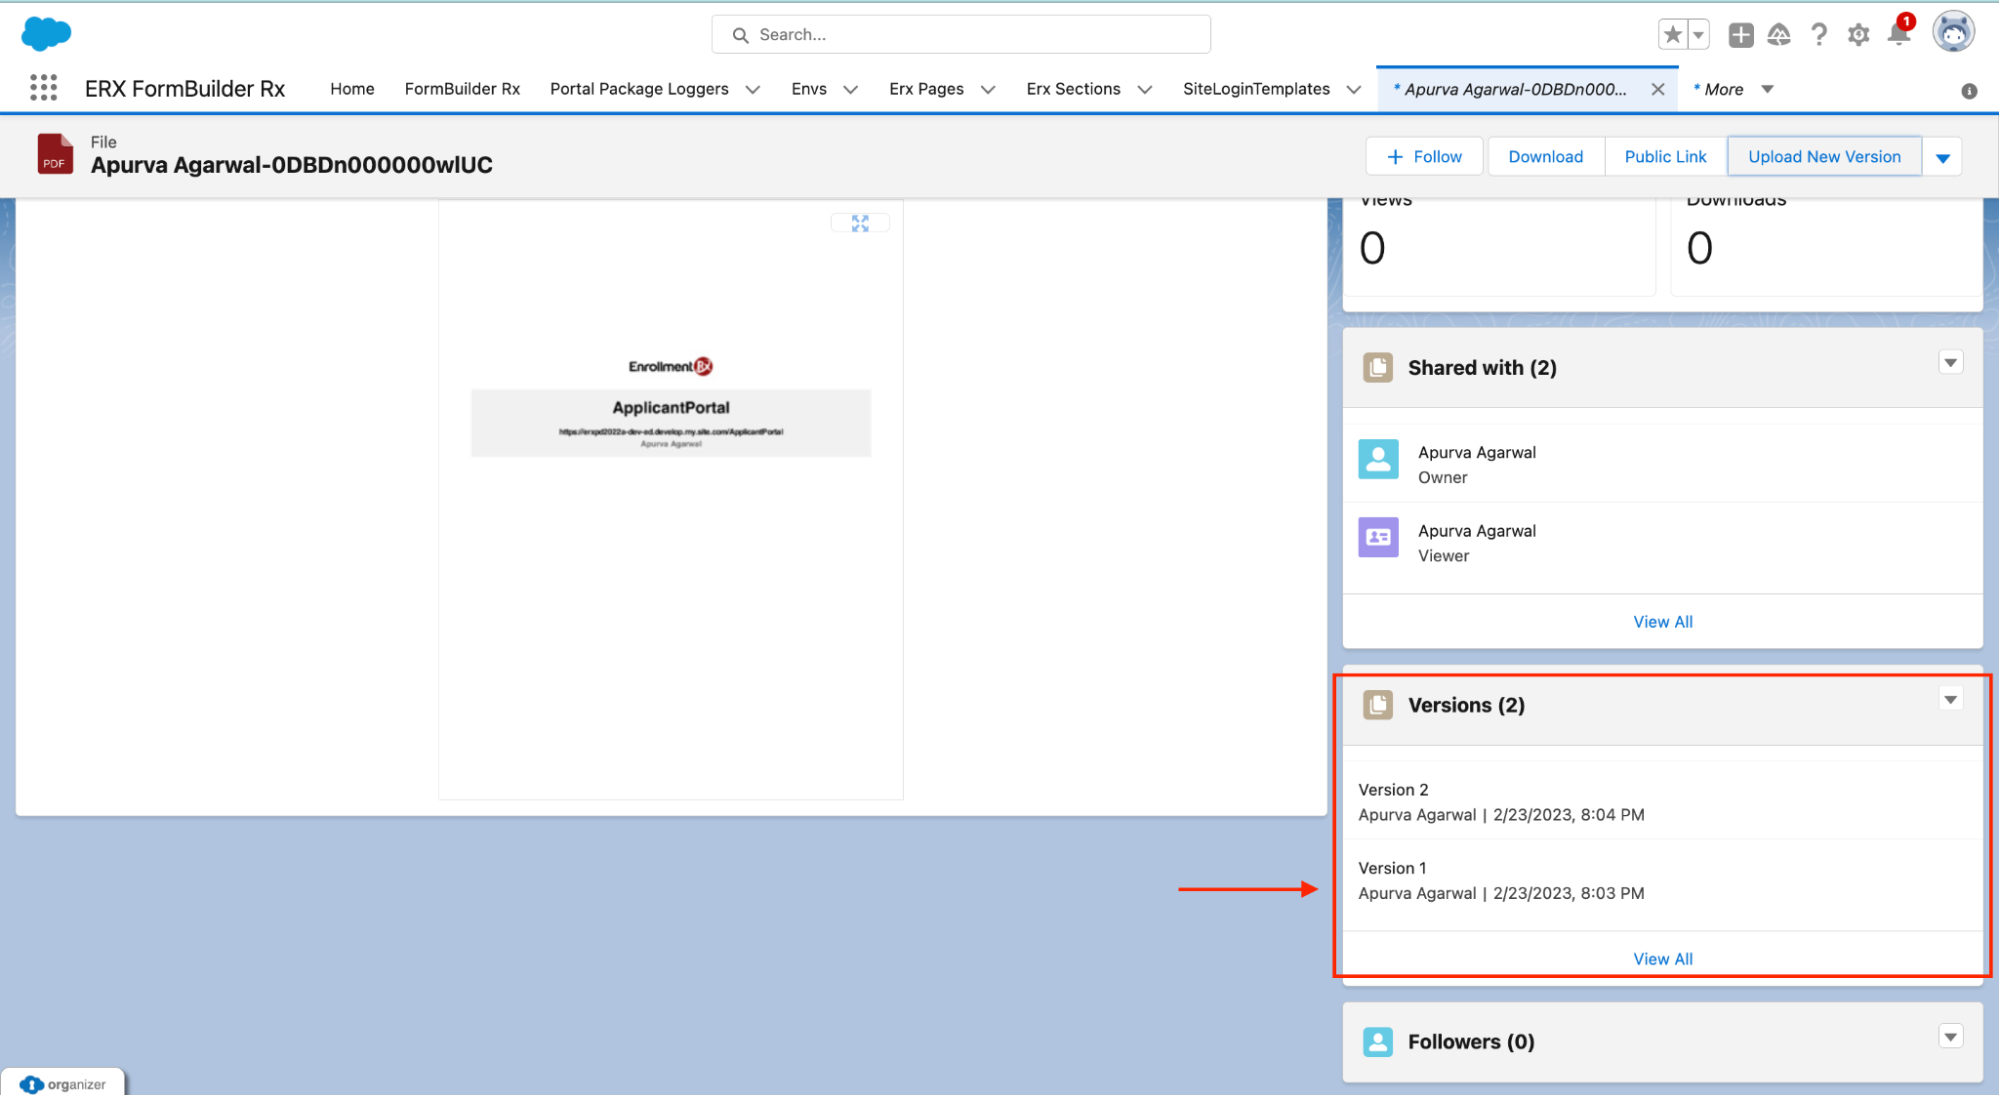
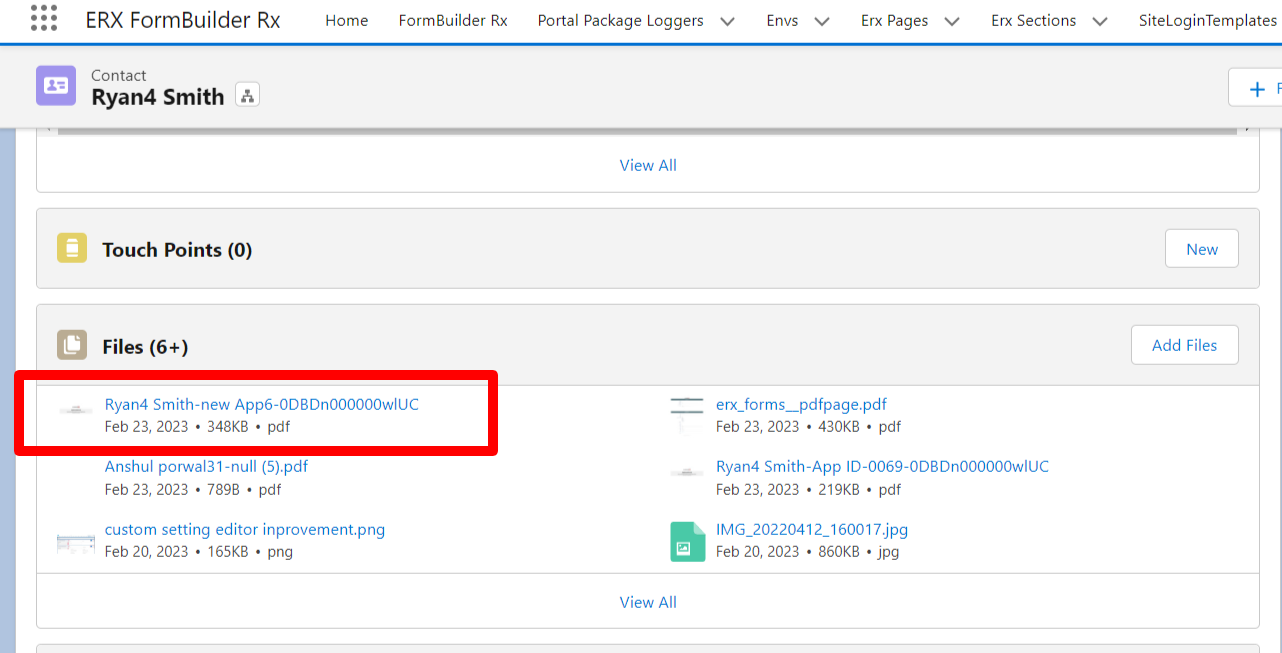
- The generated PDF will attach to the Community User's Contact record under the
"Files" related list. The name of the file will follow this format:
Username + Application ID + the Network ID of the
Community.
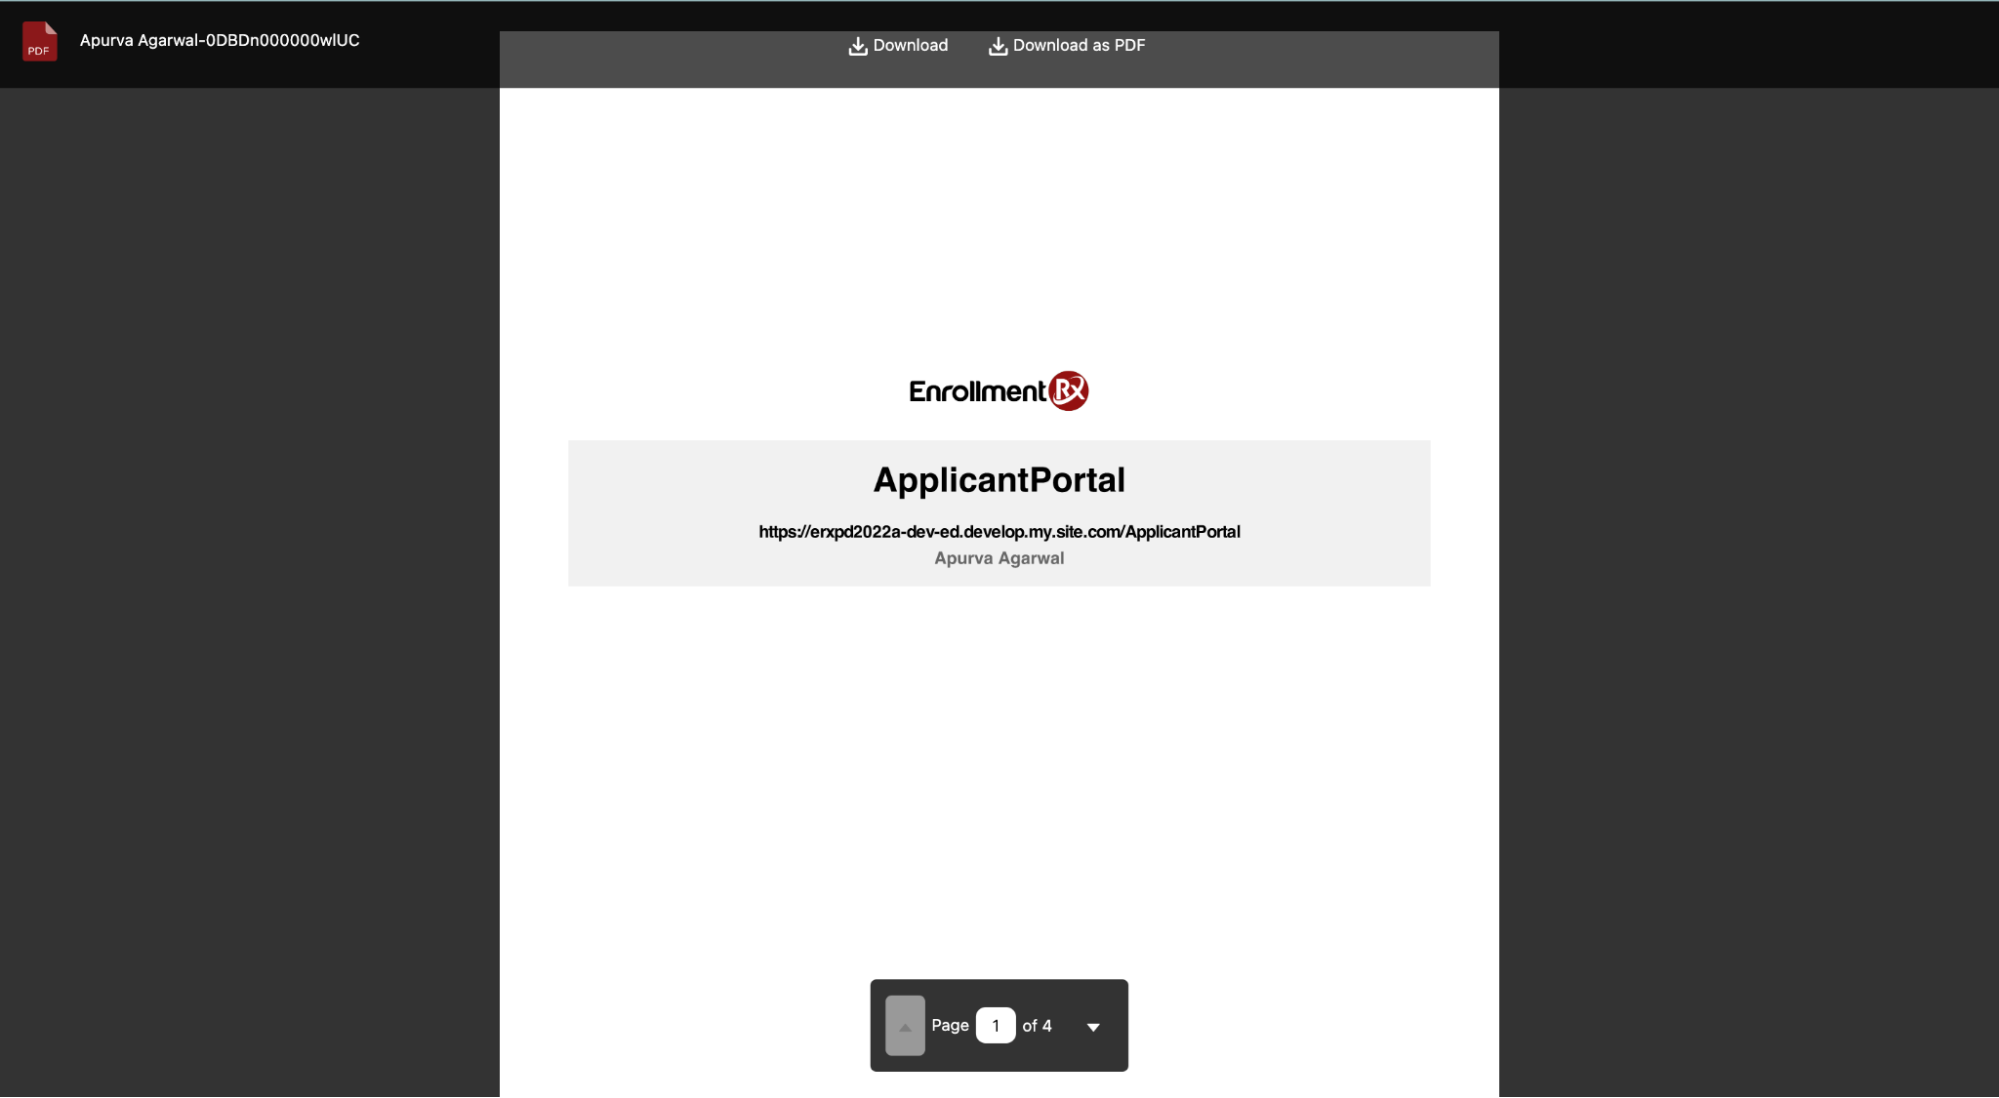
- The first page of the generated PDF will always follow a format, for example:
- Community Name as the heading
- Community URL as the subheading
- Contact Name
- Active Application

- During PDF generation, the PDF will open in the same tab where the process started, and the user will stay in the same tab.
Note:
Generated PDF pages are sorted by page order.
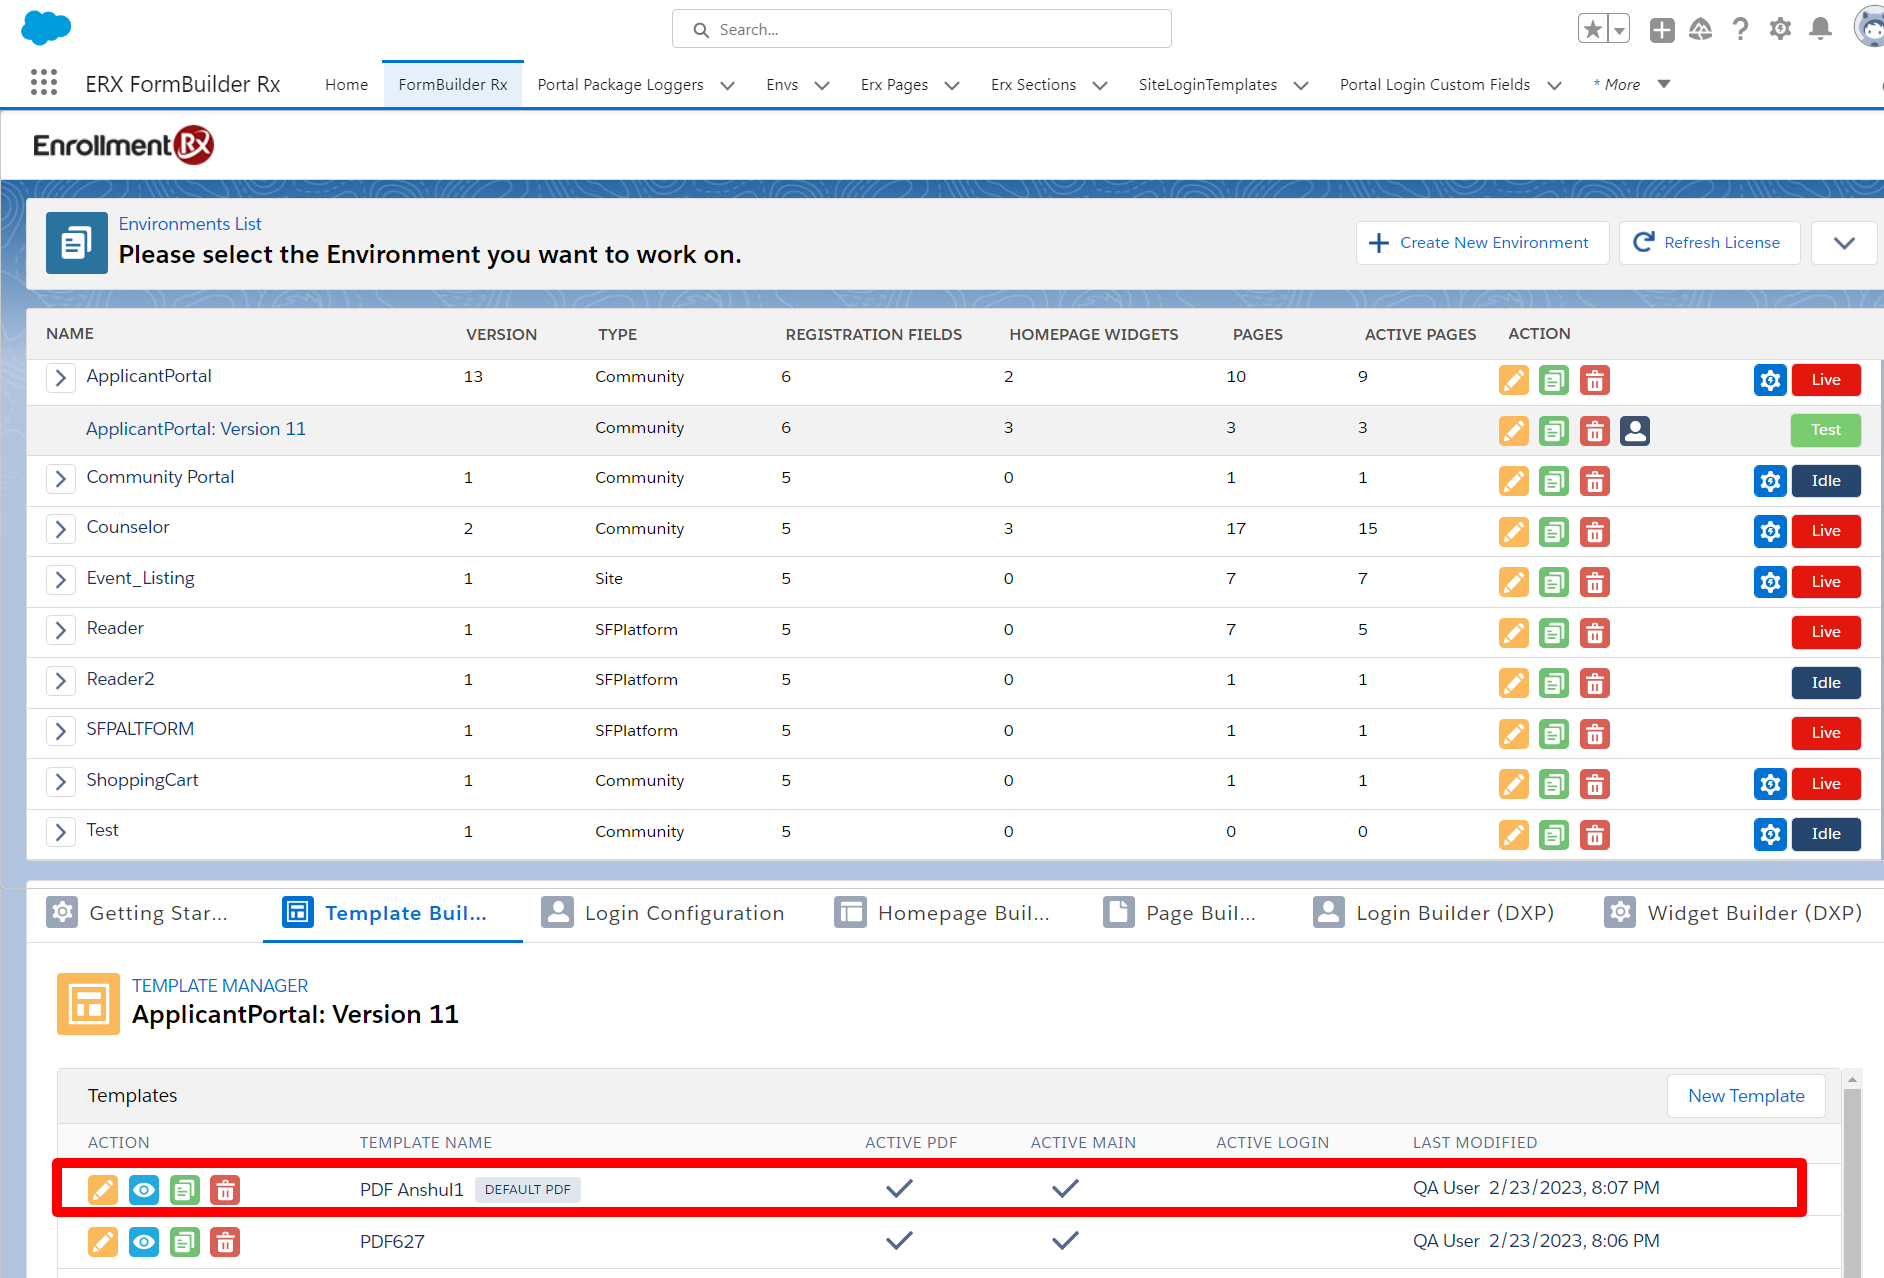
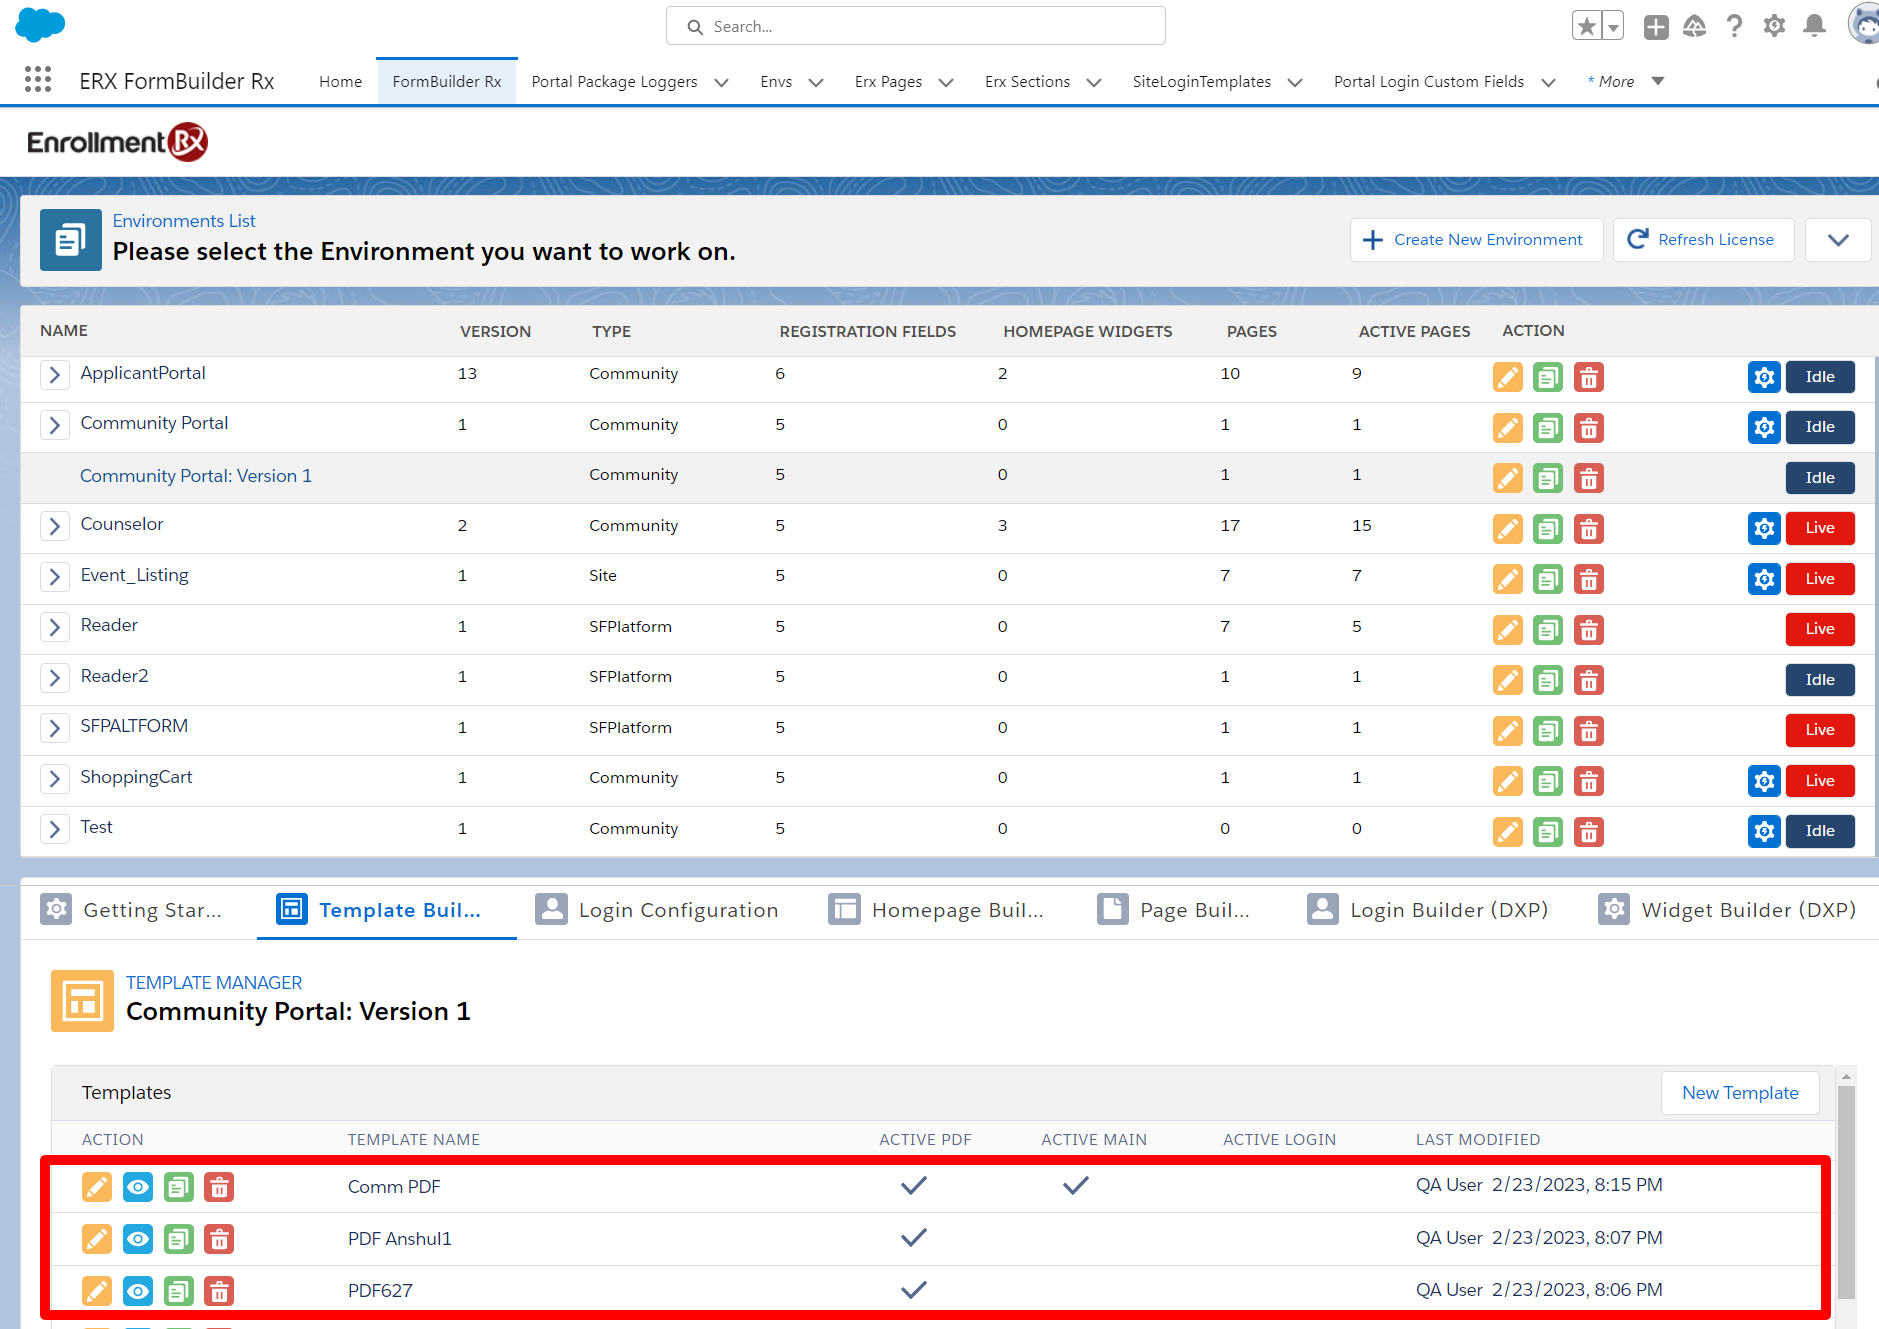
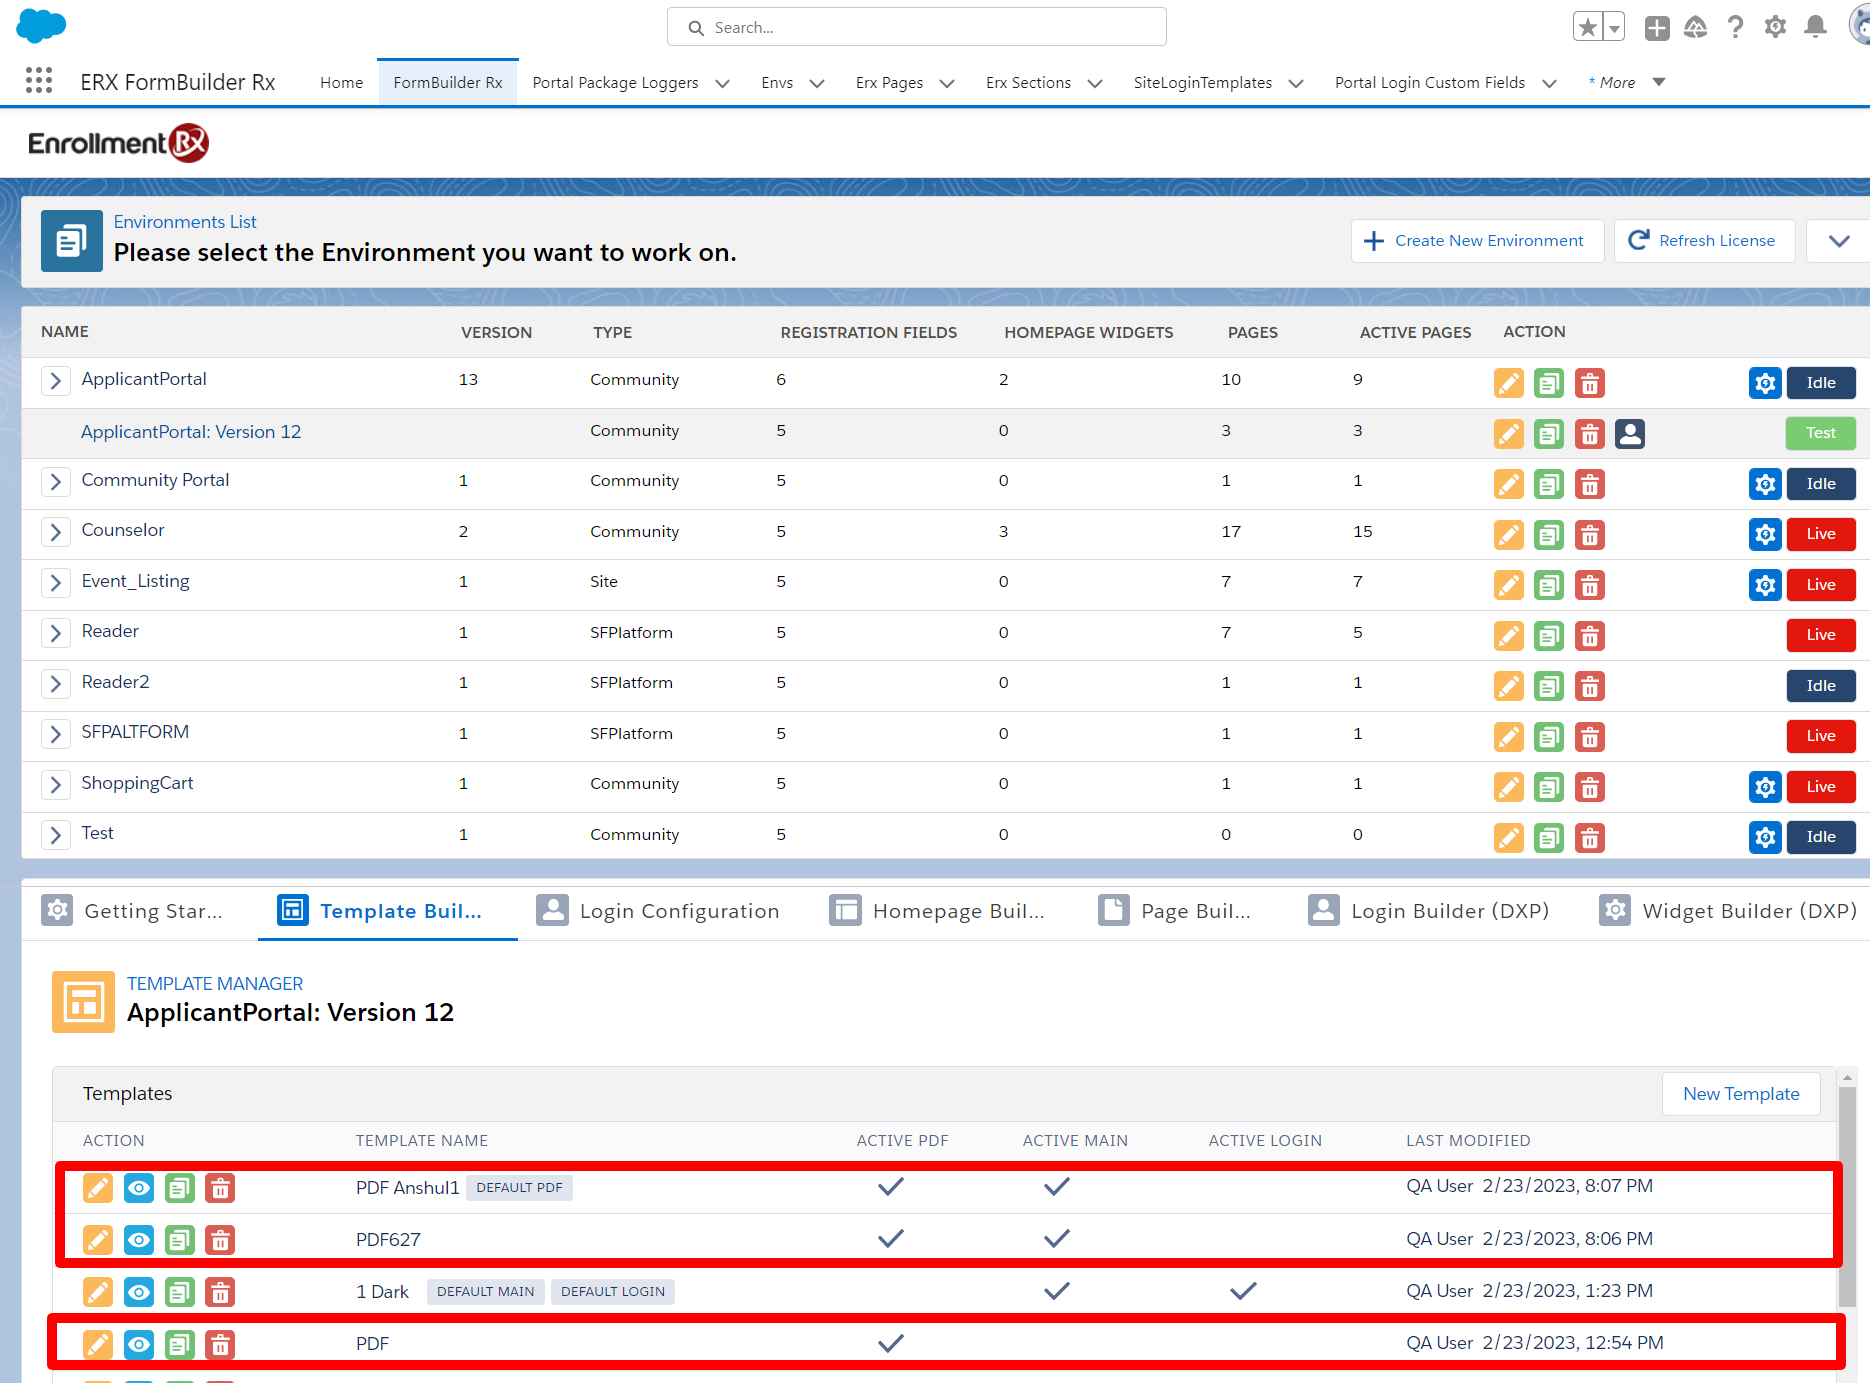
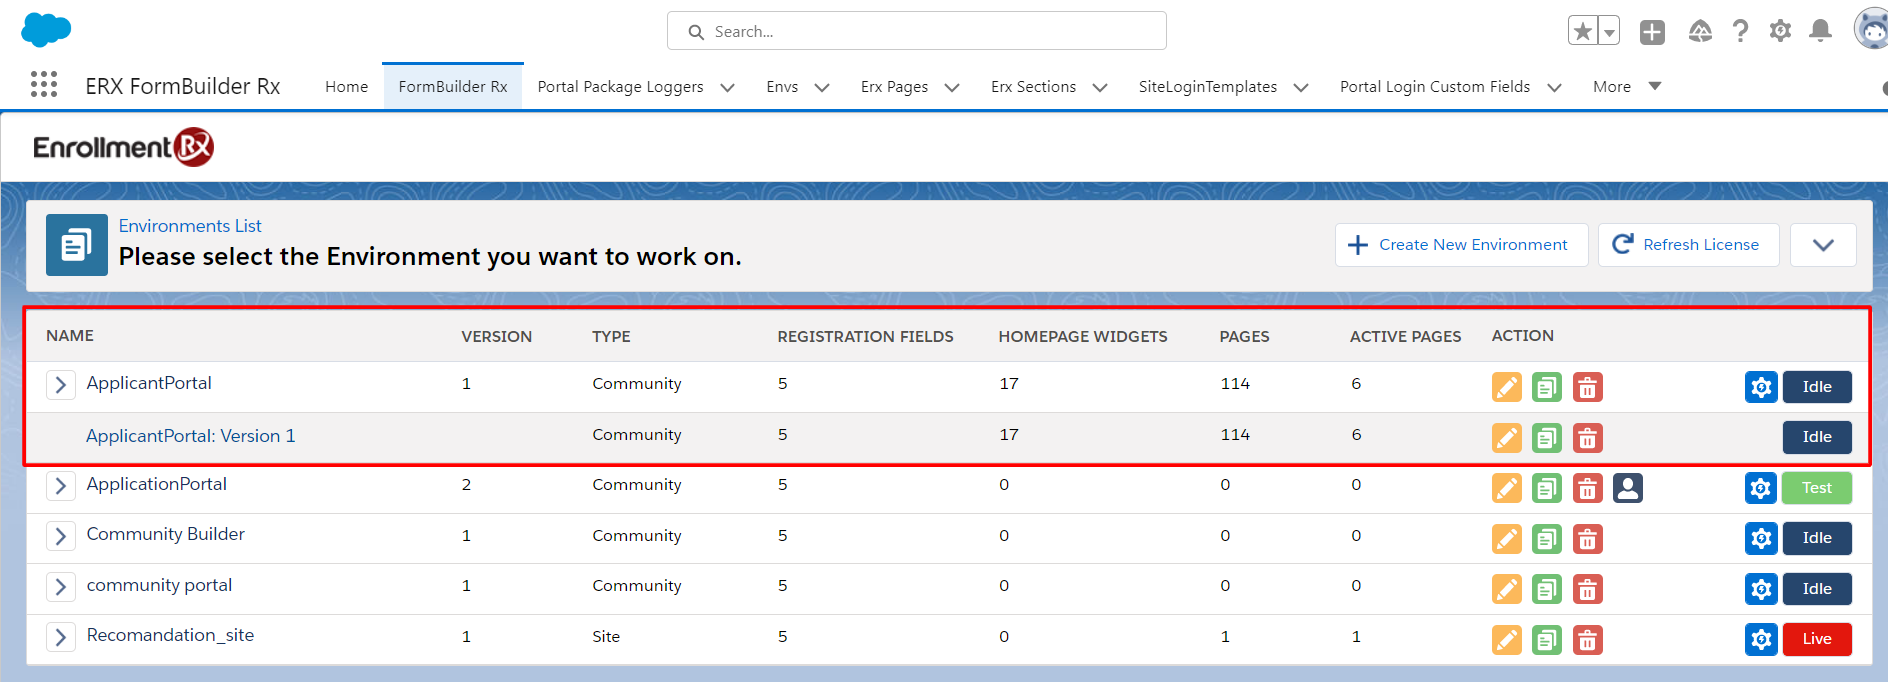
Configure the Template for PDF Generation
- Navigate to ERX FormBuilder Rx from the App Launcher
- Click on the FormBuilder Rx tab
- Select your Environment, click on the Template Builder tab, and click the
New Template button
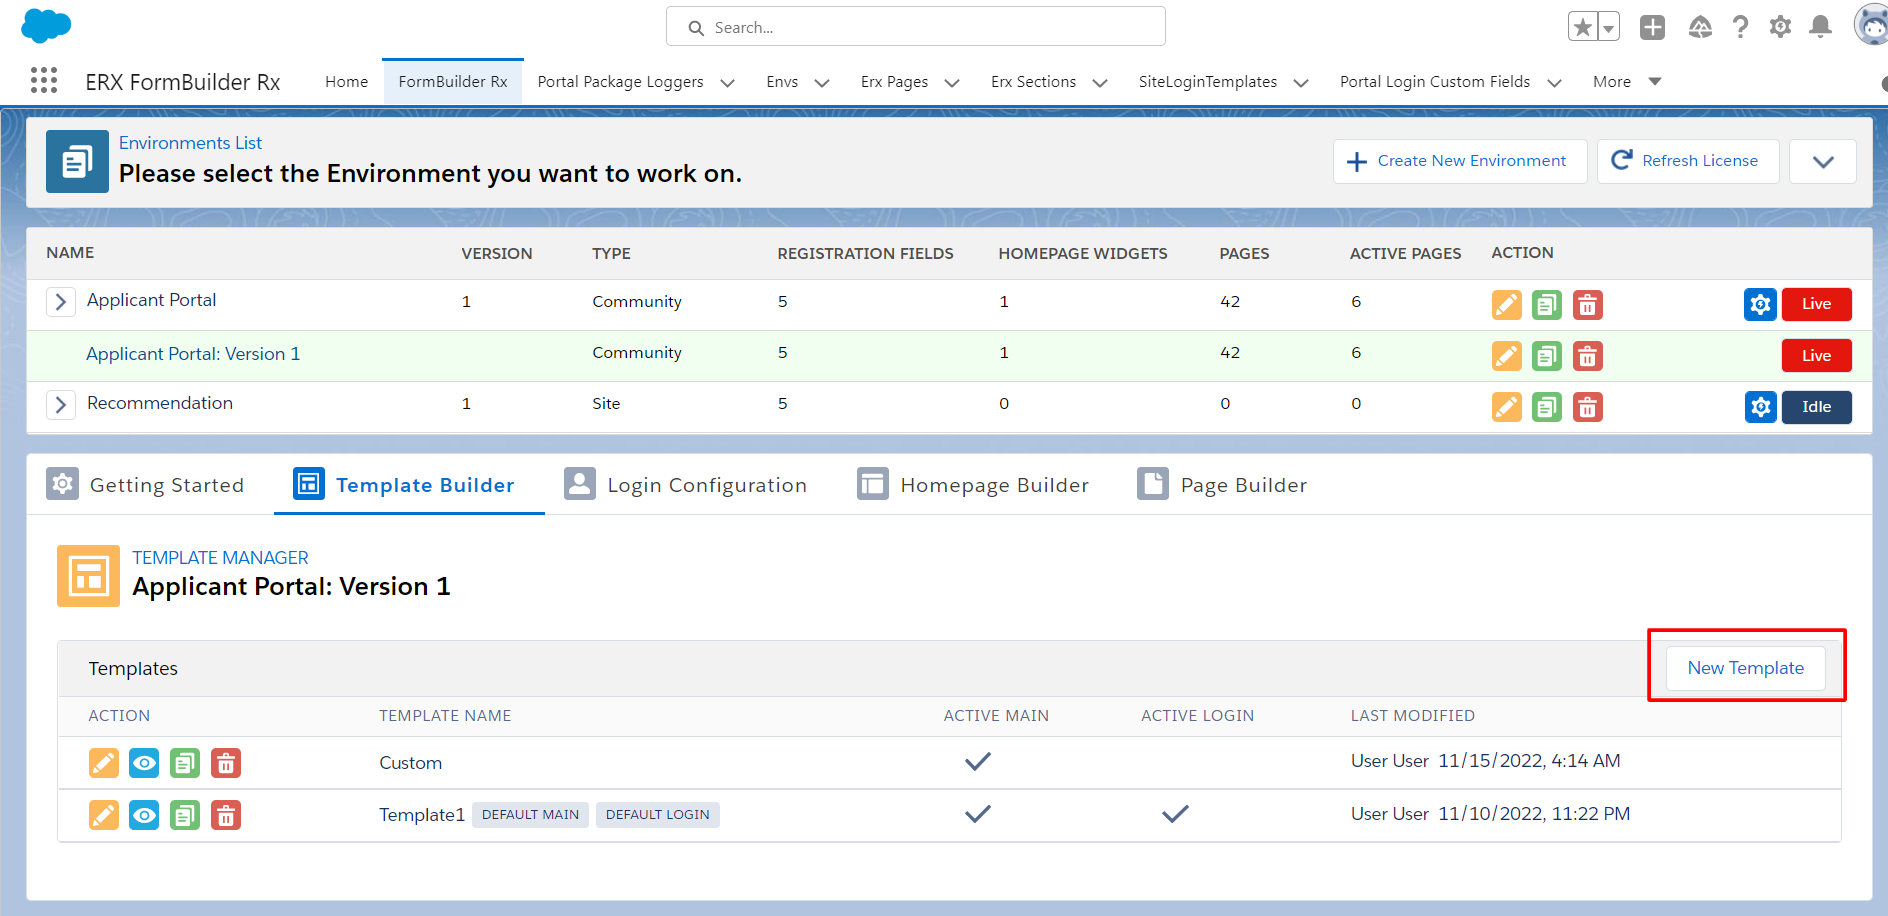
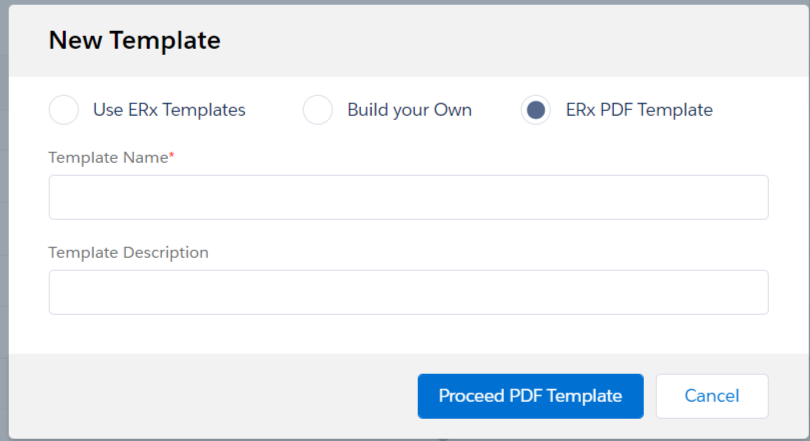
- In the New Template popup, you'll see three options. Select
ERx PDF Template and click on Proceed PDF
Template
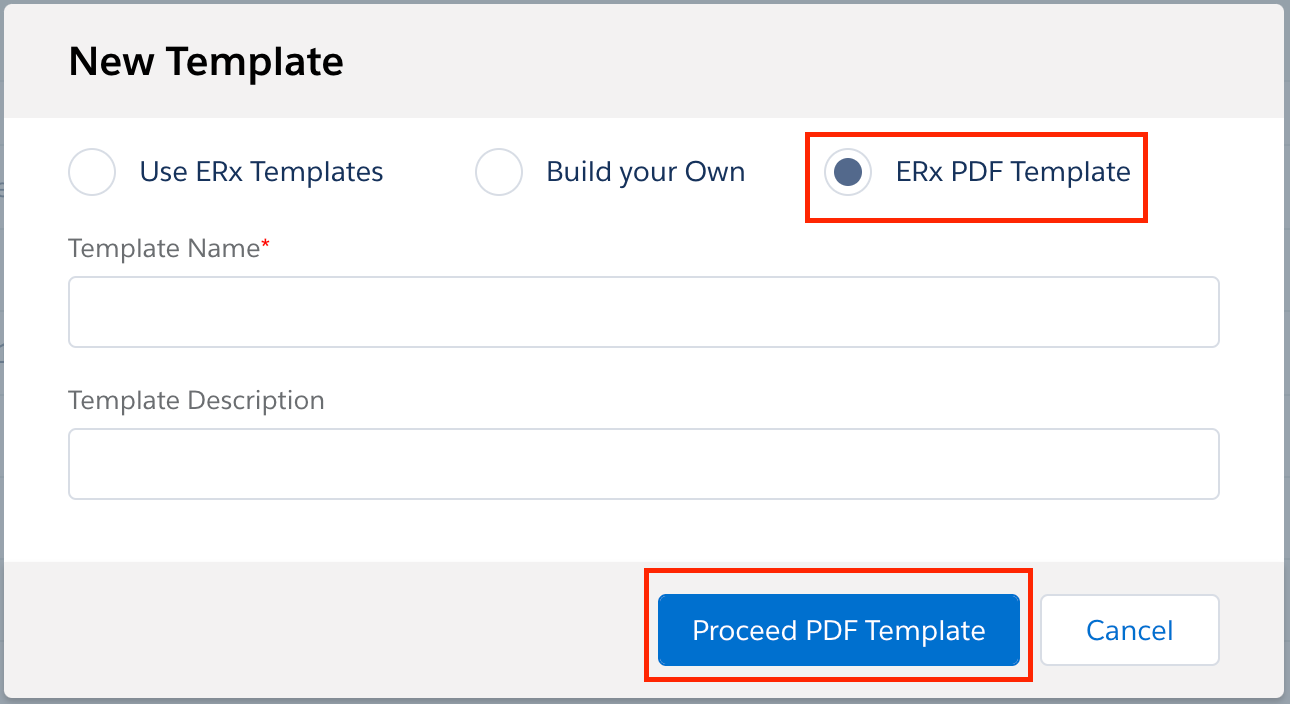
- A new template will be created for PDF generation in the Templates
list
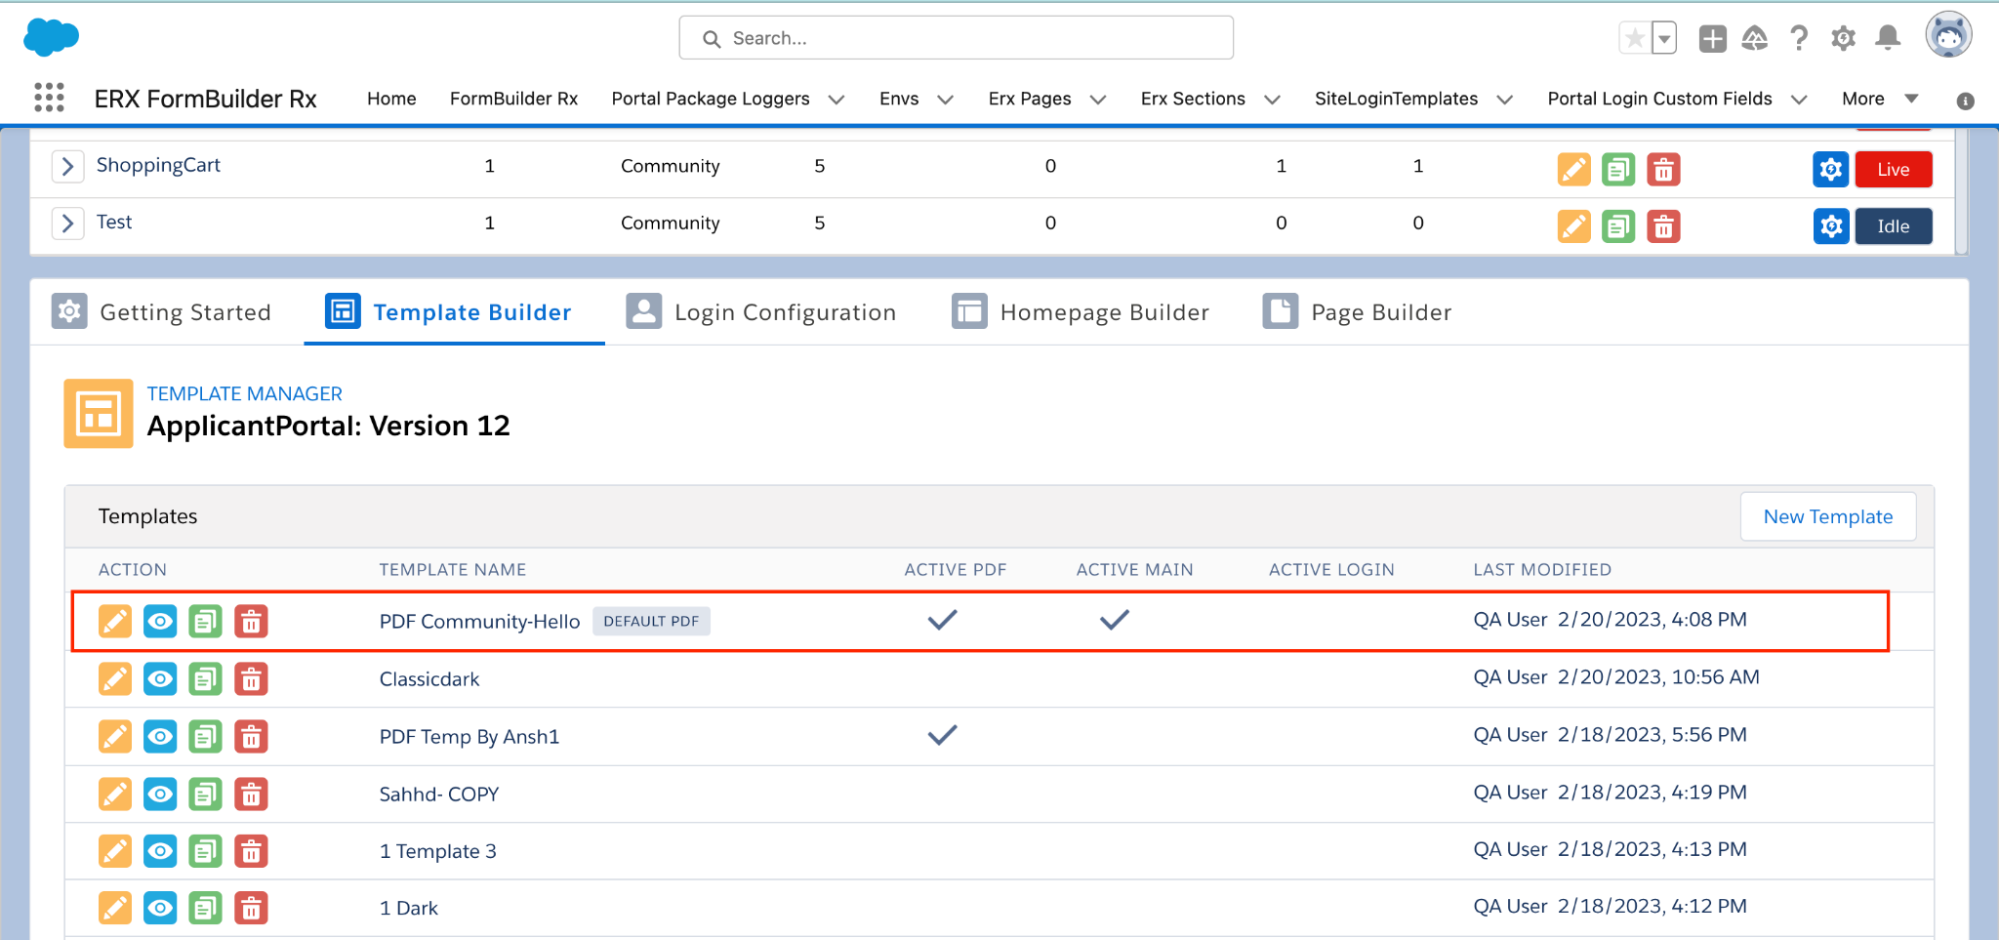
Notes on 'Active' and 'Default' Templates
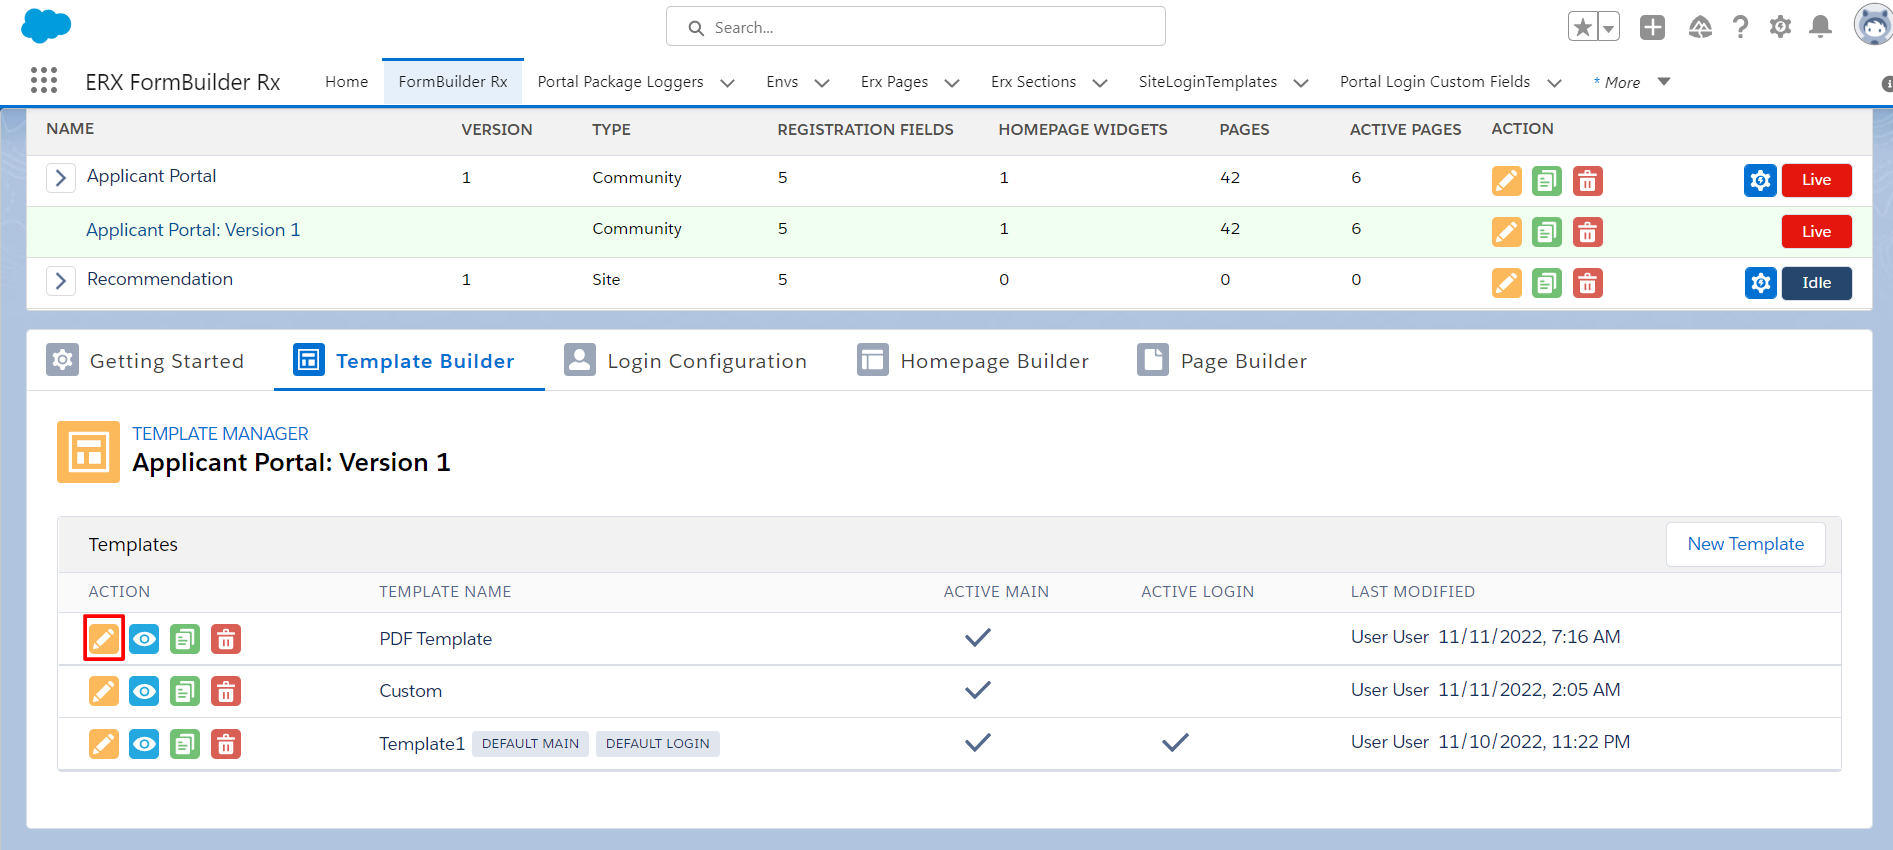
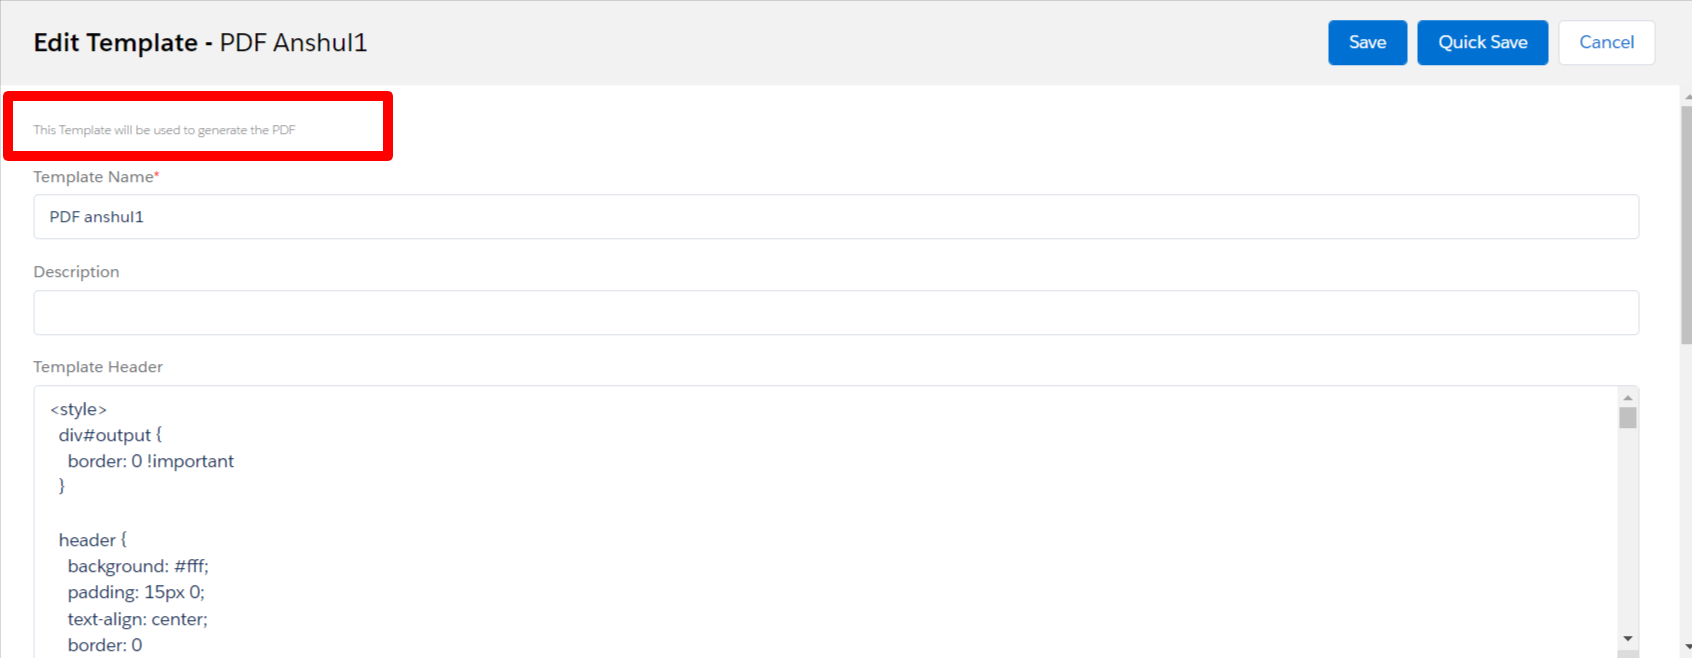
- Click the Edit button on the PDF template
- On the Template Manager screen, checkboxes show all PDFs that are
active
- A required field labeled "Template Name" is available while selecting an ERx PDF
Template
- When you edit the PDF Template, help text appears above the Template name
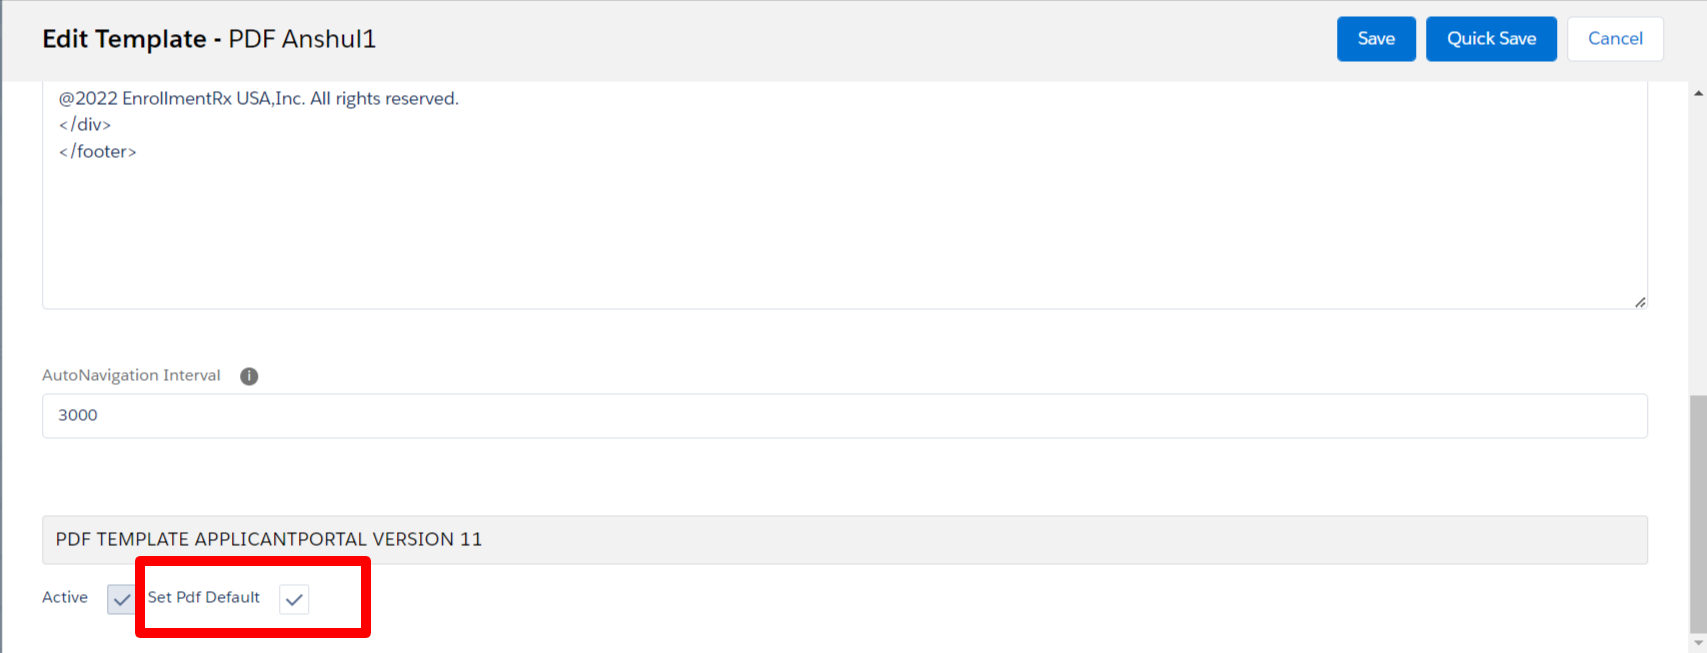
- To set a Template as the Default, scroll down and check the checkbox for "Set
Default"
- Filter logic is not available for PDF templates
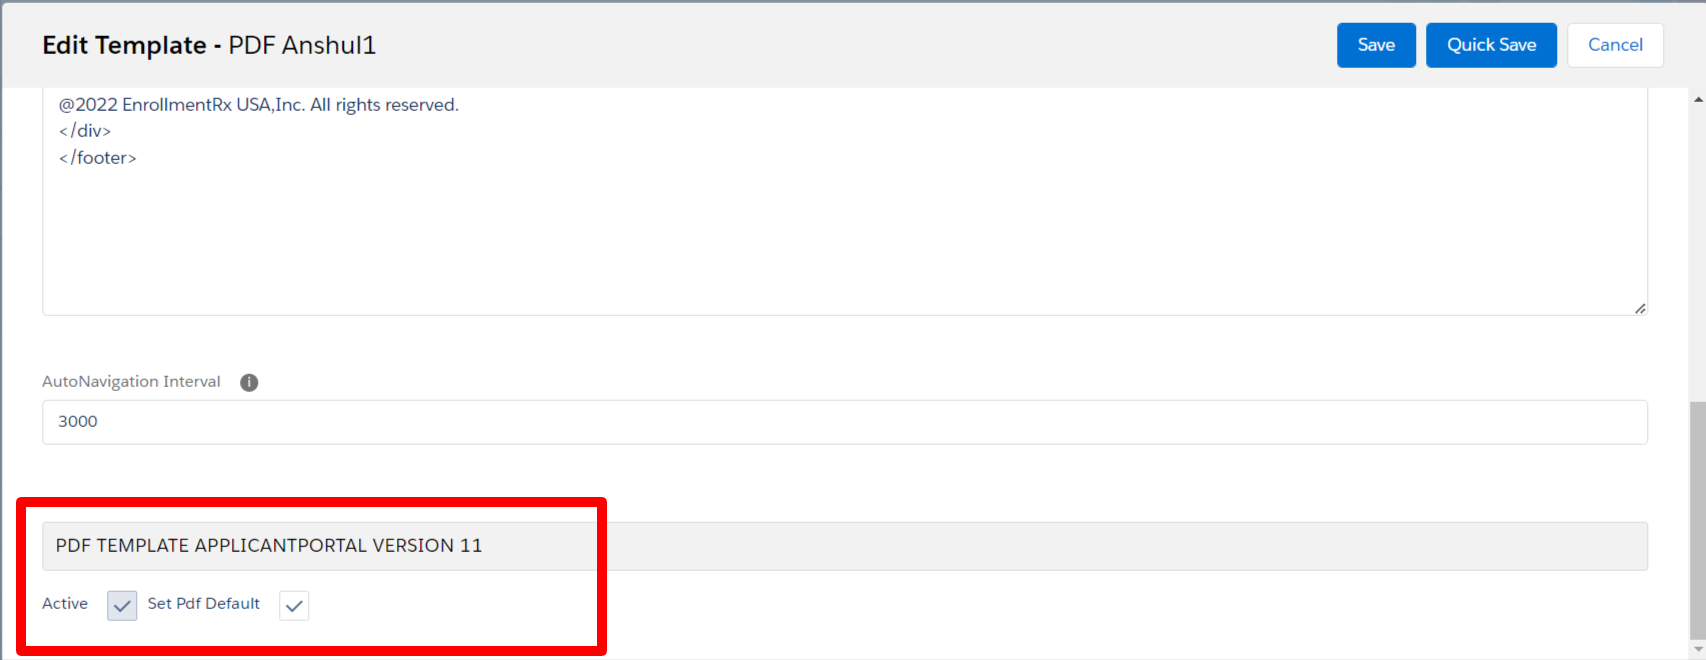
- Clicking Save will set the template as the default
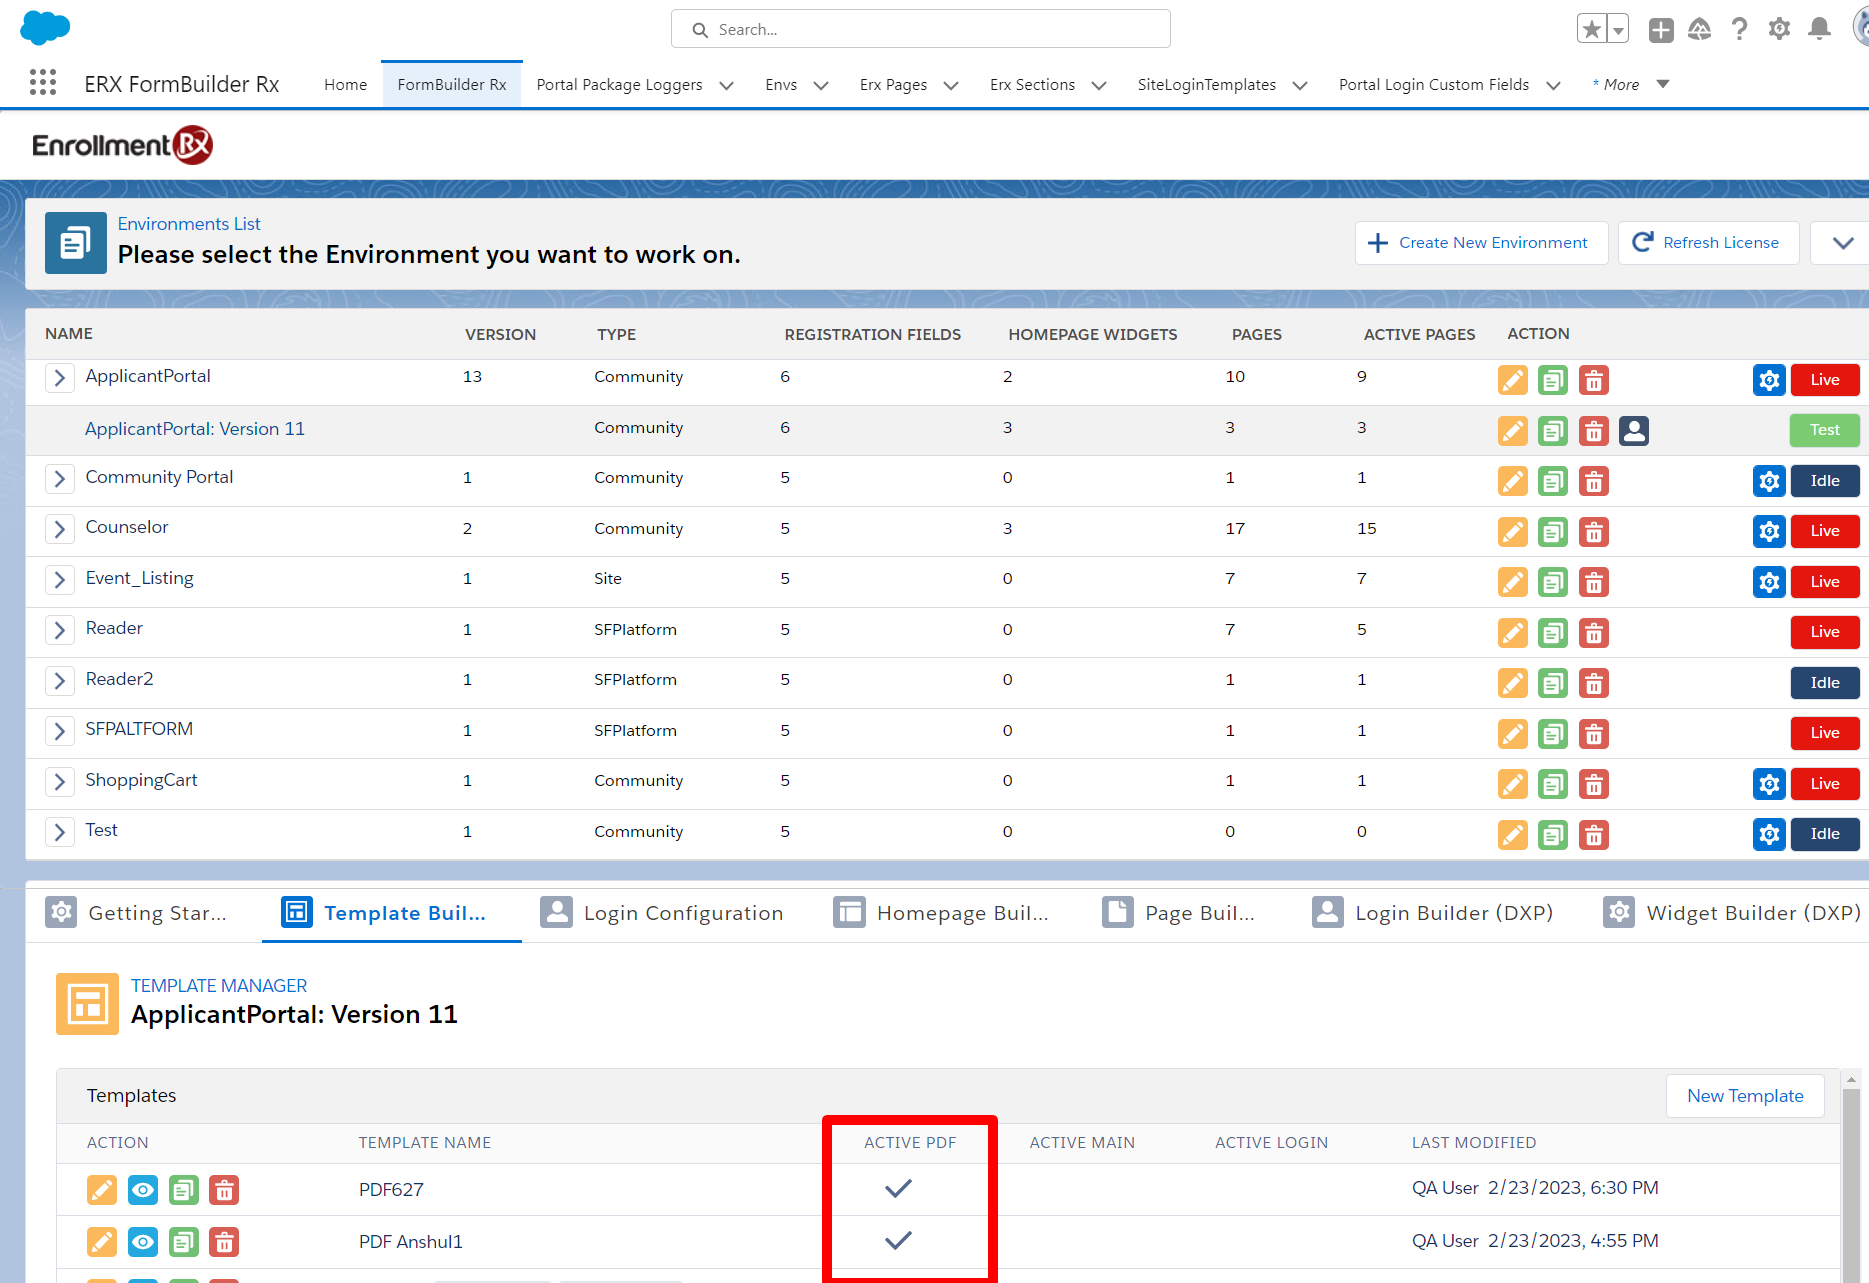
- Multiple PDF templates can be set to Active for a Community, but only one
template at a time can be used as the Default
Additional Configurations
For the AutoNavigation Interval
- Click the Edit button on the PDF template
- Scroll down to the AutoNavigation Interval field
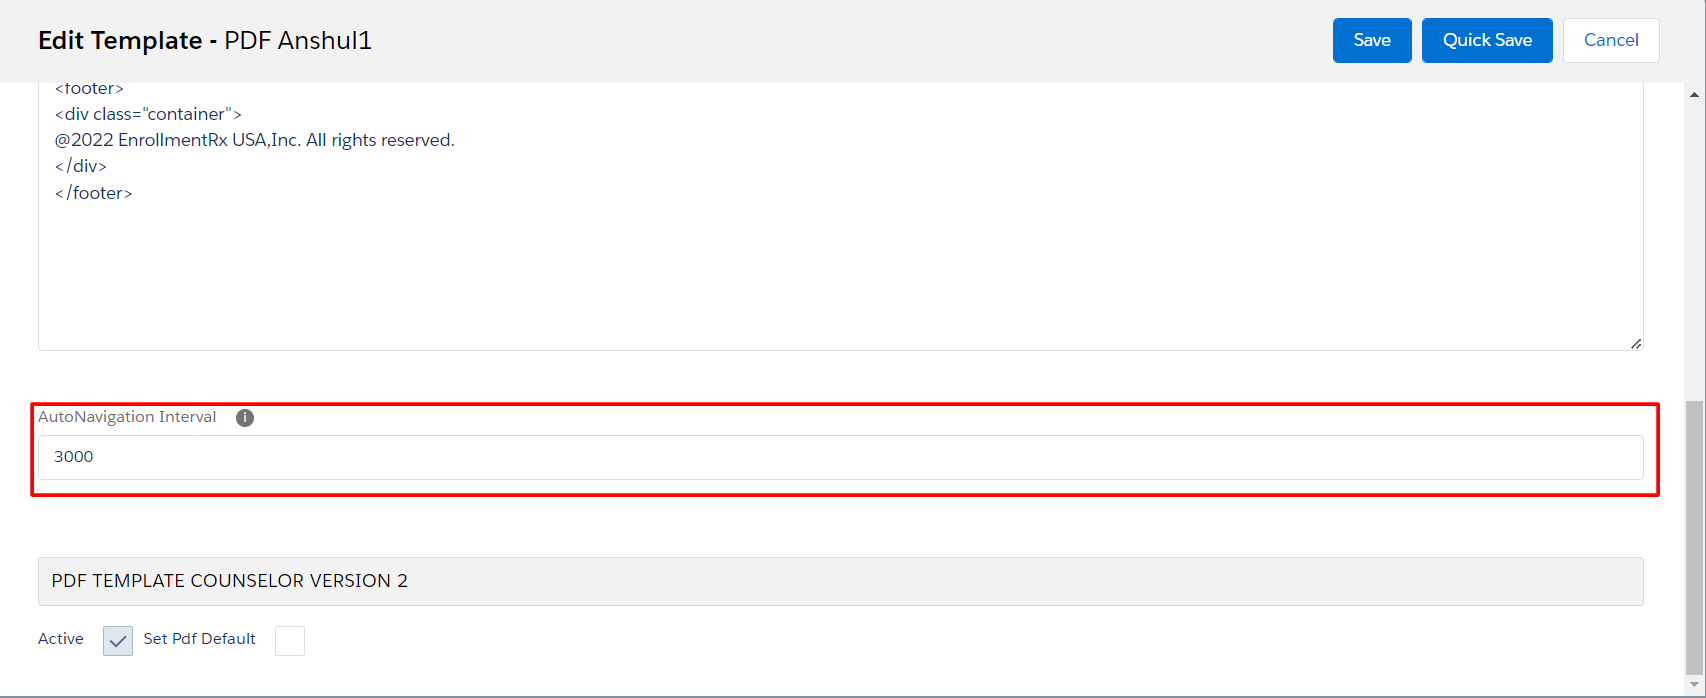
- Choose an interval, which is configured in milliseconds. For example: To
accommodate low bandwidth, set a higher interval value (1,000 milliseconds = 1
second)
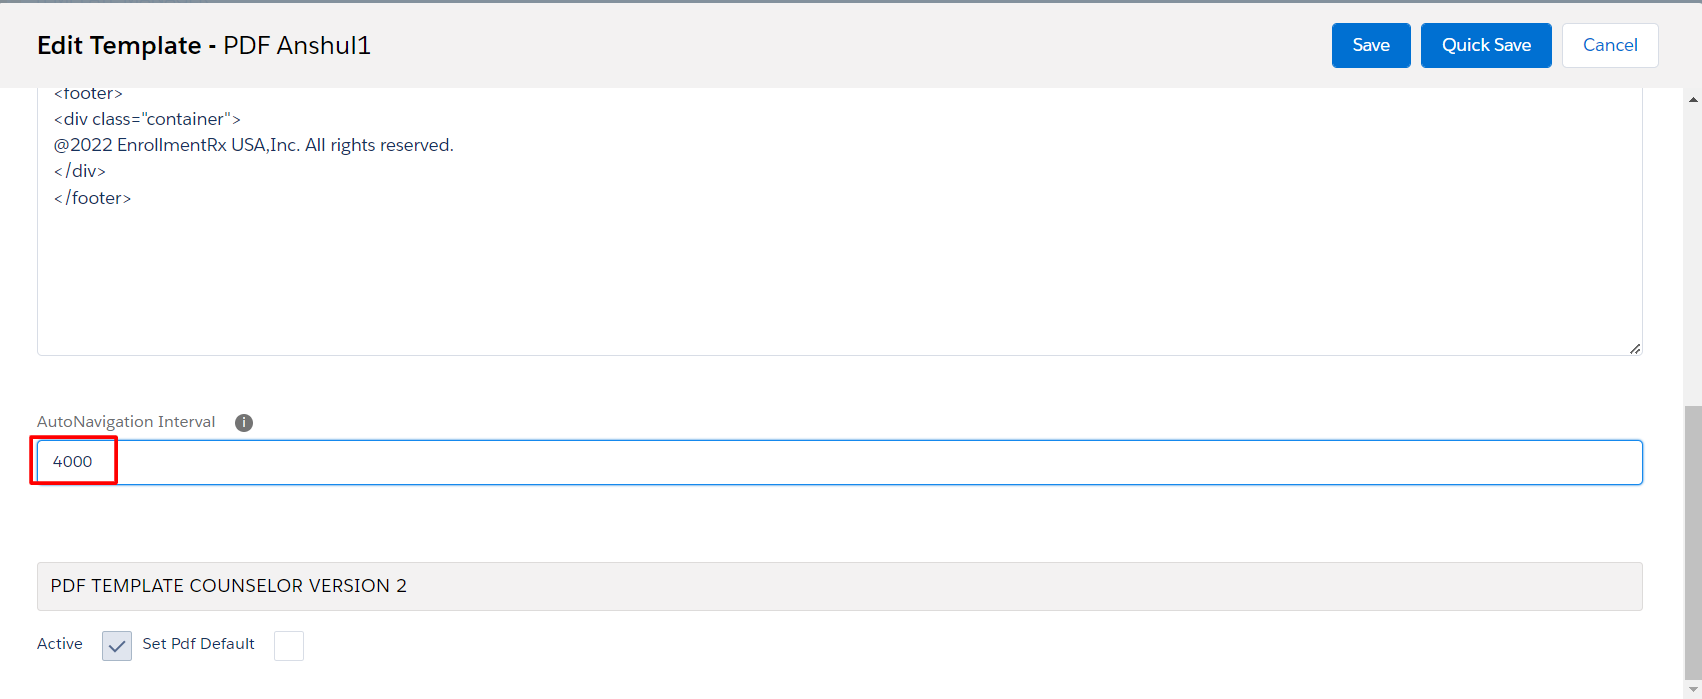
- Save your configuration
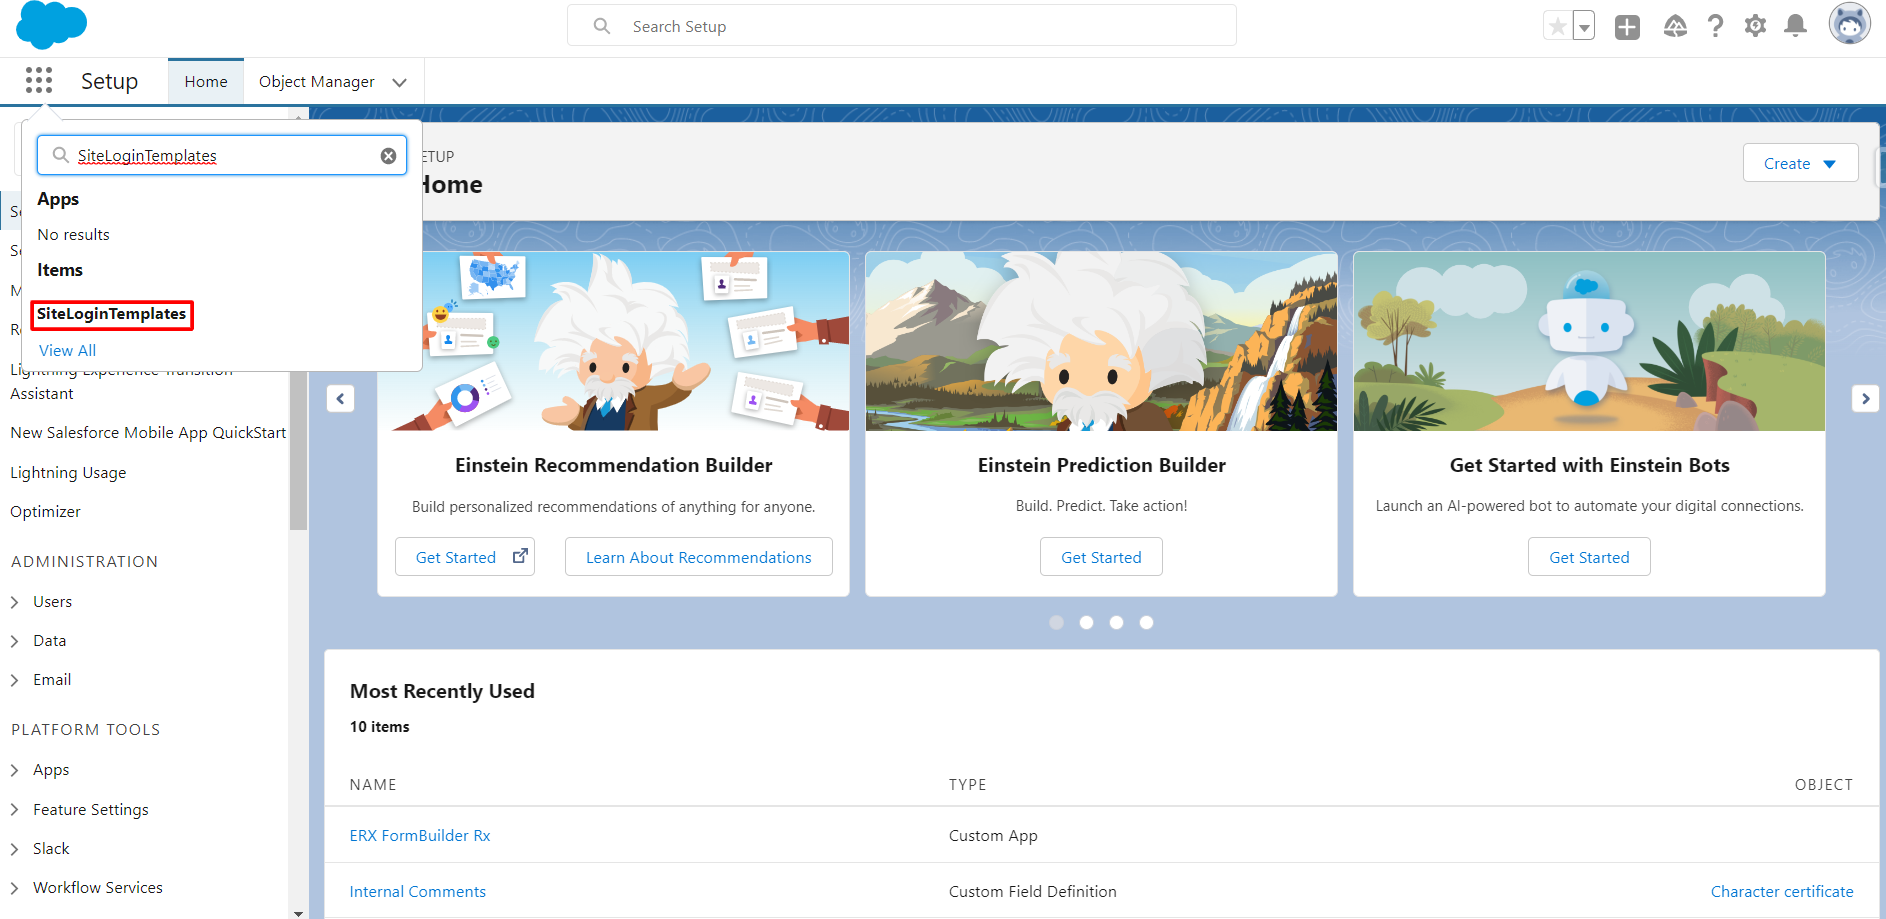
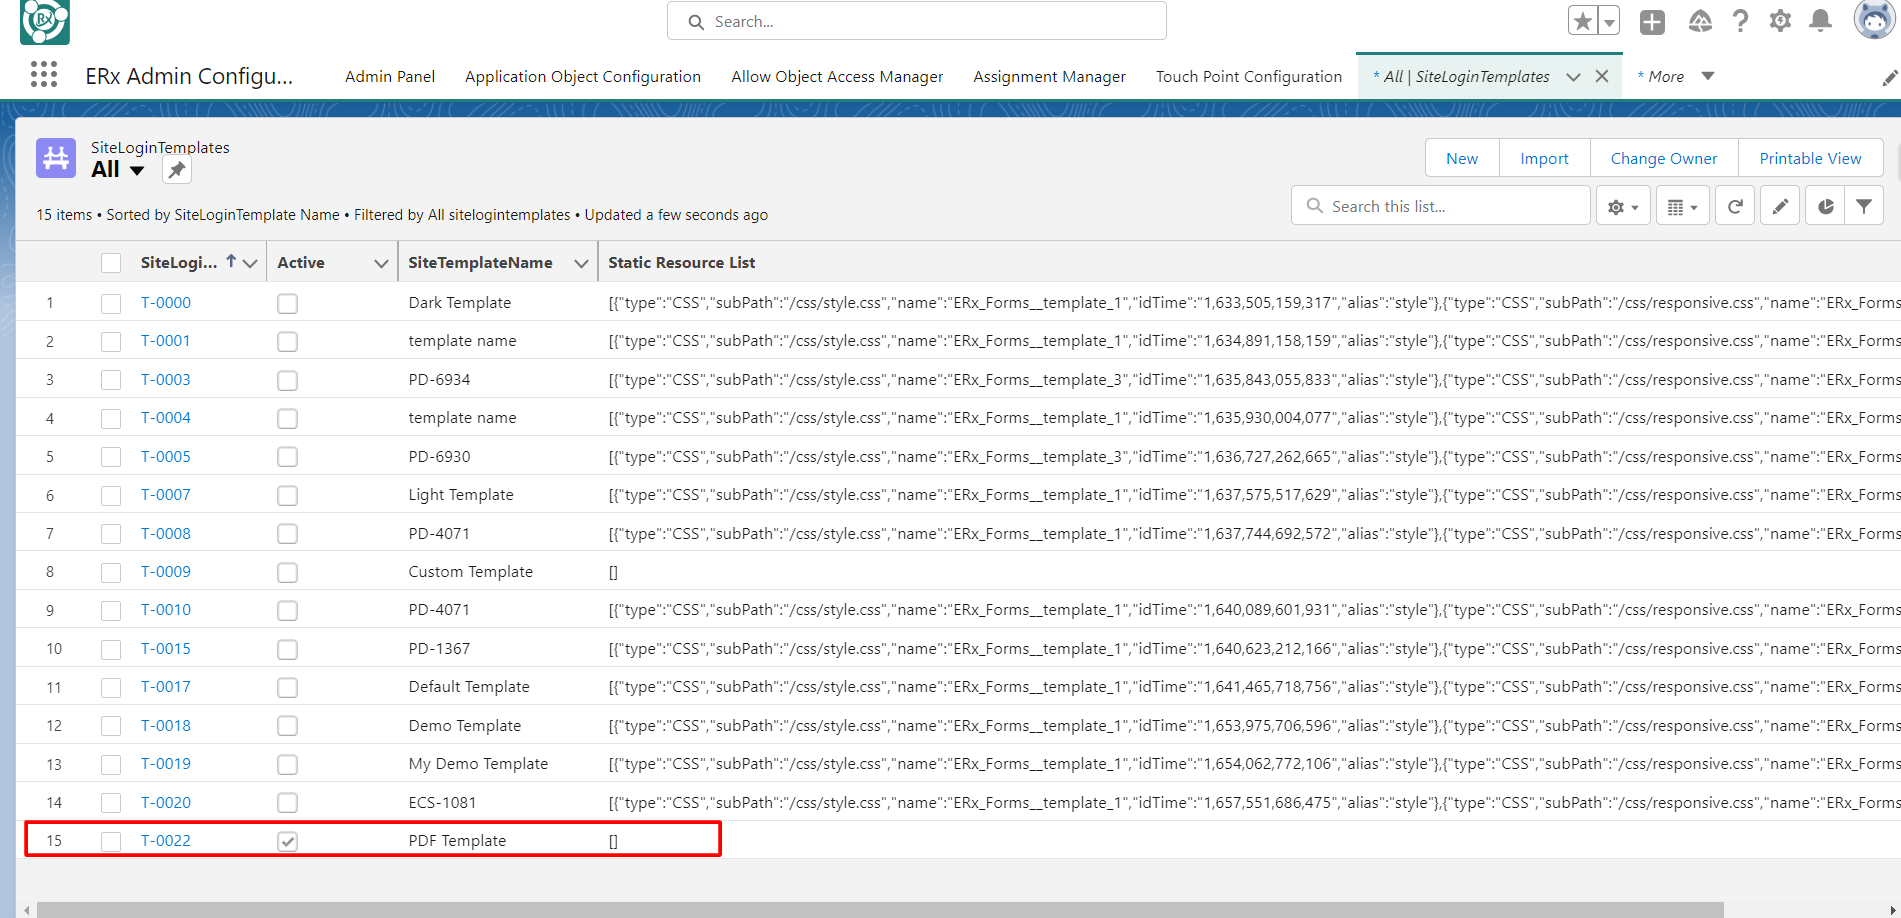
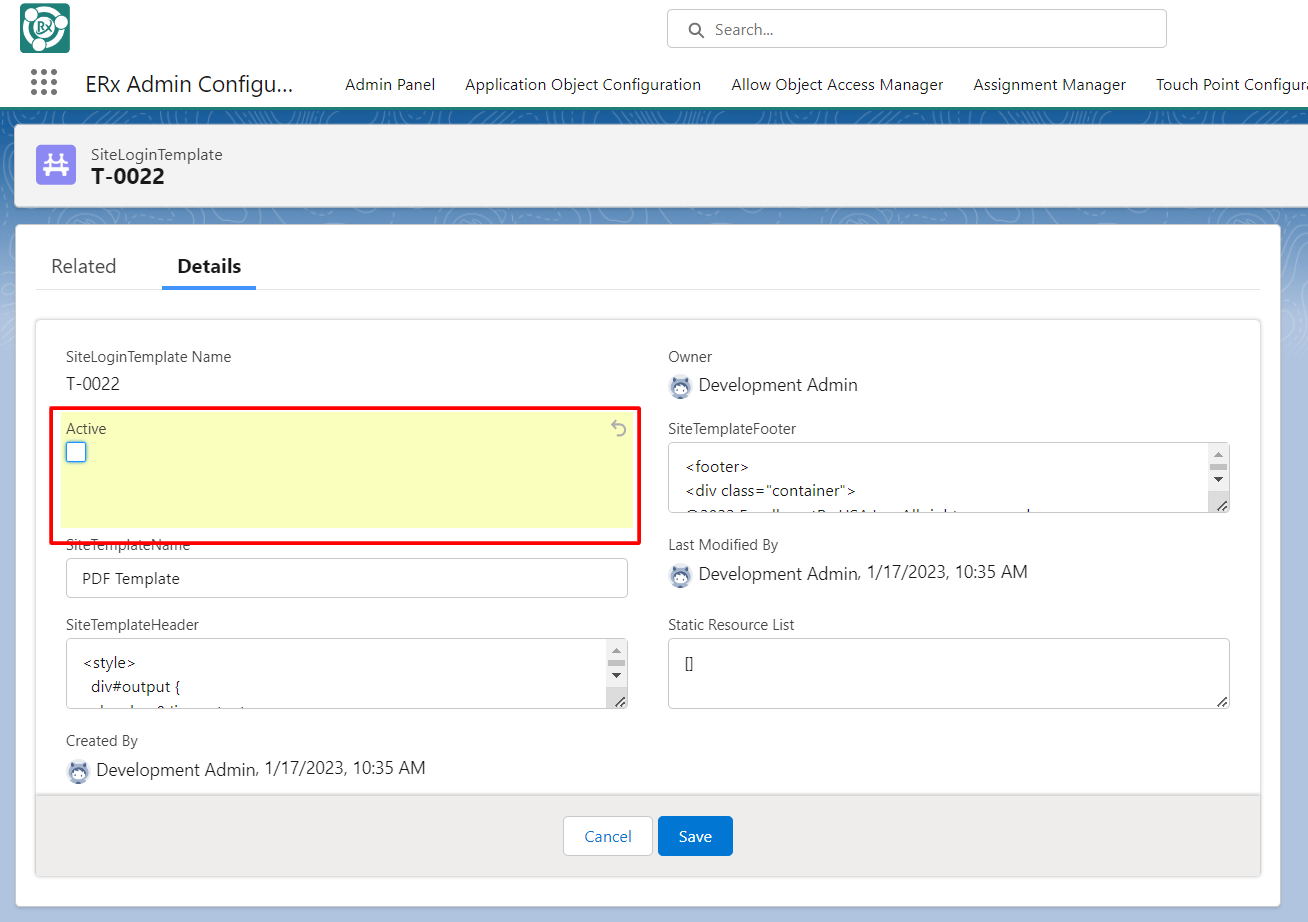
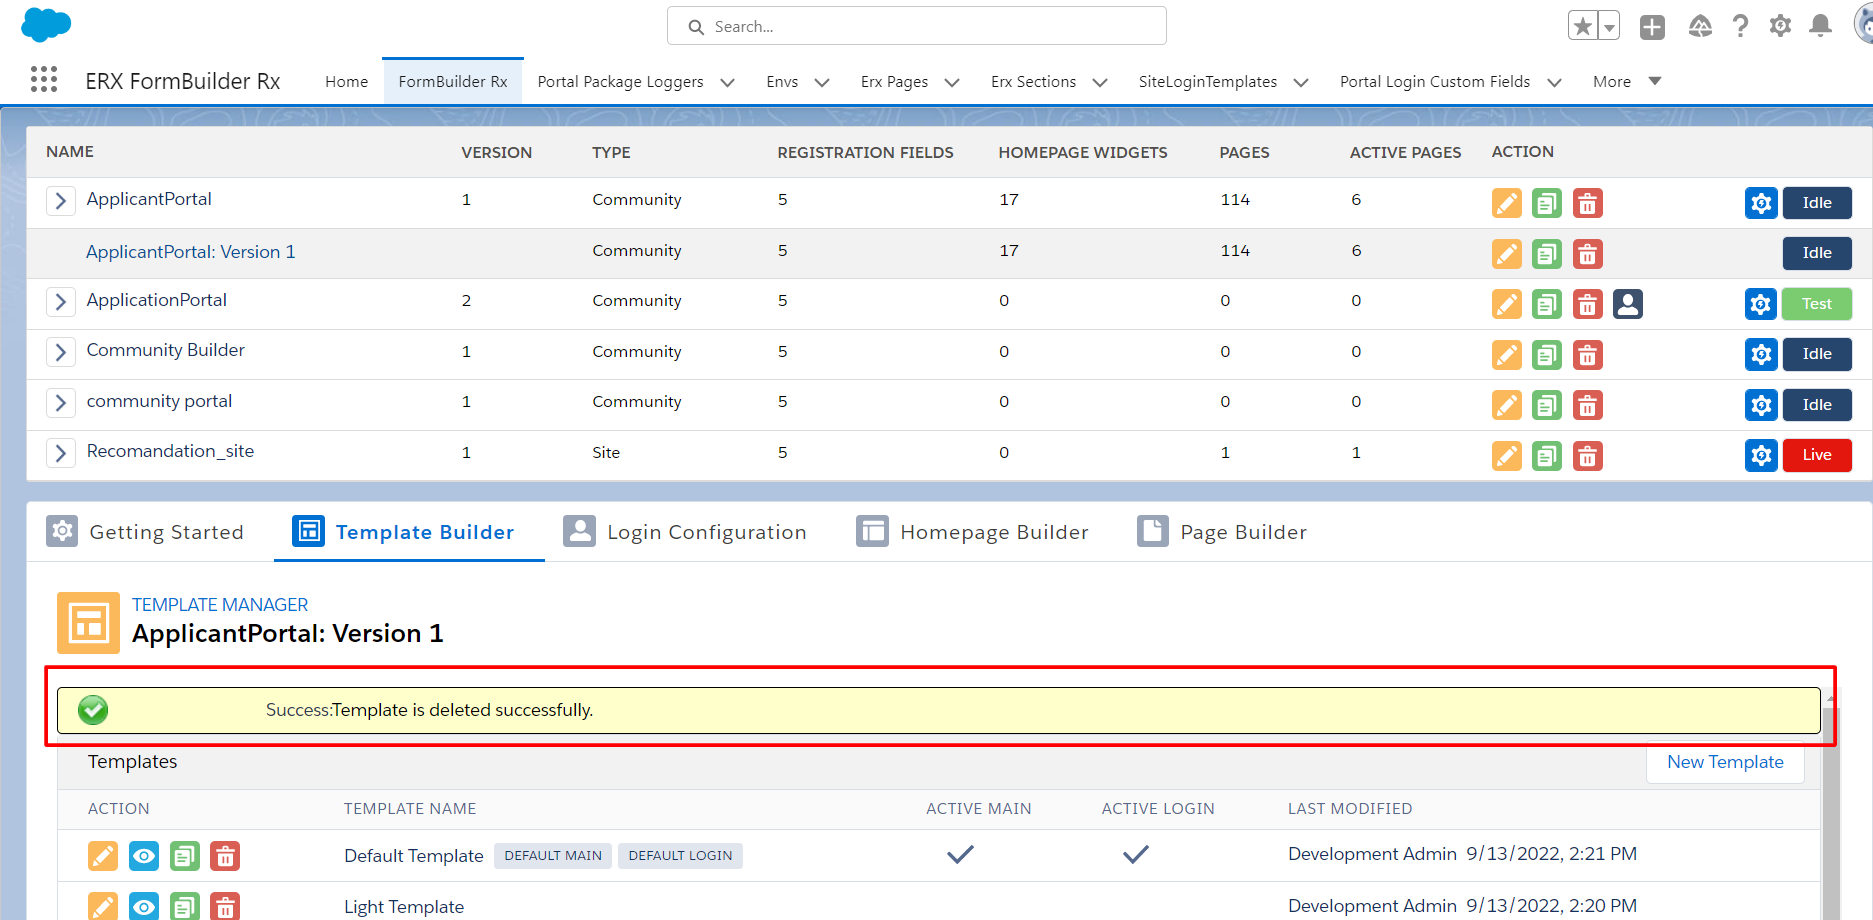
Delete a PDF Template
- Navigate to the SiteLoginTemplate via the App Launcher
- Open the PDF Template and set it as "inactive" by deselecting the Active
checkbox
- Navigate back to FormBuilder through the App Launcher
- Click on the FormBuilder Rx tab
- Select your Environment and set its status to Idle
- Click the Template Builder tab
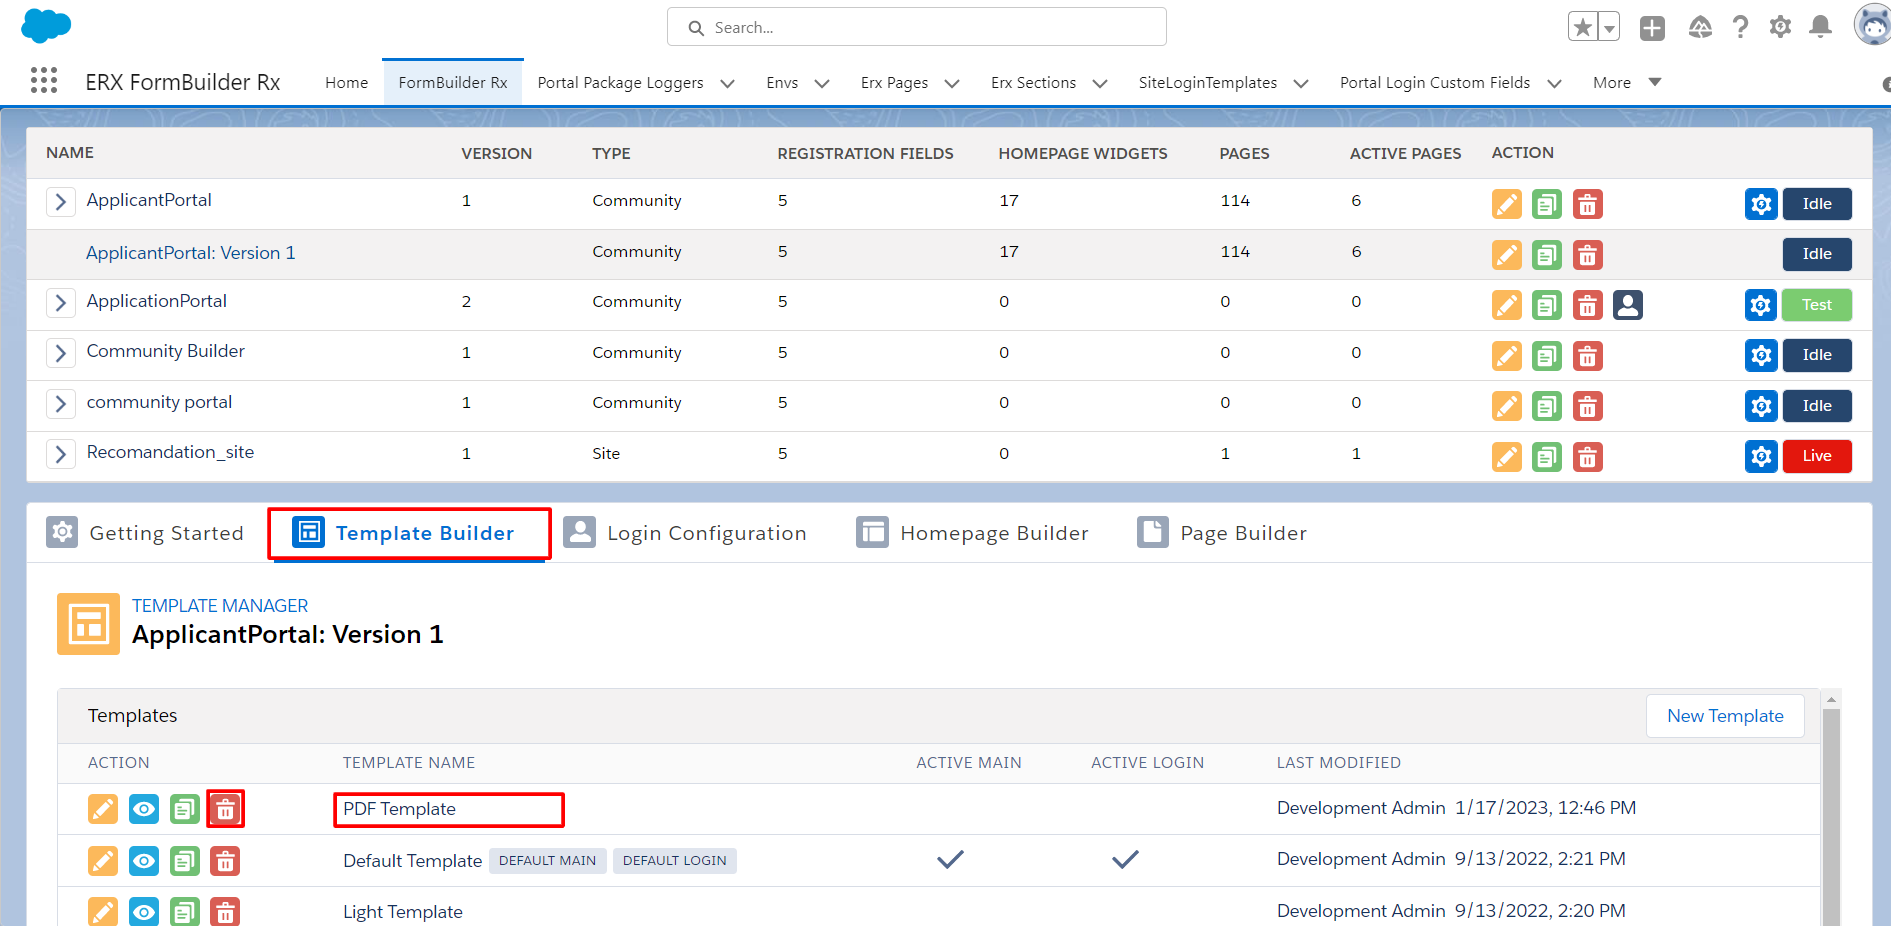
- Click the Delete icon next to the PDF template
Considerations and Limitations of this Feature
- Only one PDF Template at a time can be set as the Default for a Community
- A default PDF Template is required for PDF generation functionality
- Templates cannot be configured for specific users via Filter logic
- PDF button generation is not supported for Sites or DXP
- This feature does not support the following:
- Custom VisualForce pages
- External URL redirects
End Users: PDF Download
- Click on the Generate PDF button

- The PDF generation process will start in a new tab
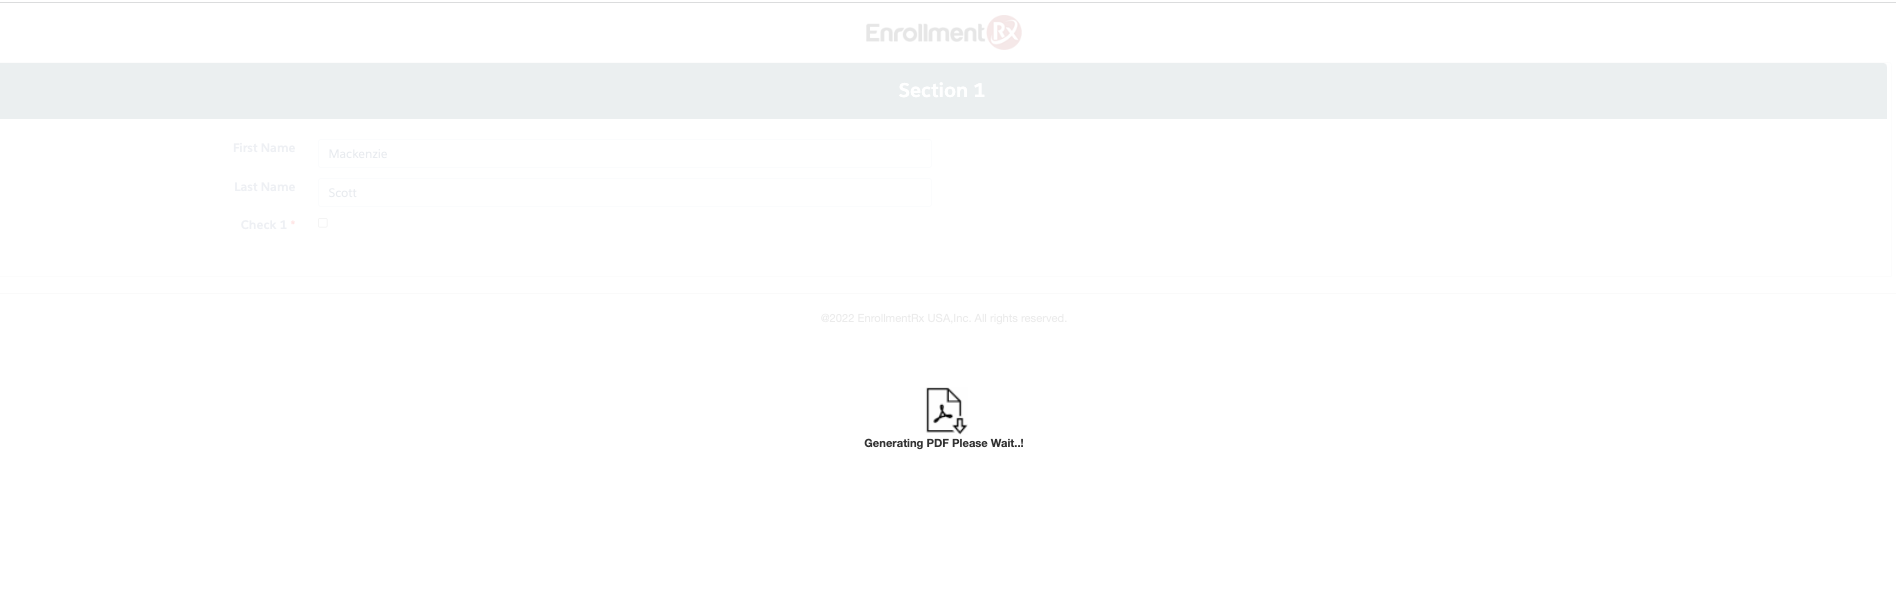
- After successful PDF generation, it will be attached in the Notes and
Attachments of the Contact as a File
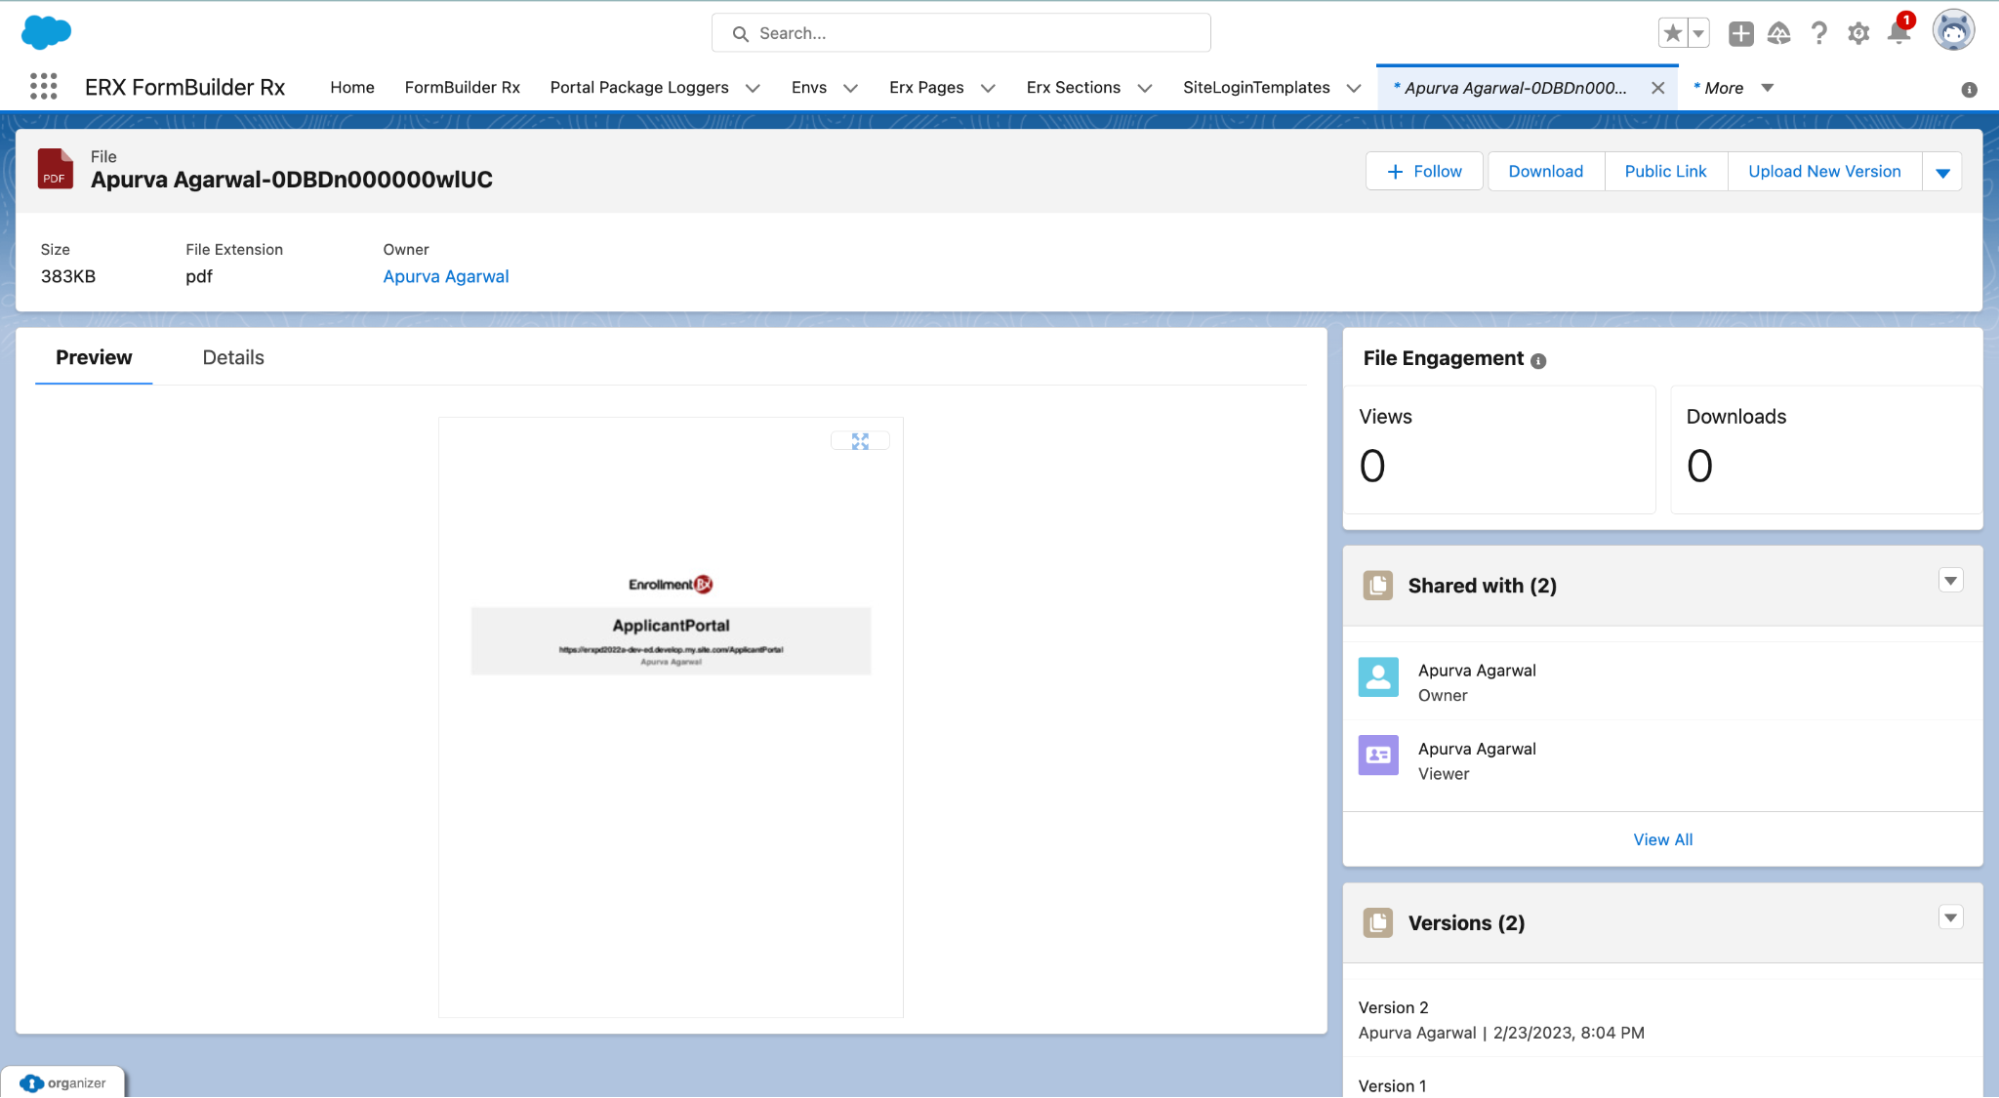
- Every time a PDF is generated, it will create a new version for the PDF and always refer to the latest version in Notes and Attachments. All versions of the PDF will be available like this: