Create a New Site
How to Create a New Site
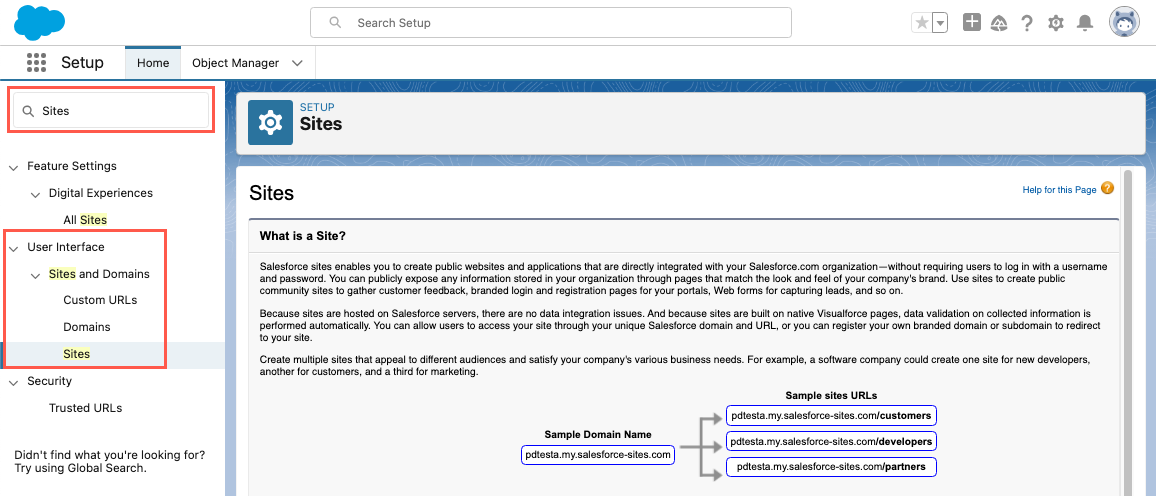
To begin the process, create a Site by navigating to Setup in Salesforce and
clicking "Sites" under .
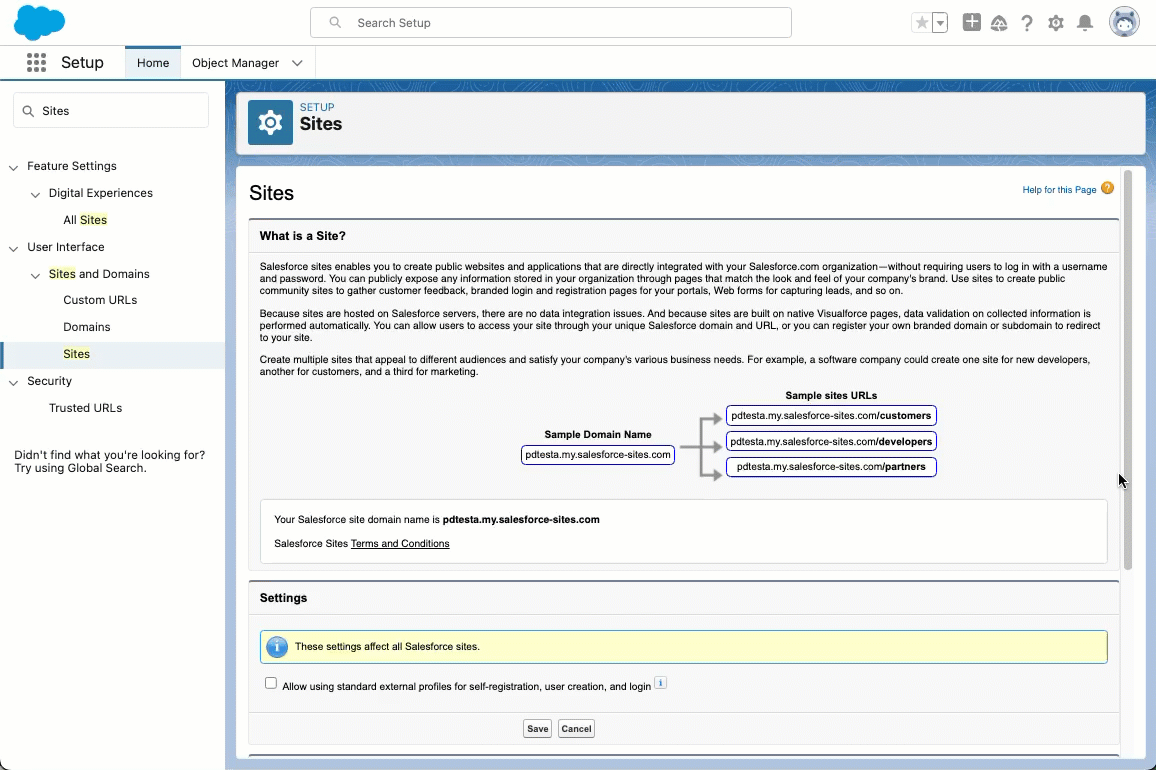
The first step in configuring a Site is to choose a domain name. The domain name must
be unique. Once it has been set, click the New button to
create a new Site.
Important Site Settings
When configuring a new Site, pay special attention to the following settings.
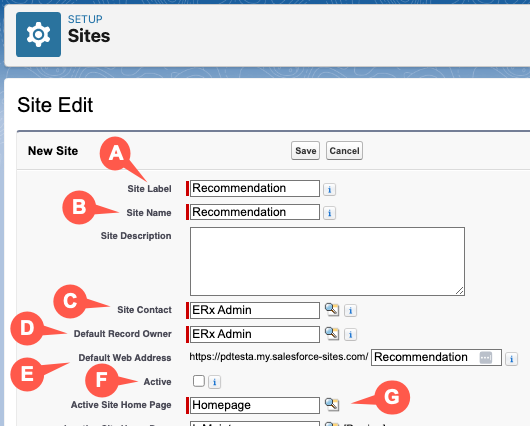
| Tag | Setting | Description |
|---|---|---|
| A. | Site Label | The value used to identify your Site. |
| B. | Site Name | This will auto populate from the Site Label value, and is used if the Site needs to be referenced through the API. |
| C. | Site Contact | The user responsible for receiving site-related communications from site visitors and salesforce.com. |
| D. | Default Record Owner | The user who will have access to all new records that guest users create. |
| E. | Default Web Address | The unique salesforce-site.com URL for the Site. |
| F. | Active | The Site will not be accessible unless this is checked. |
| G. | Active Site Home Page | Search for Homepage and choose the one that is part of the
ERx_Forms package. |
Note:
You can accept the defaults for all settings not shown or labeled in the above
illustration. Salesforce documentation on creating and editing Sites can be found on
the Salesforce Help website.
Enable ERx_Forms.PageMaker
After creating your Site, edit its related list of Site Visualforce Pages to include
the page named ERx_Forms.PageMaker.
Follow these steps:
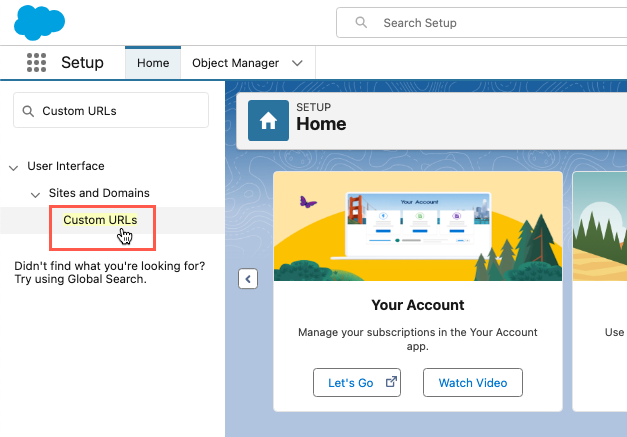
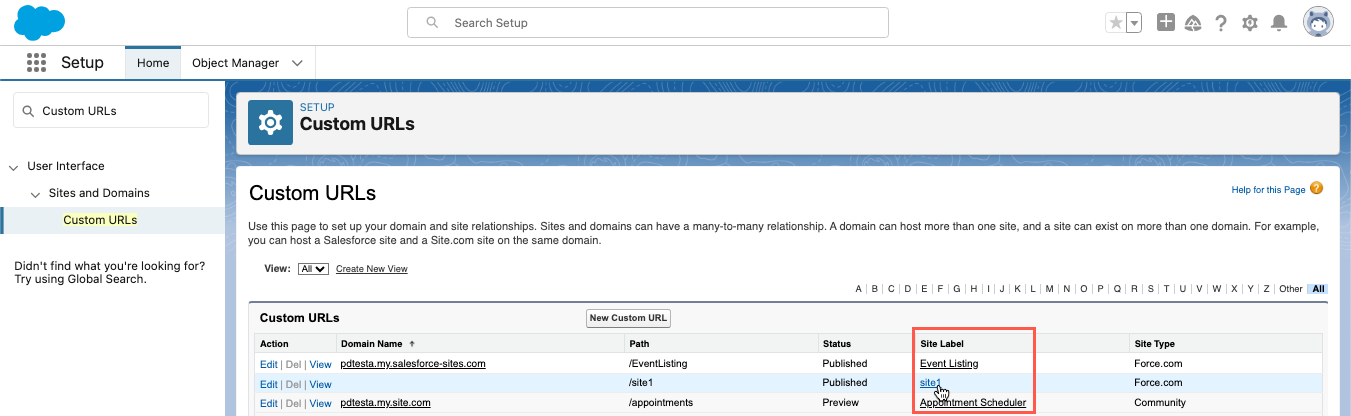
- Go to Setup and search for "Custom URLs" in the Quick Find box.
- Click "Custom URLs" under .
- On the Sites and Domains page, click the name of the new Site in the
Site Label column.
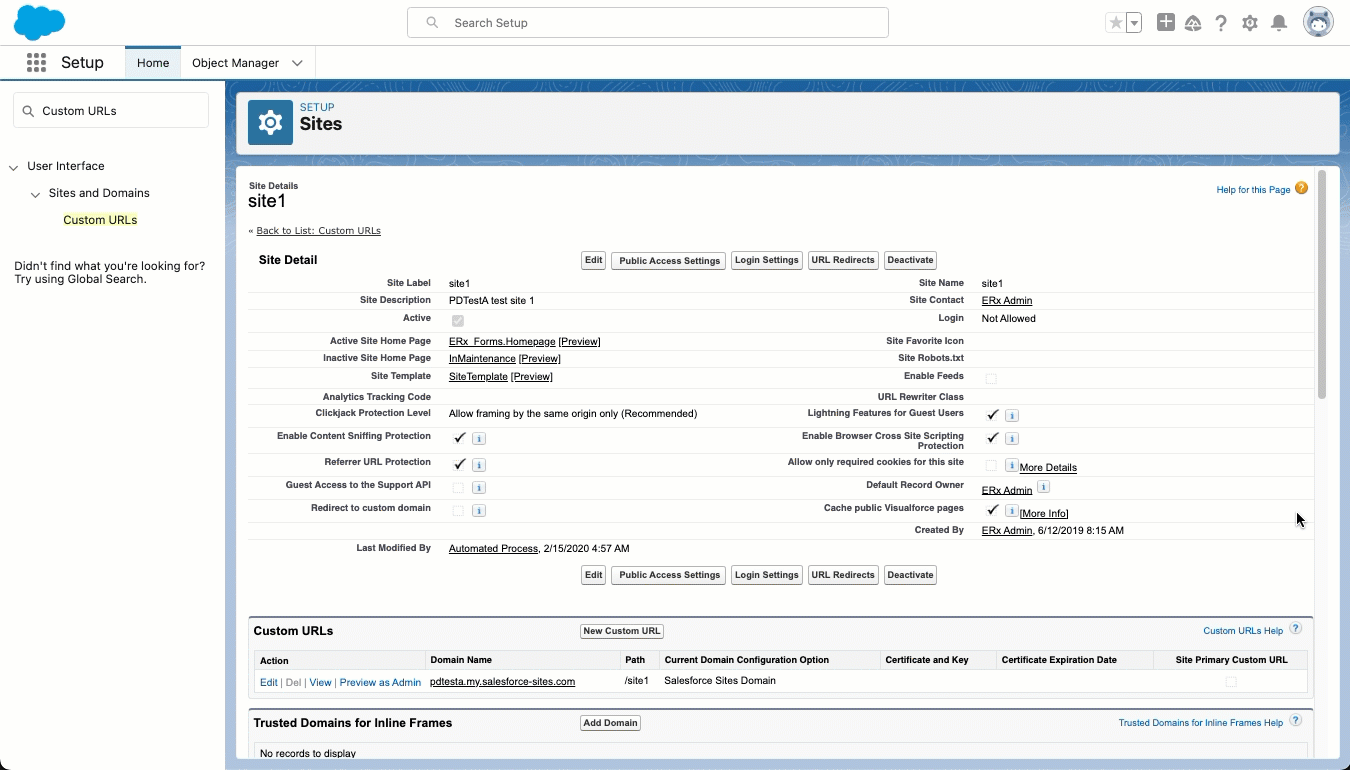
- On the Site Details page, scroll down to the Site Visualforce Pages
section and click the Edit button. This seamlessly takes you into settings for
the Site's Guest User Profile.
- From the Available Visualforce Pages list, find and click
ERx_Forms.PageMakerto highlight it. Click the "Add" button to move it to Enabled Visualforce Pages.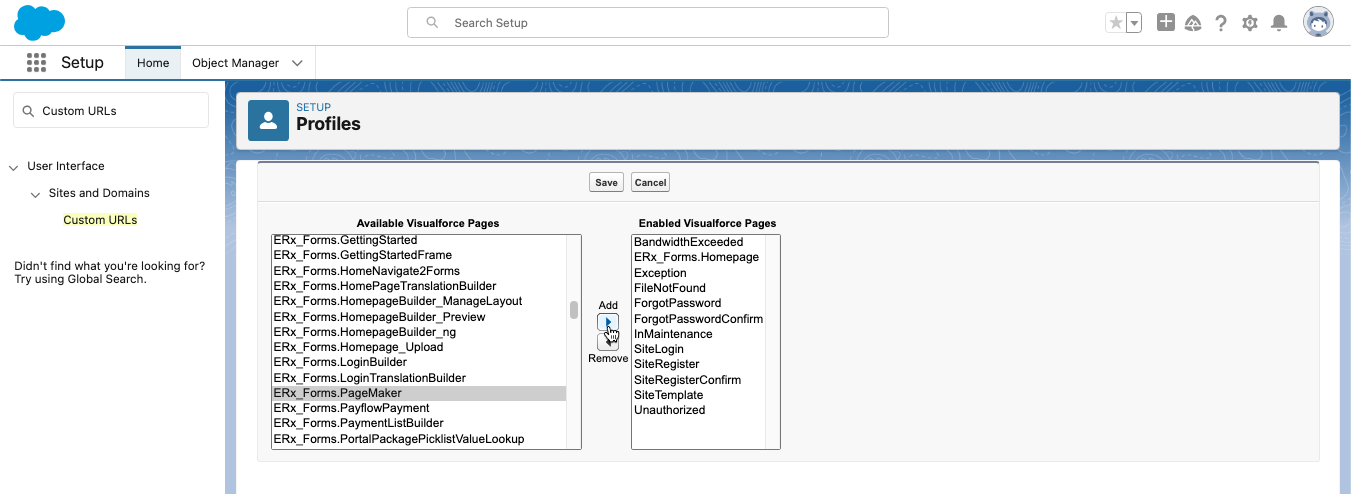
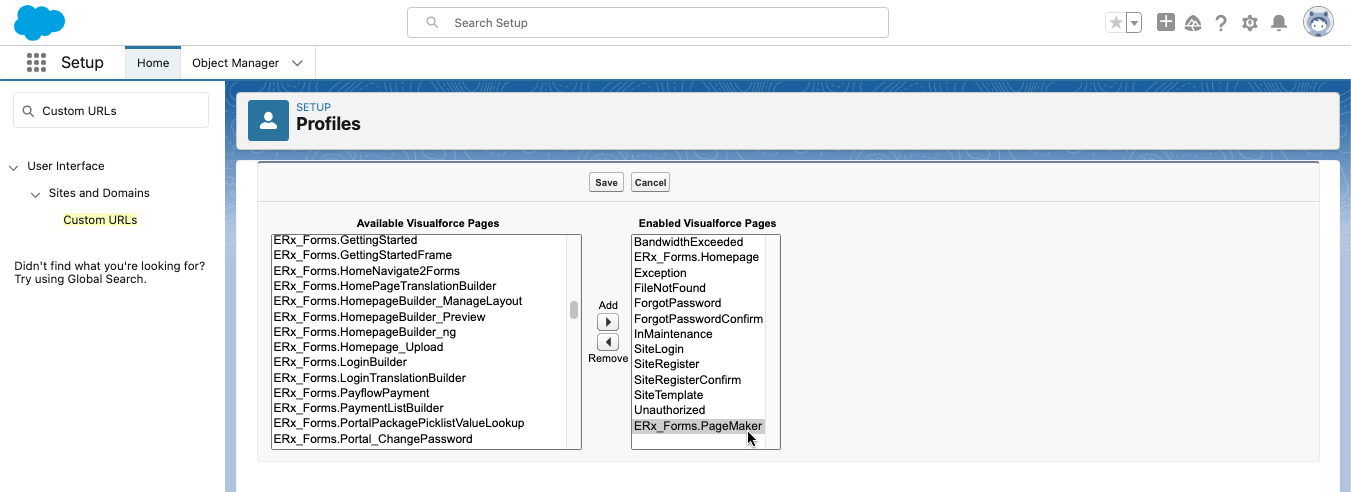
- Click Save.