Event Listing
Overview
The administrator controls the look and feel of this page using Template defined under the Template Manager.
The administrator can control the format of this page using two fields under the Events Rx Custom Setting record called “DEFAULTS”. The list view—shown in the illustration above on the left—and the calendar view—shown above on the right— can be turned on and off using the checkboxes called “Campus Listing” and “Campus Calendar” on the Events Rx record. (See Appendix 2 for a screenshot showing these two checkboxes).
Following are the components on the Events Listing page:
- Campus Calendar
- Campus Listing
- Events Filter
These are explained below.
Calendar
If the “Campus Calendar” checkbox on the custom settings page is checked, then the Event Listing will look like this:

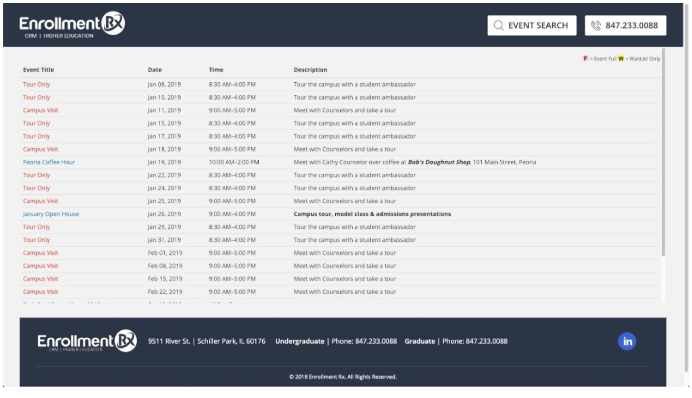
Listing
If “Campus Listing” is checked, then the Event Listing will look like this:
Listing + Calendar
If “Campus Listing” is checked, then the Event Listing will look like this:
Calendar + Listing
Checking the Custom Setting “CalendarBeforeListing” will display calendar on left and listing on right, reversing their order in the above screenshot.