Adding a New Event Registration Field
Overview
The purpose of this section is to show you the different steps to adding a new field of information to your event registration forms using Events Rx. Our most recent releases of Events Rx and FormBuilder Rx allow you to leverage FormBuilder forms as well as our traditional form tool for Events. Therefore we included both sets of instructions.
High-Level Overview of the Steps Involved:
Create The Field In Salesforce On The Desired Object
- If using Visits (visit or contact objects fields are used)
- If using Events (campaigns) (campaign member and contact objects are used)
Grant Field Access and Permissions To the Site Guest User
Why is this step important? Event registration forms leverage salesforce site pages. Each site page has its own special type of unauthenticated user called the Site Guest User. This Site Guest User must have access to view and edit the field you added to successfully submit the registration form. Because you cannot update the Site Guest User or the profile the way you typically update users and profiles, these steps outline how to do so.
Add Your New Field To The Event Registration Form
The traditional Events Rx form tool works with both events and visits, and can be leveraged to add fields and requirements. FormBuilder Rx forms can be used for events in the newest release and allows for more robust functionality (this is not available for visits at this time).
- Adding A Field To The Event Registration Page Using Event Form Tool
- Adding a Field to the Event Registration Page Using FormBuilder Rx
Add Your New Field To the Touchpoint, If Applicable
Guidelines On Where in Salesforce to Add a New Field for Event Registration:
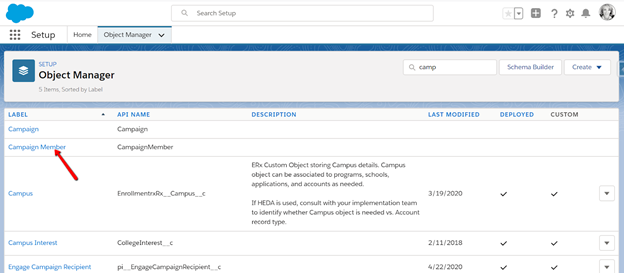
For event registration using Events Rx you can add fields to the campaign member object or contact object for events and the visit object and contact object for visits. As a best practice, campaign member or visit fields should be leveraged for items specific to an event, such as special accommodations or dietary restrictions. On the other hand, if it's something that might be collected such as a new phone number, that would be a contact field. For this example we are using a campaign member field, but the steps would be the same using the contact object or visit object.
Create The Field In Salesforce On The Desired Object
- Go to
- Create a new field, of your desired type. (A picklist is featured in this
example.)


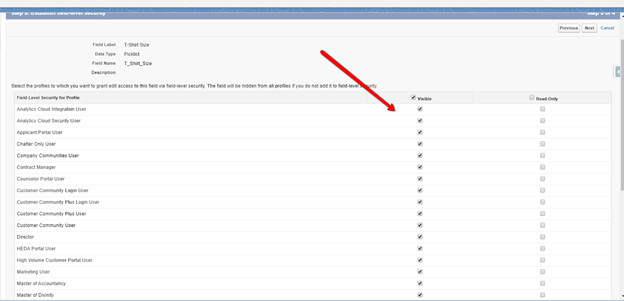
- On the last step make sure to make it visible to needed profiles.
Grant Field Access and Permissions To the Site Guest User
- Navigate to the Site Guest User by going to (type "sites" in the Quick Find box), then click on the name of
the site:

- Click Public Access Settings:

- Next, give access on the Field Level Security for the field on the profile
(scroll down on the profile and click view on the field level security for
campaign member):

- Once you are there, give Read and Edit access to your new field and then save:

Add Your New Field To The Event Registration Form
- If using the event form tool, navigate to the Campaigns tab and click
Configure Event.

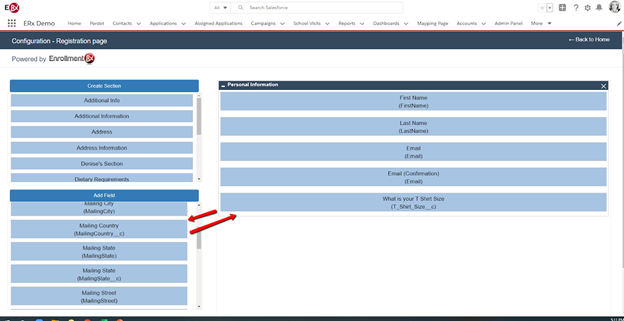
- When on the page builder, click “add new field” , select campaign member and
find your new field:

Tip:These are the default settings for the field when used on future forms. The label, the "required" setting, and descriptions can be customized for each form or event. - Click create, then you can drag the new field on the page, and save:
Note:This will only apply to this particular event, or others cloned from this event. If it is a recurring event, and the parent event form is changed, then the children event forms will be changed. - If using a FormBuilder form for event registration, go to FormBuilder Rx, your
event page environment, configure the page, and add the field via the data set.
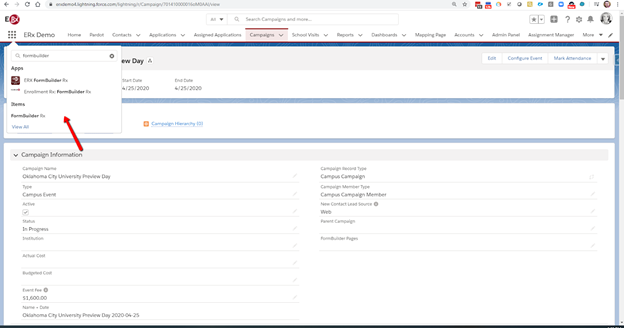
- Go to the events environment that was set up specifically for using FormBuilder
Rx forms, then configure the page:
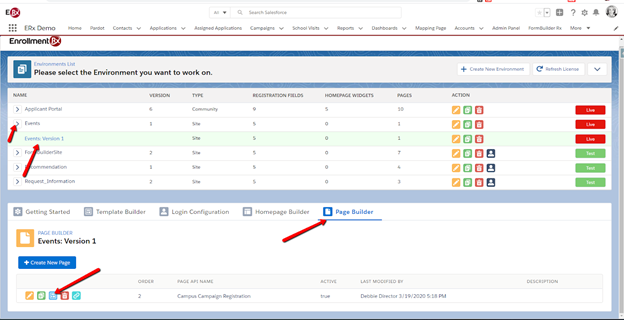
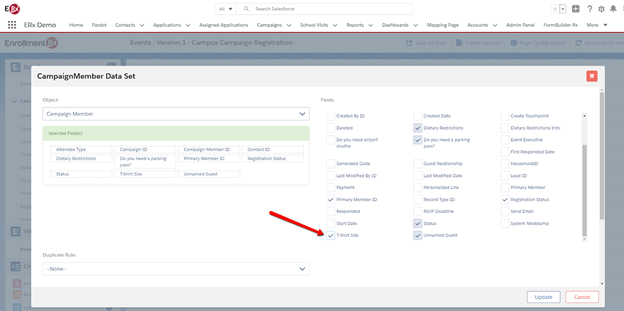
- Once you're on the page, go to the CampaignMember Data Set:
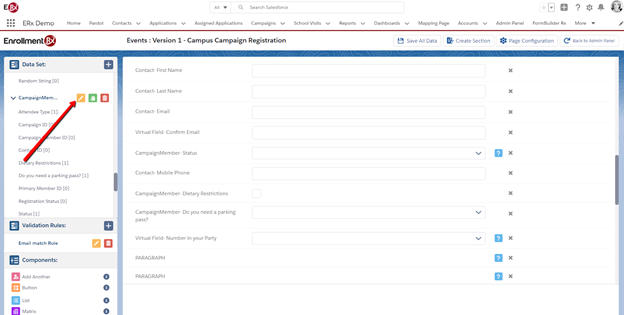
- Find your new field, then click Update:
- Drag the field onto to the page, double click the field to configure it (for
example, make it required or relabel it), and then Save All
Data:

Add Your New Field To the Touch Point, If Applicable
- Go to and click New. Create the same field and
type on the touch point that you did on the campaign member.


- Once you save your new field, Then go to App Launcher, Touch Point
Configuration:


- Click Configuration then, field mapping:

- Find your campaign member field and touch point fields and map together:
