How to Manually Update CSS in FormBuilder Templates
Overview
FormBuilder Rx comes with templates and style controls out of the box that you can use to build unique, branded Sites and Communities without ever touching a line of code. If you’re a web designer or CSS expert (or if you have one on your team), you can also customize FormBuilder’s templates further within the source files.
This tutorial is geared toward the latter audience. It steps you through the process of downloading and making changes to the style.css file within a FormBuilder template.
Steps 1-4
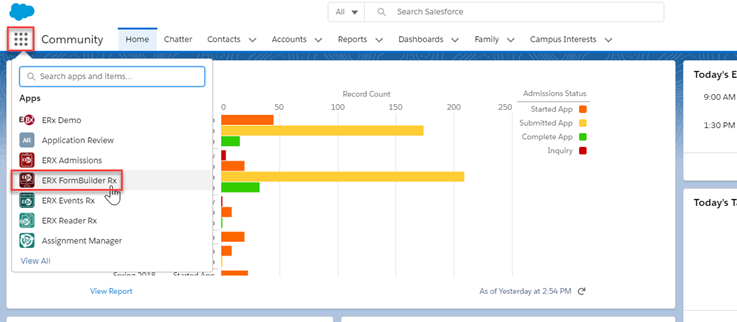
- Step 1: Log into your Salesforce org, click on the App Launcher
(the “waffle” symbol in the upper left corner of your screen), and select ERX
FormBuilder Rx.
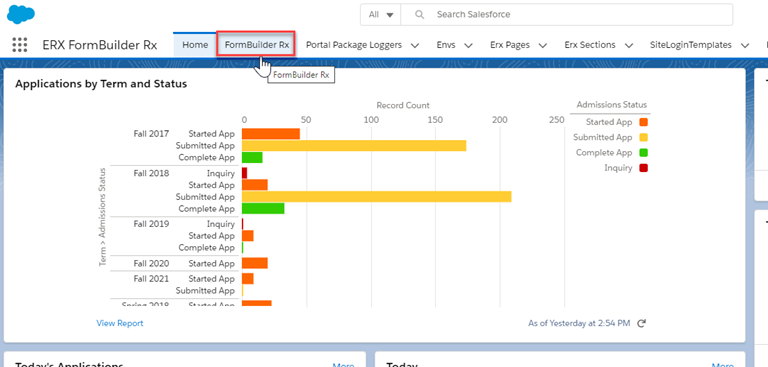
- Step 2: After the page loads, you should see the ERX FormBuilder Rx label
in the upper left corner of the page and a series of tabs across the top. Click
on the FormBuilder Rx tab, which will take you to the main development
page for Sites and Communities.
- Step 3: Once the FormBuilder Rx tab loads, go to the Template
Builder subtab toward the middle of the page and click on it.
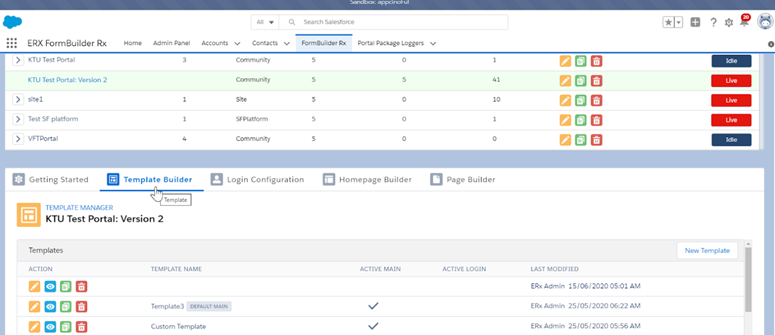
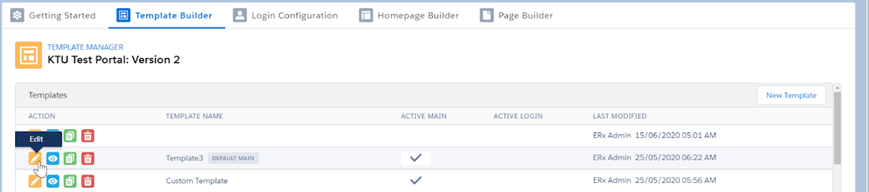
- Step 4: On the Template Builder subtab, click the yellow pencil
(Edit) icon for the template you would like to modify. Clicking this
icon will launch the Edit Template modal.
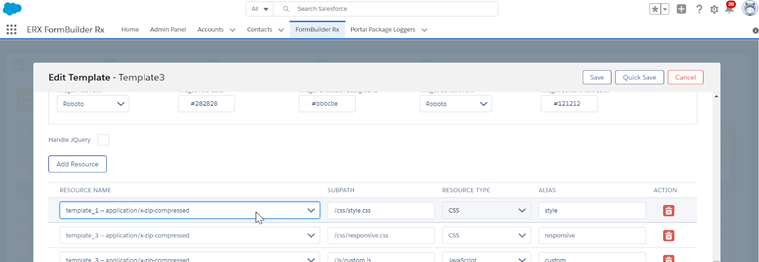
Step 5
In this step, you’re simply looking for the name of the zipped source file that you want to download. Source files are also known as Static Resources in Salesforce.
Steps 6-9
The next few steps will show you where to go within Salesforce to download the zipped template file (aka Static Resource).
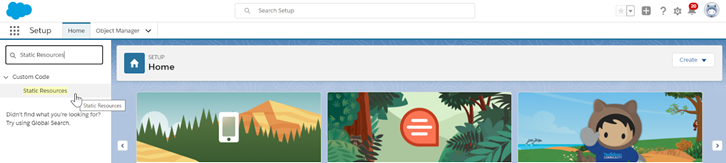
- Step 6: First, click Setup in the upper right corner of the page.

- Step 7: From Setup, in the Quick Find window on the left side of
the page, type Static Resources and click on it when it appears in the
search results.
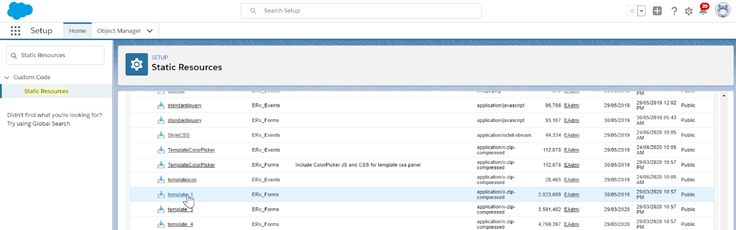
- Step 8: On the Static Resources page, scroll down to the filename
you identified in Step 5 (template_1 is shown in the screenshot as an
example), and click on it.
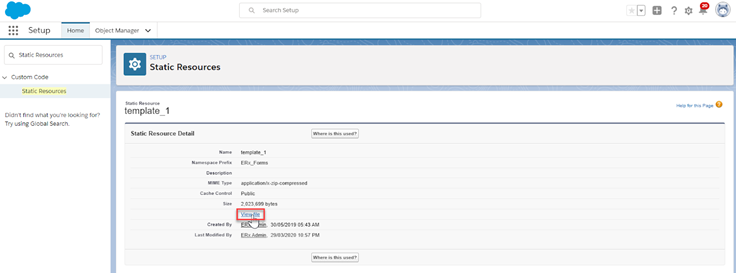
- Step 9: After clicking on the filename (e.g., template_1), the Static
Resource Detail page appears. Click the View file link (about
halfway down beneath the Size entry) to download the zip file to your
local drive.
Tip:The download should happen automatically, typically to your Downloads folder (unless you’ve specified another directory for file downloads).
Step 10
Navigate to your downloads directory and follow these steps to make changes in the CSS source file (you can also move and extract the zip file elsewhere on your local drive if you wish):
- Right-click on the zip folder (e.g., ERx_Forms__template_1.zip) to
extract its contents. For the purposes of this tutorial, we’re showing what the
extraction process looks like with the native Windows zip program.

- After you’ve unzipped or extracted the archive, go into the CSS folder
and open style.css with a text editor. Notepad is sufficient for this
task, but feel free to use your preferred text or code editor.
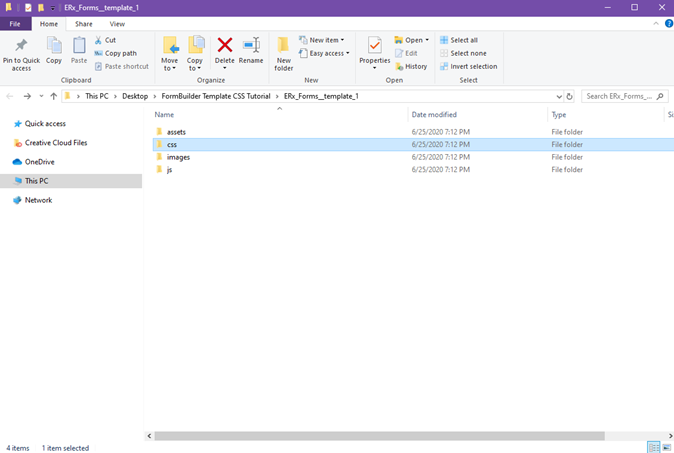
- When you’re done making changes, save and close style.css.
Steps 11-14
- Step 11: Again using the native Windows zip program as an example,
highlight all of the folders you extracted, right click, and select Send to
Compressed (zipped) folder. Save the folder with a unique name such as
template_1_New to avoid overwriting the original source files in
FormBuilder.
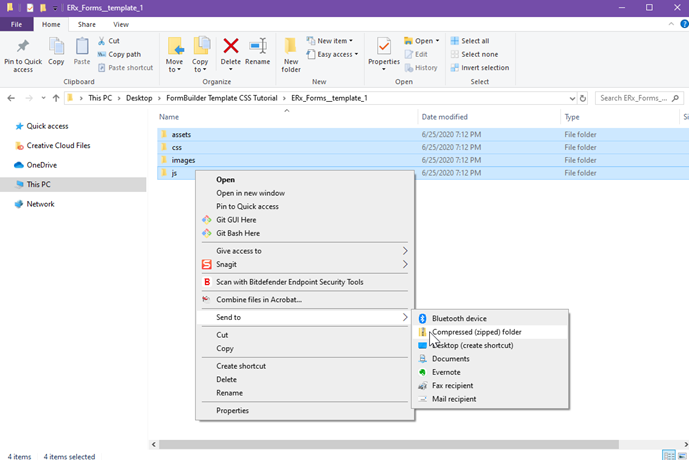
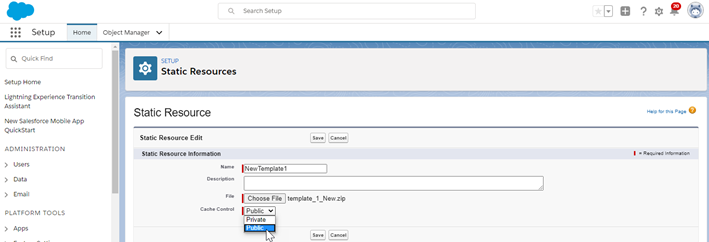
Note:This zip folder now contains the updated CSS. - Step 12: Return to your Salesforce org and go to .

- Step 13: In the modal, enter the name of your new Static Resource
(it can be different from the filename but must contain alphanumeric characters
and no spaces) and upload the zip file that you created. Enter an
optional Description, change the Cache Control setting from Private to
Public, and click Save.
- Step 14: Return to FormBuilder and click the Template Builder subtab. Click on the Edit icon of the template to open the Edit Template modal again. (Refer to steps 1-4 if needed.)
Steps 15-16
- In the Edit Template modal, scroll down and click the Add
Resource button.
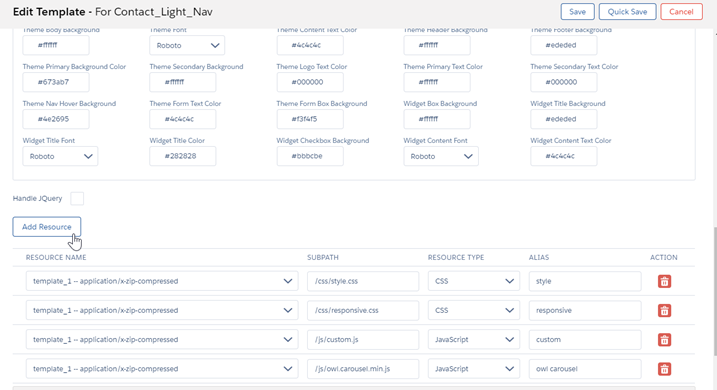
From here you’ll apply the new zip file as your template. Click the picklist to select it, then click Save in the upper right corner of the modal.
Note:Resource Names are listed in alphabetical order according to the Name field (see Step 13). Keep this in mind if your new Resource Name is different from the zip filename. - To view your style changes, navigate to the front end of your Site or Community and reload the page. It should now reflect your newly uploaded CSS file.