Modify Template Components
Overview
This page is for users who want to modify CSS in FormBuilder components (for example, add a new font family or other types of CSS parameters).
There are three main steps to follow:
- Identify and implement the CSS class you want to change in the Template header
- Upload a zipped file (e.g., with your custom CSS) to Static Resources
- Link the external file in the Template header
These steps are outlined in more detail below.
Steps to Change the CSS in a Component
Identify the CSS Class You Want to Change
This example shows you how to change the font family specified in the template.
To identify the current font family in the template CSS:
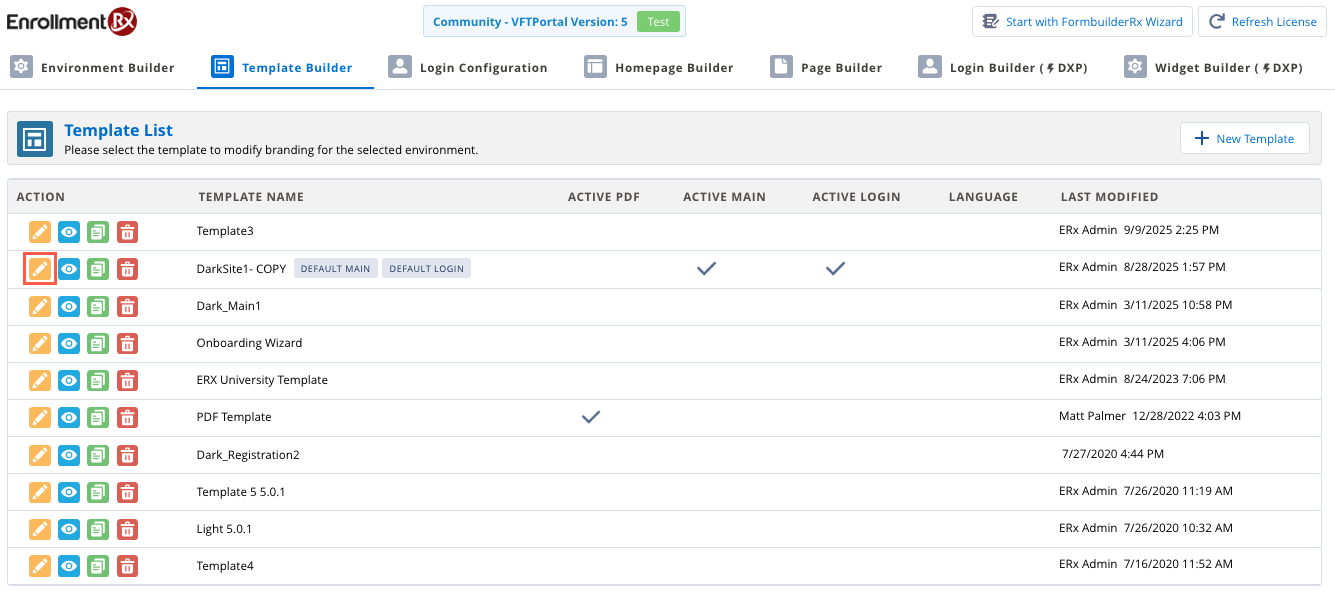
- Navigate to the FormBuilder Rx tab, select the Environment you want to work in, and click the Template Builder subtab.
- On the Template Builder subtab, click the yellow edit button on the Active
template's row.
User interface is related to 2025 Release 1.
- In the Edit Template dialog window, scroll down to the Template Style
section. The current font can be found in the "Theme Font" picklist. This
setting determines the font family for all pages.
Create and Upload Files to Static Resources in Salesforce
Next, create your custom CSS in a separate file, compress the file, and upload it to Static Resources in Salesforce.
Follow these steps:
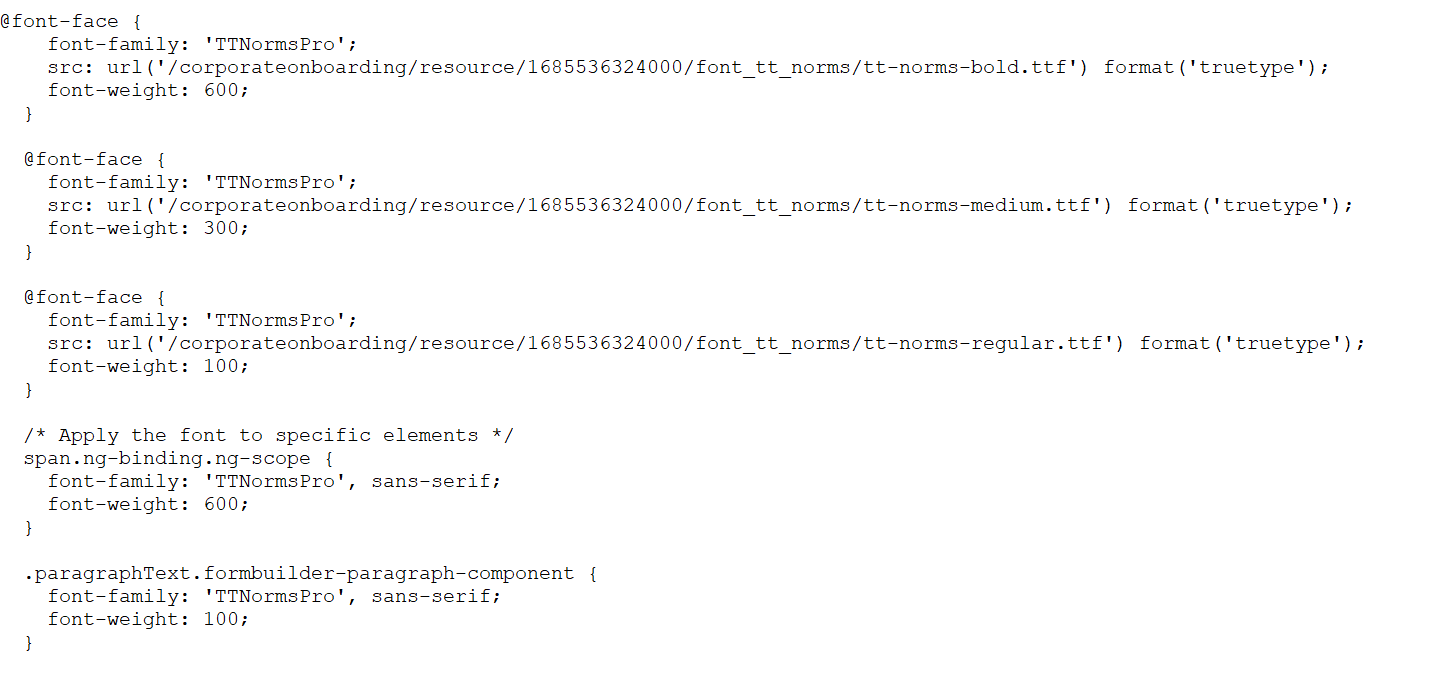
- Write font family style rules for your component. Following is an example.
- Compress the CSS file with your preferred tool.
- Upload the compressed file to Static Resources:
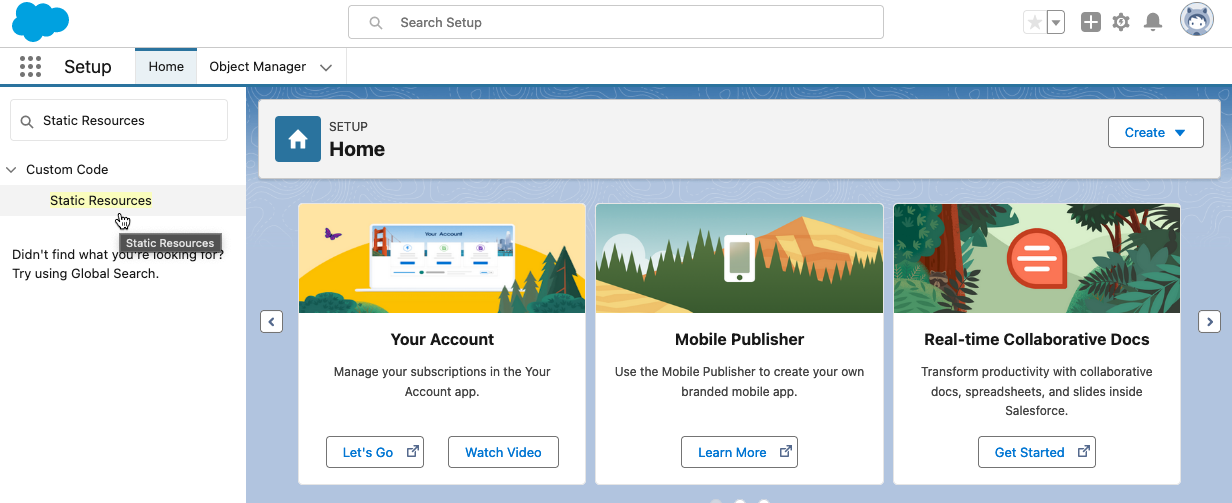
- In Salesforce, navigate to , type "Static Resources" in the Quick Find window and click
on it when it appears.
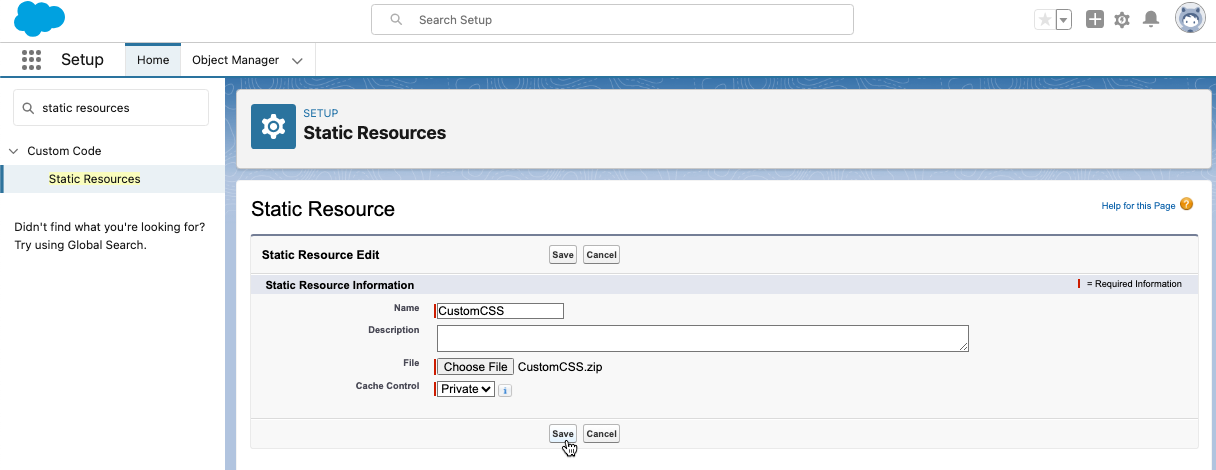
- On the Static Resources page, you'll see a list of resources that have been uploaded. Click the New button at the top of this list.
- On the New Static Resource page, fill out the Name field, choose your
zipped file, and click Save.
- In Salesforce, navigate to , type "Static Resources" in the Quick Find window and click
on it when it appears.
Link the External File in the Template Header
To apply the CSS changes to the template, add a link to the zipped file in Static Resources to the Template header.
- Navigate back to your FormBuilder Environment and click the Template Builder subtab.
- Click the Edit button in the Active template row.
- In the Edit Template window, scroll down to the Resources section (you'll find this underneath the Template Style section).
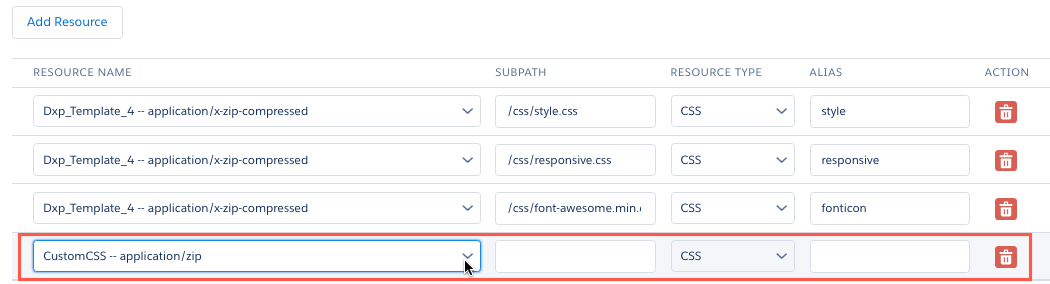
- Click the Add Resource button
- This will add a new field at the bottom of the list. In the picklist, select the
file you uploaded to Static Resources.
- Before closing this window, add a link to this Static Resource in the Template
header. For example:

- Click Save before closing the Edit Template window.