Upgrade and Testing Instructions
Preparing a New or Refreshed Sandbox for Testing
Before upgrading or installing Reader Rx, please review instructions on Preparing a New or Refreshed Sandbox for Testing.
Upgrade Instructions
Version 6.2.9, Released August 18, 2022
Click here for the latest version notes.
Sandbox: https://test.salesforce.com/packaging/installPackage.apexp?p0=04t2L000000VY8D
Production: https://login.salesforce.com/packaging/installPackage.apexp?p0=04t2L000000VY8D
You start the installation process by either clicking the URL or pasting it into your browser’s address bar. If you are logged out of all Salesforce orgs, you will be asked to log in to the org into which you wish to install the application. If you are already logged in to the org, the installation screen will appear immediately.
If you are already logged in to the target org, the Install/Upgrade screen will appear immediately; if not, it will appear after you log in.
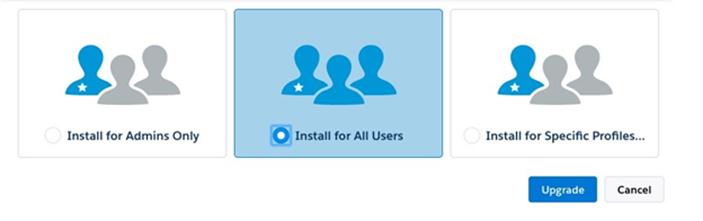
Choose “Install for All Users” before clicking the “Install” or “Upgrade” button, like this:
Post-Upgrade Instructions
Add the Configure Fieldset and Reader Rx Dashboard Tabs
After upgrading to Summer '21, you will need to add two tabs to the Reader Rx Application: Configure Fieldset and Reader Rx Dashboard.
Follow these steps:
- Click Setup and type App Manager in the Quick Find box
- Locate ERX Reader Rx in the list, and click the drop-down arrow at the end of the row
- Click Edit
- From the Available Tabs window, select Configure Fieldset and
Reader Rx Dashboard
Tip:To select multiple items, use CTRL + click on Windows or CMD + click on Mac
- With Configure Fieldset and Reader Rx Dashboard highlighted, click the
right arrow to add them to the Selected Tabs list
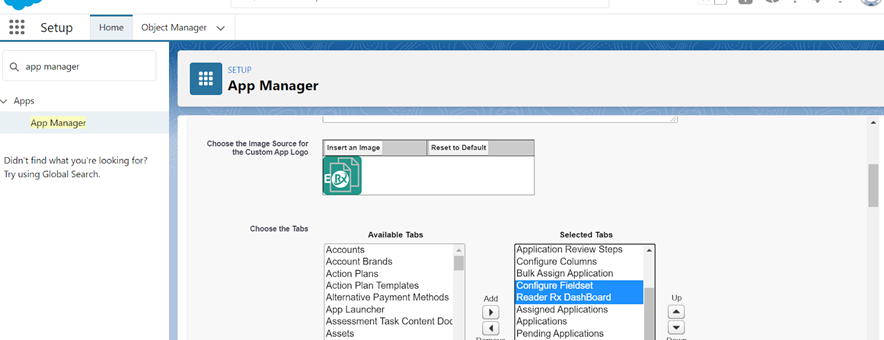
- Click Save
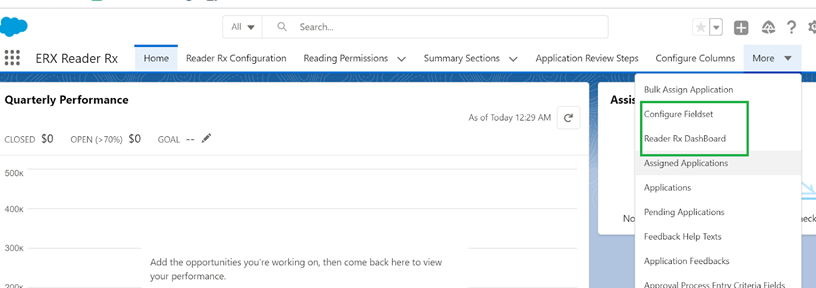
- Navigate back to Reader and check that both tabs are displayed
Reader Rx Configuration for Non-Core Application Object Users
If you have Reader Rx installed without ERX Core, and you have configured the EDA Application, Custom Objects, or Standard Objects, you will need to create the following fields and field sets.
| Fields | Field Set |
|---|---|
| Approval Process Name | Dashboard Filter Fields |
| Current Reviewer Number | |
| Approval Process Step Name |
Using the Opportunity Object as an example, follow the instructions below.
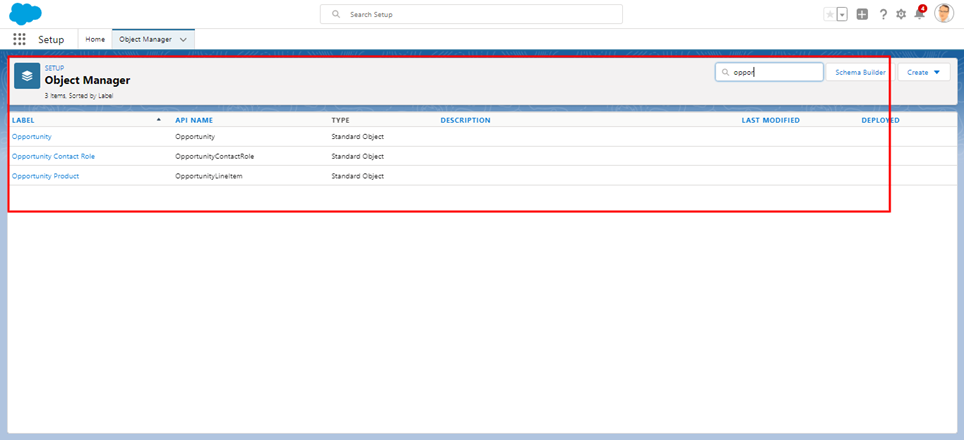
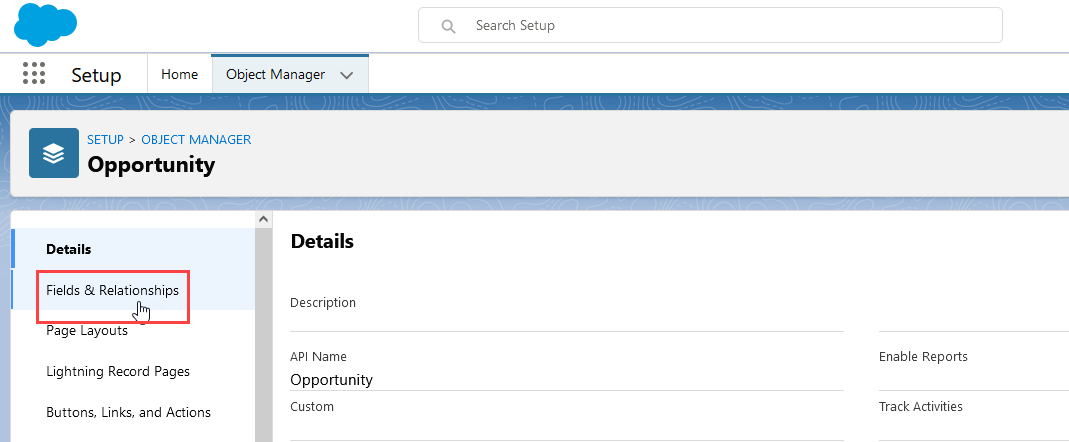
Navigate to the Opportunity Object
- Go to
- In the Object Manager, type "Opportunity" in the Quick Find box
- Click on Opportunity in the results
Create the Approval Process Name Standard and Approval Process Step Name Standard Fields
- Click Fields & Relationships in the left column
- On the Fields & Relationships page, click New. This takes you to the New Custom Field wizard.
- On Step 1: Choose the Field Type, select Text under Data Type and click the Next button
- On Step 2: Enter the Details, type "Approval Process Name Standard" in the
Field Label field
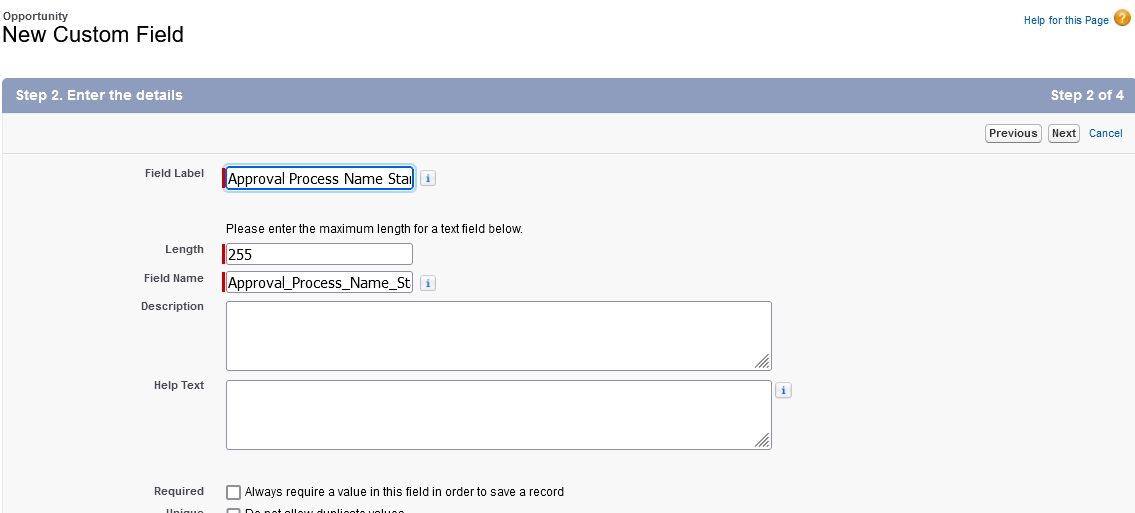
- Enter 255 for Length
- The Field Name will populate automatically
- Click Next, Next, and Save & New
- Repeat these steps to create the Approval Process Step Name Standard field with the same Data Type and Length
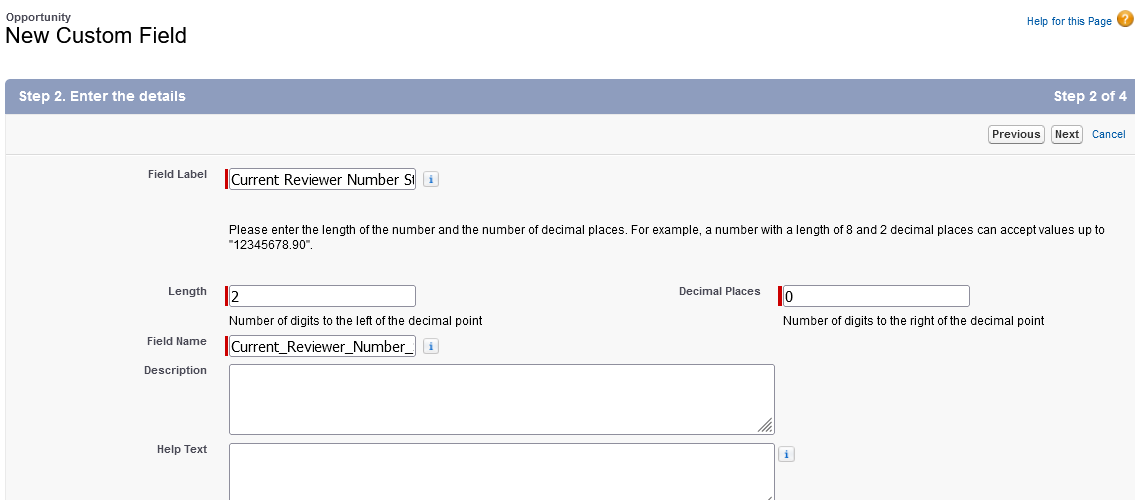
- Repeat the steps again to create the Current Reviewer Number Standard field
with a "Number" Data Type. Enter "2" for the Length, and "0" for Decimal Places, as
shown below.
Create the DashboardFilterFields Field Set
- Navigate to Field Sets
- Click on the New button
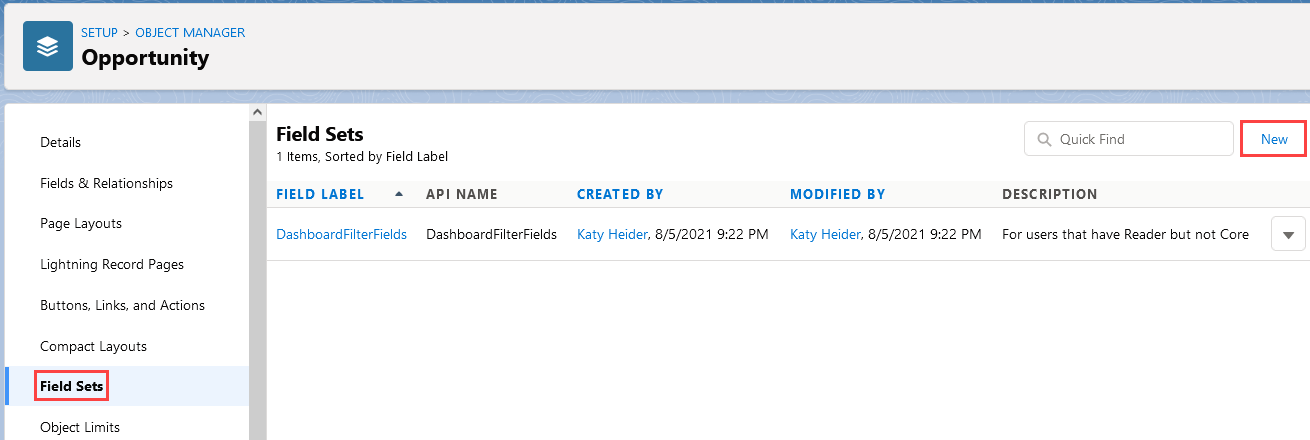
- On the New Field Set page, type "DashboardFilterFields" in the Field Set
Label field
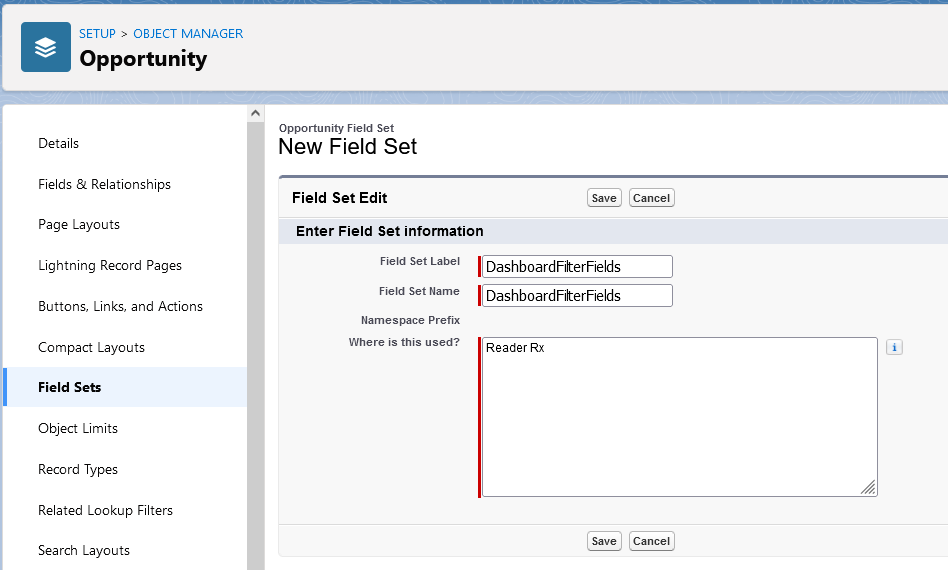
- The Field Set name will populate automatically
- Add a description for "Where is this used?"
- Click Save
Map the Fields
- In Reader Rx, go to the ReaderRx Configuration Objects tab
- Click New
- Under Field Mapping, select the new fields you created (see below image)
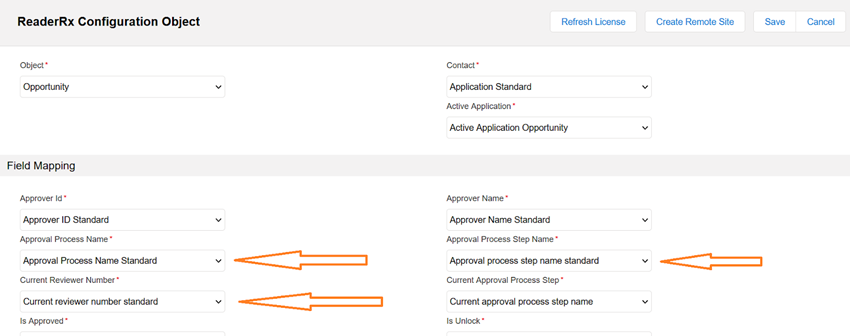
- Click Save
Add the Fields to the Opportunity Layout
- Click Page Layouts in the left column
- Click Opportunity Layout
- Drag the three new fields you created from the field palette to the page layout, as
shown below
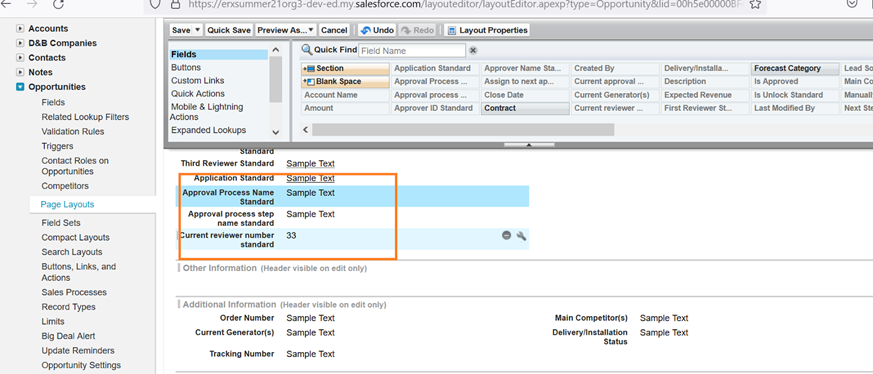
- Click Save
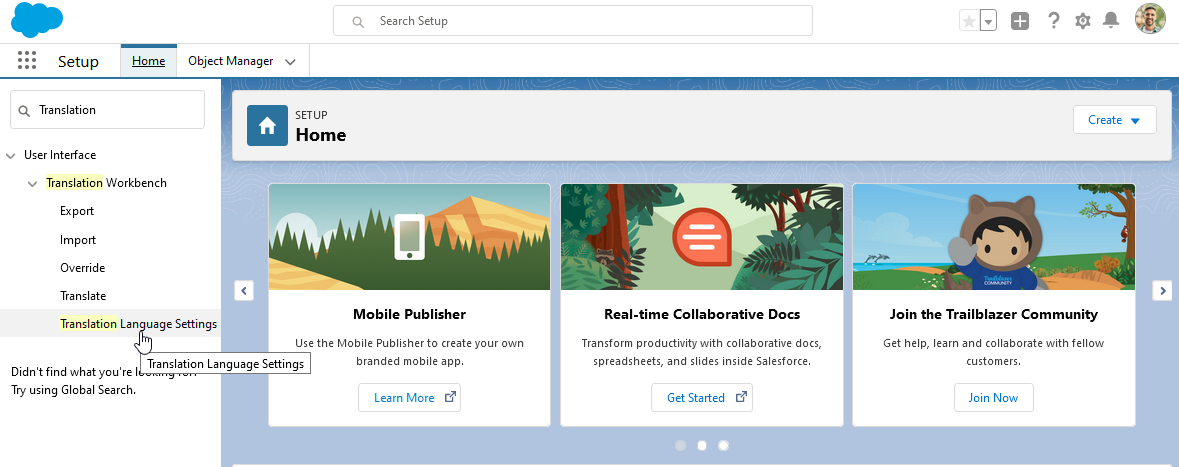
Translating Field Permission Error Messages into Other Languages
You can translate field permission error messages into different languages without changing any code. Following are the steps:
- Go to Setup and search for Translation Workbench in the Quick Find
box. Click Translation Language Settings. Here, you'll find a list of
supported languages in your org.
 Note:You may need to enable this feature if you're using it for the first time. Follow the Salesforce prompts.
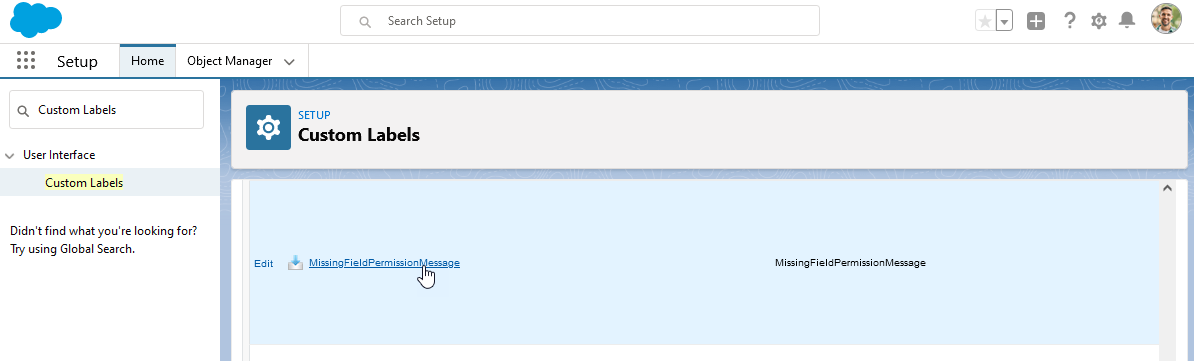
 - Next, go to , and click on the MissingFieldPermissionMessage.
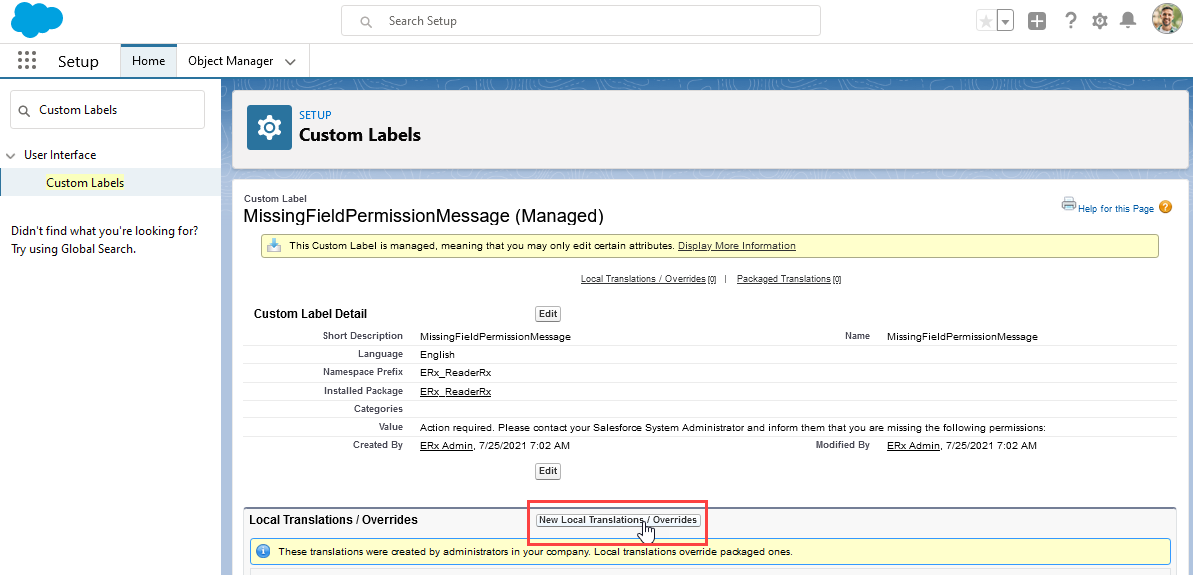
- In the "Local Translations/Overrides" section of the New Translation page,
click the New Local Translations/Overrides button.
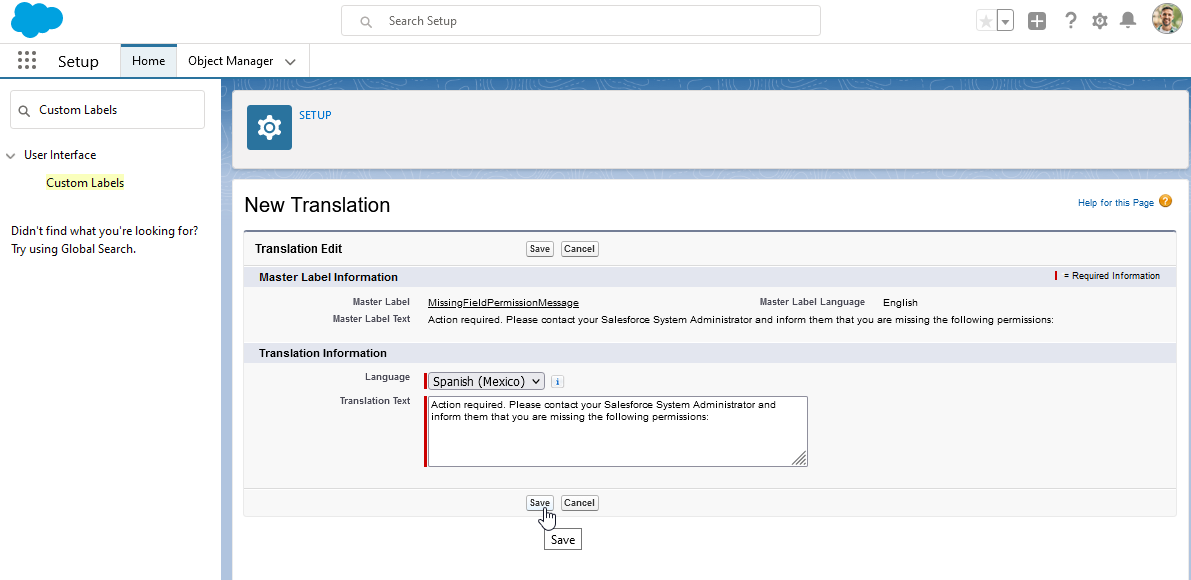
- On the New Translation screen, select the desired language from the picklist,
type in your error message, and Save.
What to Test
After you install into your Sandbox environment, you should test reviewing an application from start to finish. If you have more than one Approval Process, be sure to test them all.