Installation Links and Instructions
Upgrading to the Latest Version of FormBuilder Rx
If you are upgrading to the newest release of FormBuilder Rx, use the package installation links below.
Installation Links
Version 6.43.8, released June 21, 2024
Post-Installation Steps (Optional)
Configure the Individual Application Object
After package installation, follow these steps to configure the Individual Application Object.
- Go to Salesforce Classic (in your Salesforce account, click your avatar and select "Switch to Salesforce Classic" from the drop-down menu)
- Add the individual application related list to Person Account
- Try to create one individual application. You may see an error: "Field not visible license type issue."
- Switch back to Lightning Experience and go to
- Search for “Individual Application”
- Go to “Record Types”
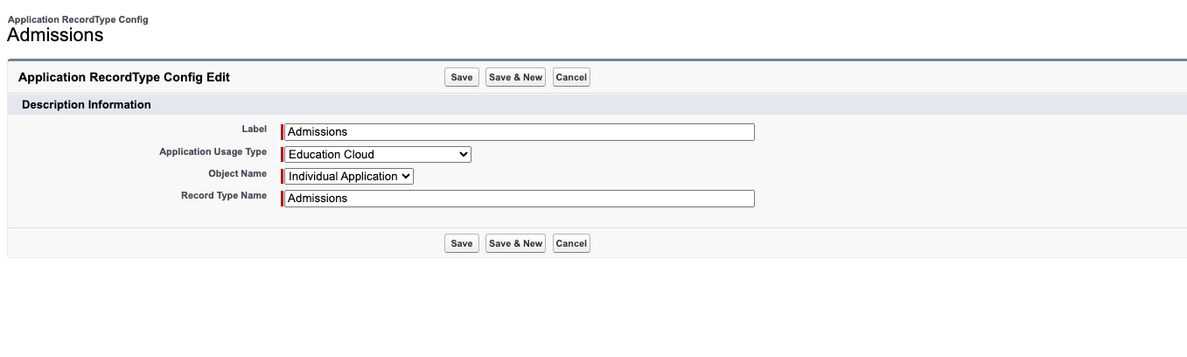
- Create a new Record type and name it "Admissions"
- Go to
- Create one record type named “Admissions” and click Save
Enable Person Accounts for FormBuilder Rx
Overview
Enabling the Person Account Model in Custom Settings will affect the following features in FormBuilder Rx:
- Template Builder
- Login Configuration
- Page Builder
- Homepage Builder
- Widget Builder (DXP)
Enable Person Accounts in Your Org
- Go to and search for "Person Accounts" in the Quick Find box
- Click on Person Accounts when it appears
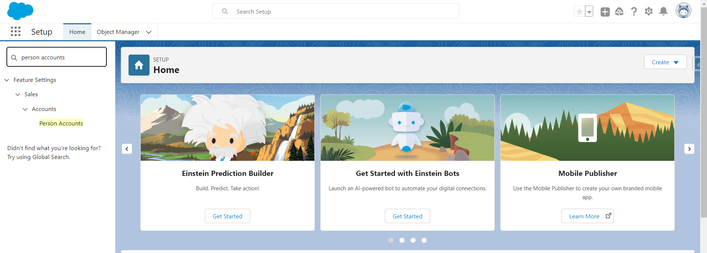
- You'll be redirected to the Person Accounts page
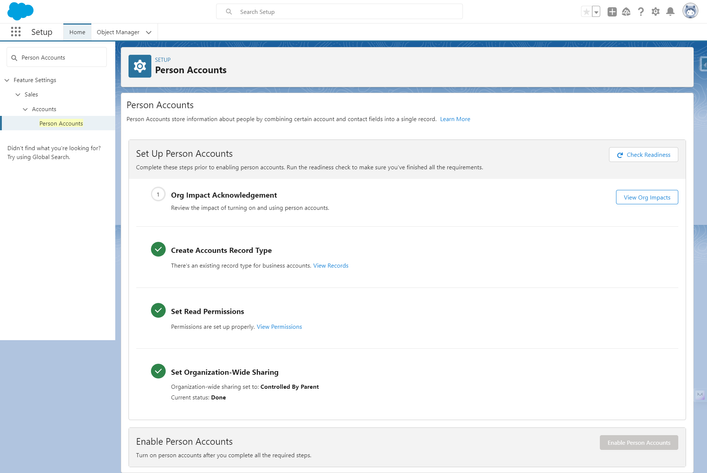
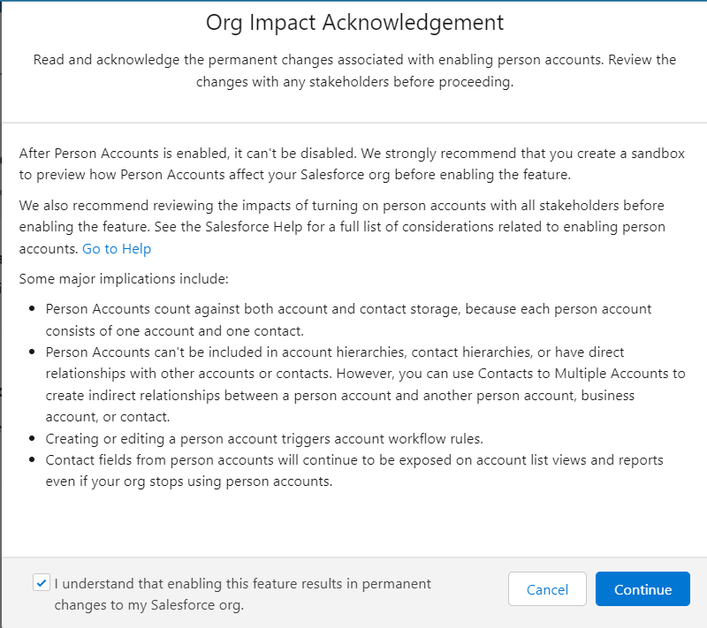
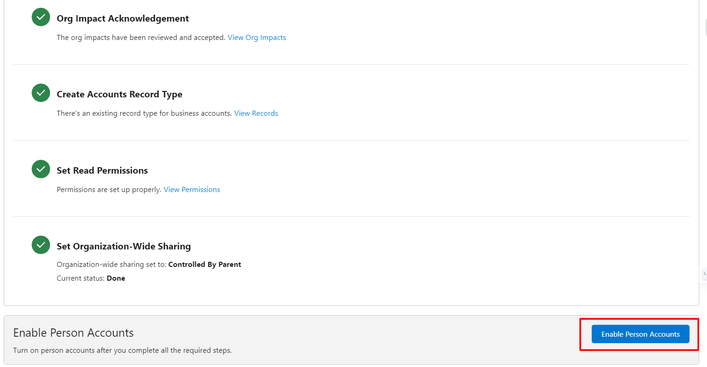
- Click on the View Org Impacts button. On this page, click the
Acknowledgement button, then click Continue
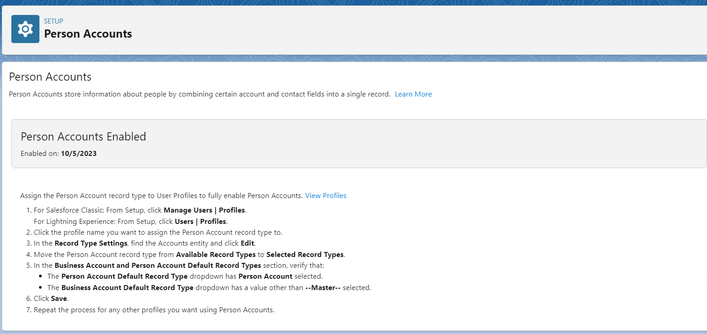
- Click on the Enable Person Accounts button (if successful, you will see a
"Person Accounts Enabled" message
Enable Person Accounts in an Education Cloud Org
- Go to and search for "Set up Education Cloud" in the Quick Find box. Click on it when it appears.
- Click on the "Set Up the Basics" section
- Click the "Enable Person Account" button

Next, follow the below steps to assign the Person Account record type to User Profiles to fully enable Person Accounts.
- In Salesforce Classic: From Setup, click Manage Users | Profiles. In Lightning Experience: From Setup, click Users | Profiles.
- Click the profile name you want to assign the Person Account record type to.
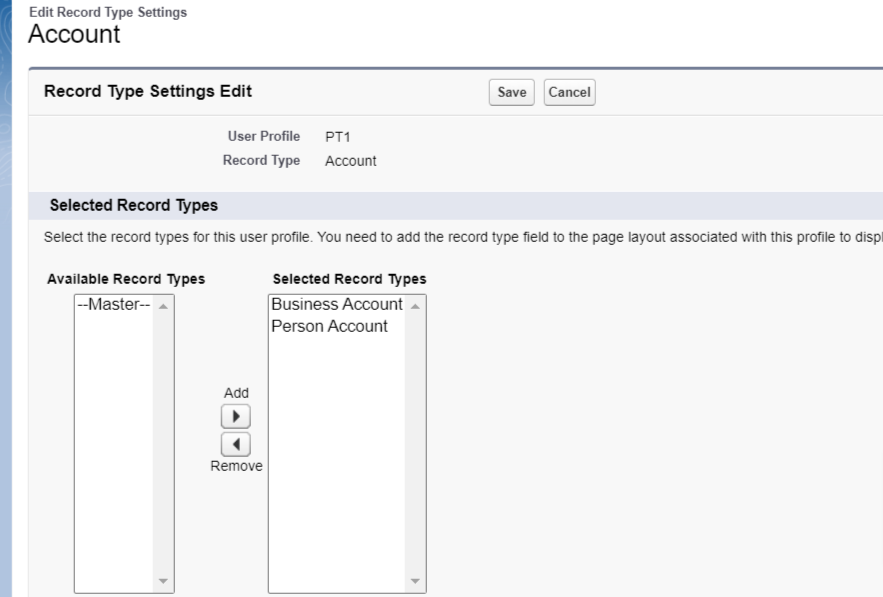
- In the Record Type Settings, find the Accounts entity and click Edit.
- Move the Person Account record type from Available Record Types to Selected Record Types.
- In the Business Account and Person Account Default Record Types section, verify
that:
- The Person Account Default Record Type drop-down has Person Account selected.
- The Business Account Default Record Type drop-down has a value other than Master selected.
- Click Save
Enable Person Accounts in FormBuilder Custom Settings
- Go to and search for "Custom Settings" in the Quick Find box. Click on it when it appears.
- Scroll to the "FormBuilder Settings" and click Manage
- On the FormBuilder Settings page, click "Edit" next to Admin Settings
- Check the Person Account Model checkbox
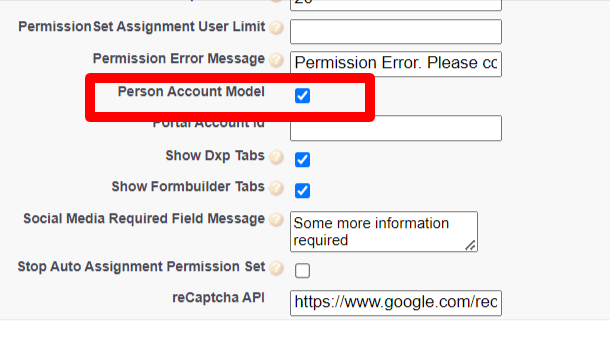
- Click Save
Required Permissions
Education Cloud users will need to configure the following permissions:
- Community User
- Site Guest User
Community User Profile (Allow Object Access)
CRUD and FLS permissions:
| Object | CRUD |
|---|---|
| Account | Modify All |
| Contact | Modify All |
| Individual Application | View All, Create, Modify All, Delete |
| Object | FLS |
|---|---|
| Individual Application | Fields you want to use |
| Account | Active Individual Application |
| Contact | Active Individual Application |
You'll also need to map the Permission Set to the Community User (Education Cloud for Experience Cloud Access. (IMAGE)
Site Guest User Profile
These settings are for Person Account access to registration and login pages.
CRUD and FLS permissions:
| Object | CRUD |
|---|---|
| Account | Modify All |
| Contact | Modify All |
| Individual Application | View All, Create, Modify All |
| Object | FLS |
|---|---|
| Individual Application | All fields |
| Account | Active Individual Application |
| Contact | Active Individual Application |
Flow Creation
For Individual Application Required fields like Category and Applied Date, are required fields that you need to auto update with a Flow.
- Go to and search for "Flows" in the Quick Find box. Click on it when it appears.
- Click on the “New Flow” button in the upper right corner of the Flows page
- Select “Record Trigger Flow” and click the Create button
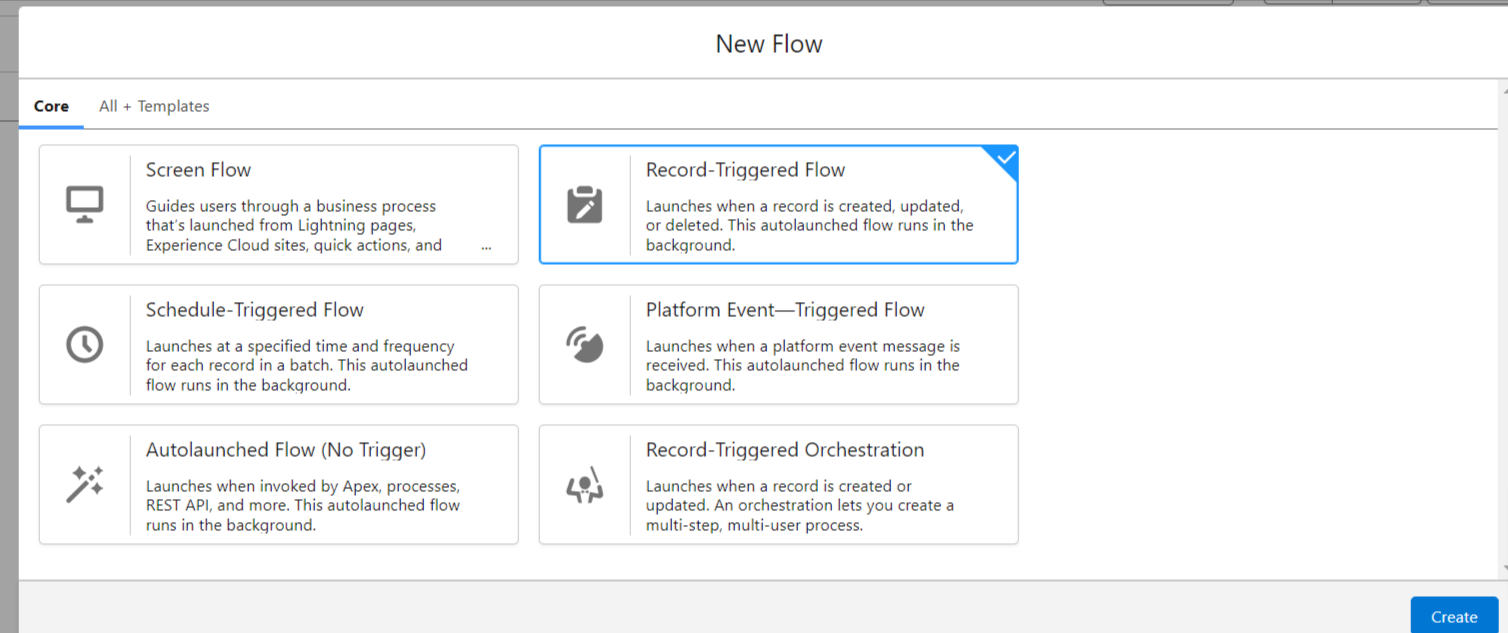
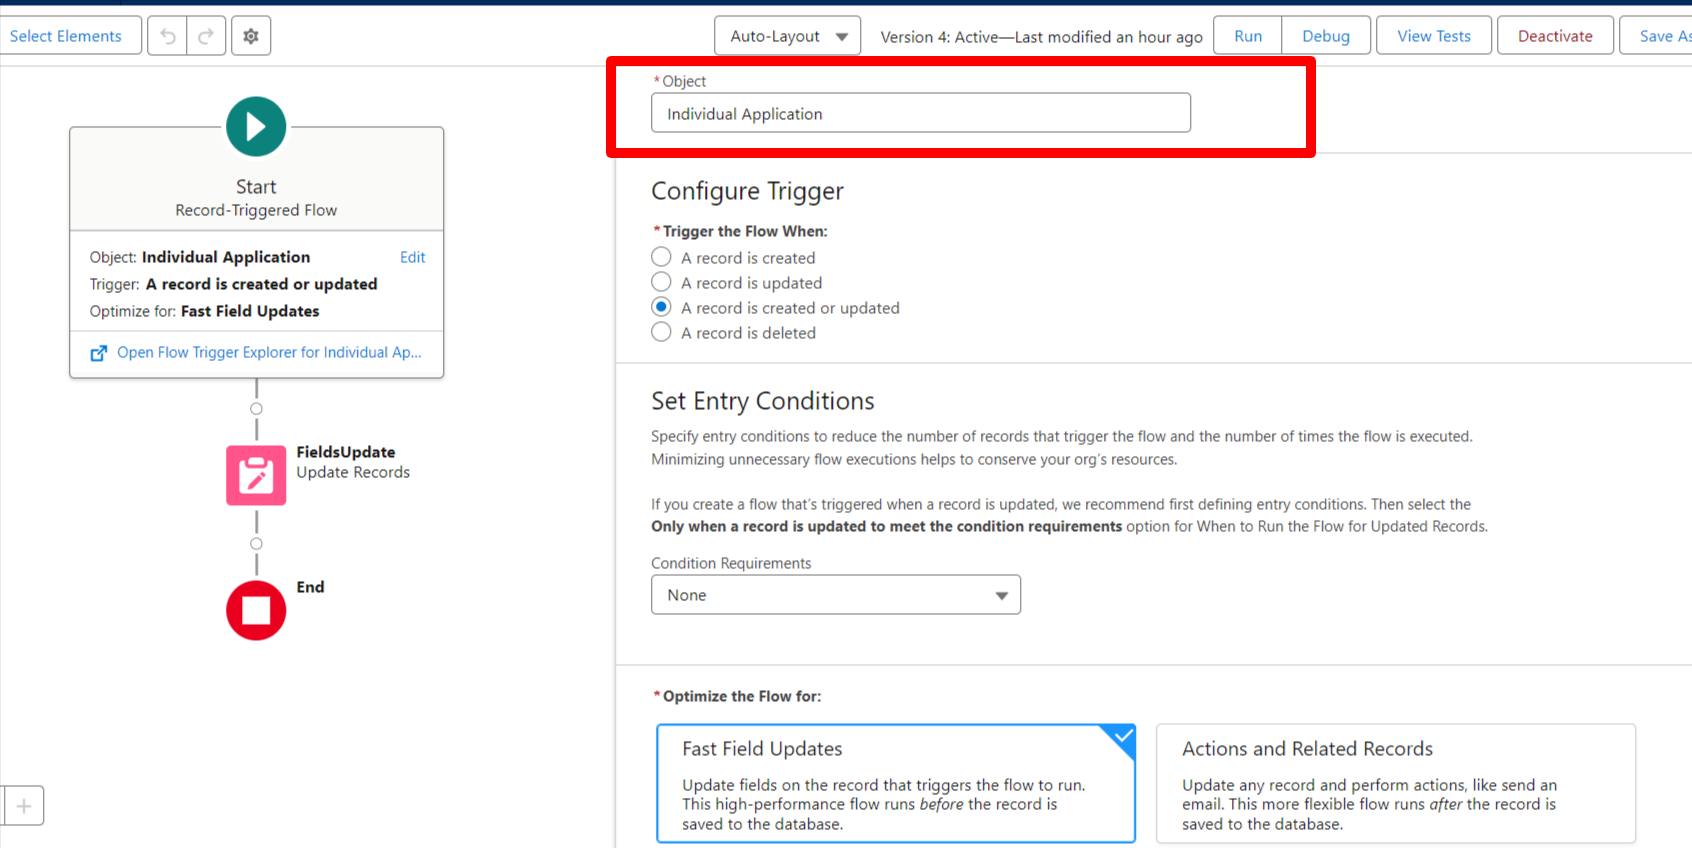
- Select “Individual Application” for the Object
- Save the Flow with a descriptive name
- Add two fields in the Field Update section as below
- Applied Date - Today
- Category - Education
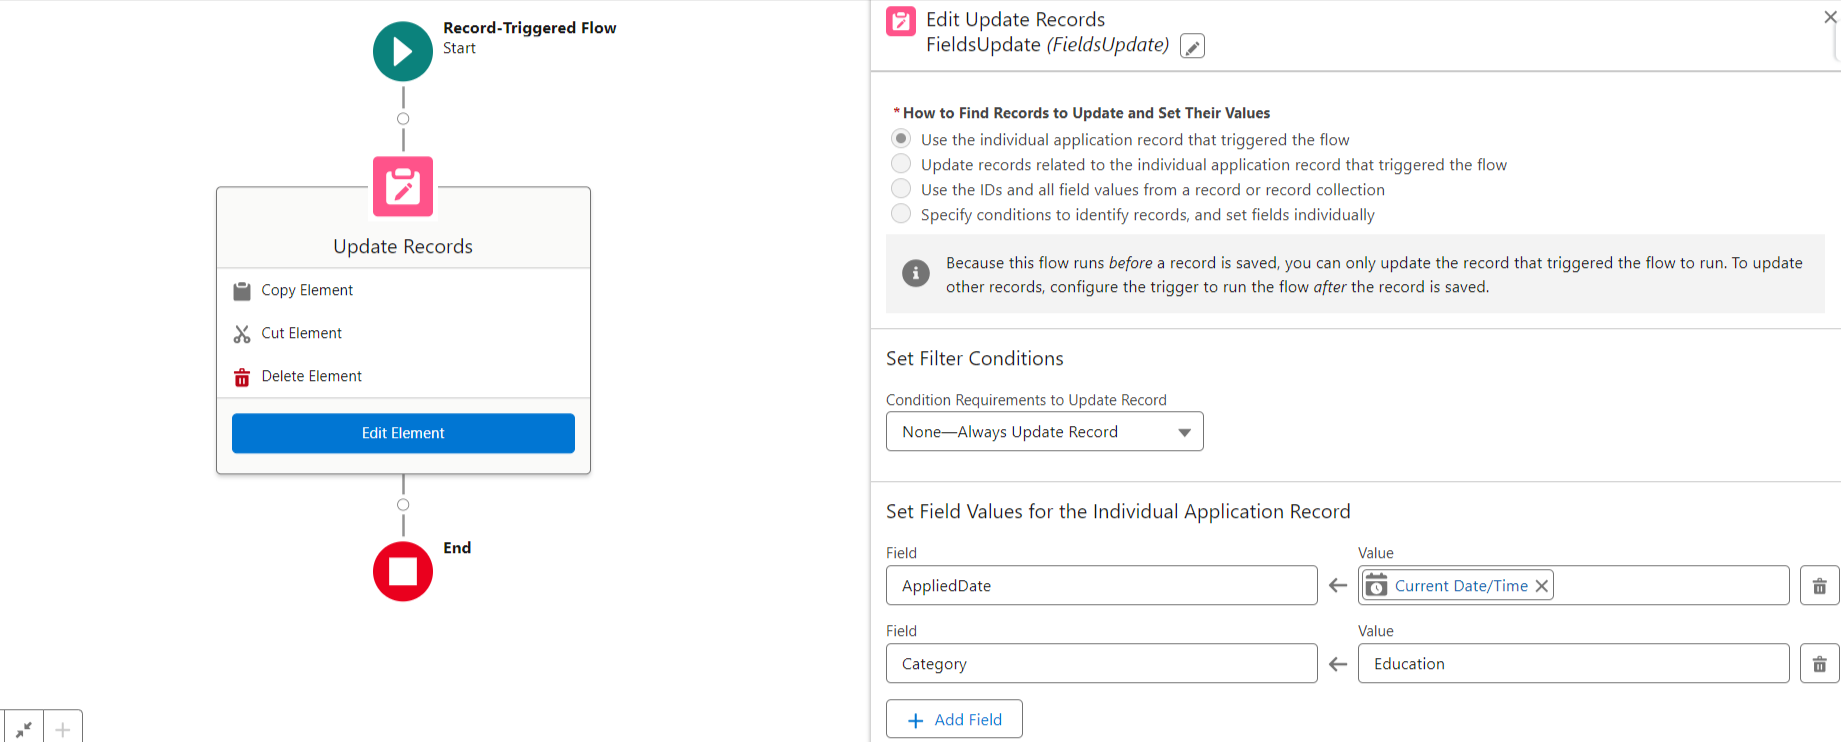
- Save and Activate the Flow